
A vest with several side-band rows needs a clear distinction between setting its fit and closing it again for everyday use. Combining those tasks can change left-to-right positioning each time it is put back on. Define rear adjustment, side-row alignment and front-flap reclosure as separate references.
Establish the front and rear panel positions before adjusting the circumference. This article addresses textile-shell adjustment and handling, without inferring a protection rating, insert compatibility or load capacity from the photographs.
01
Set the panel positions first
Define the intended front and rear panel locations before changing the side connection. If shoulder adjustments are still changing their height while the side bands are being tightened, it becomes difficult to identify which change caused a distorted position. Preserve a longitudinal reference before discussing circumference.
The Tasmanian Tiger manufacturer information states shoulder-strap adjustment and waist adjustment separately. It illustrates why both require their own description. Its dimensions and construction are not specifications for this photographed vest. The project needs its own panel reference positions and clothing conditions.
02
Align every side-band row
Match each band row to its corresponding front and rear location. Different upper and lower lengths can change panel orientation, so one band measurement cannot describe the whole arrangement. Check that each row lies flat, follows its intended position and ends within the planned connection area.
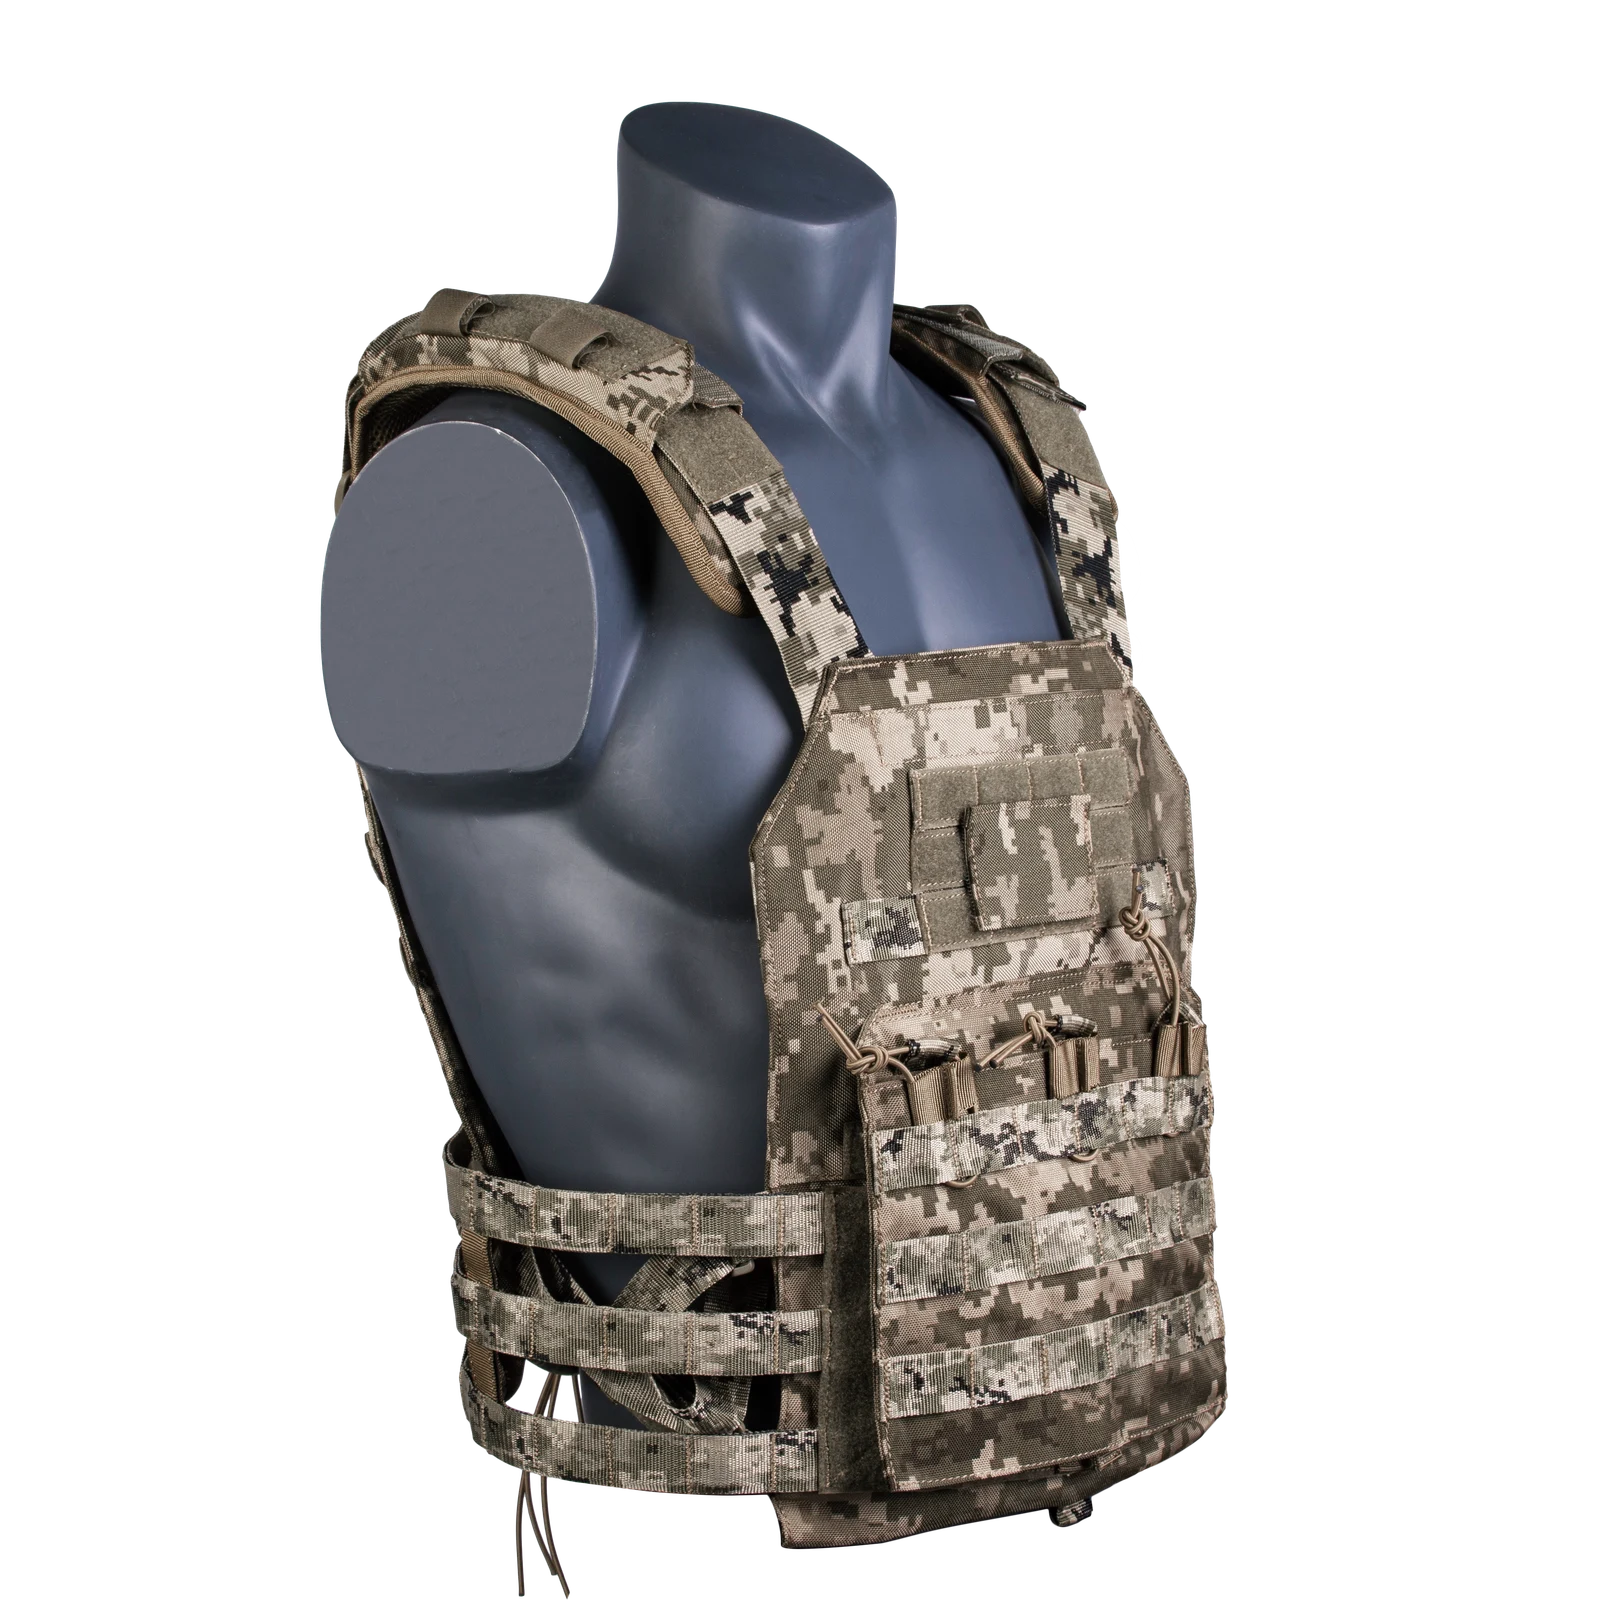
The side photograph shows open spaces between horizontal bands, without establishing their lengths or elasticity. Identify which part adjusts, which part connects and where the intended movement is accommodated. Visible gaps do not independently establish ventilation or freedom of movement.
03
Preserve the rear setting
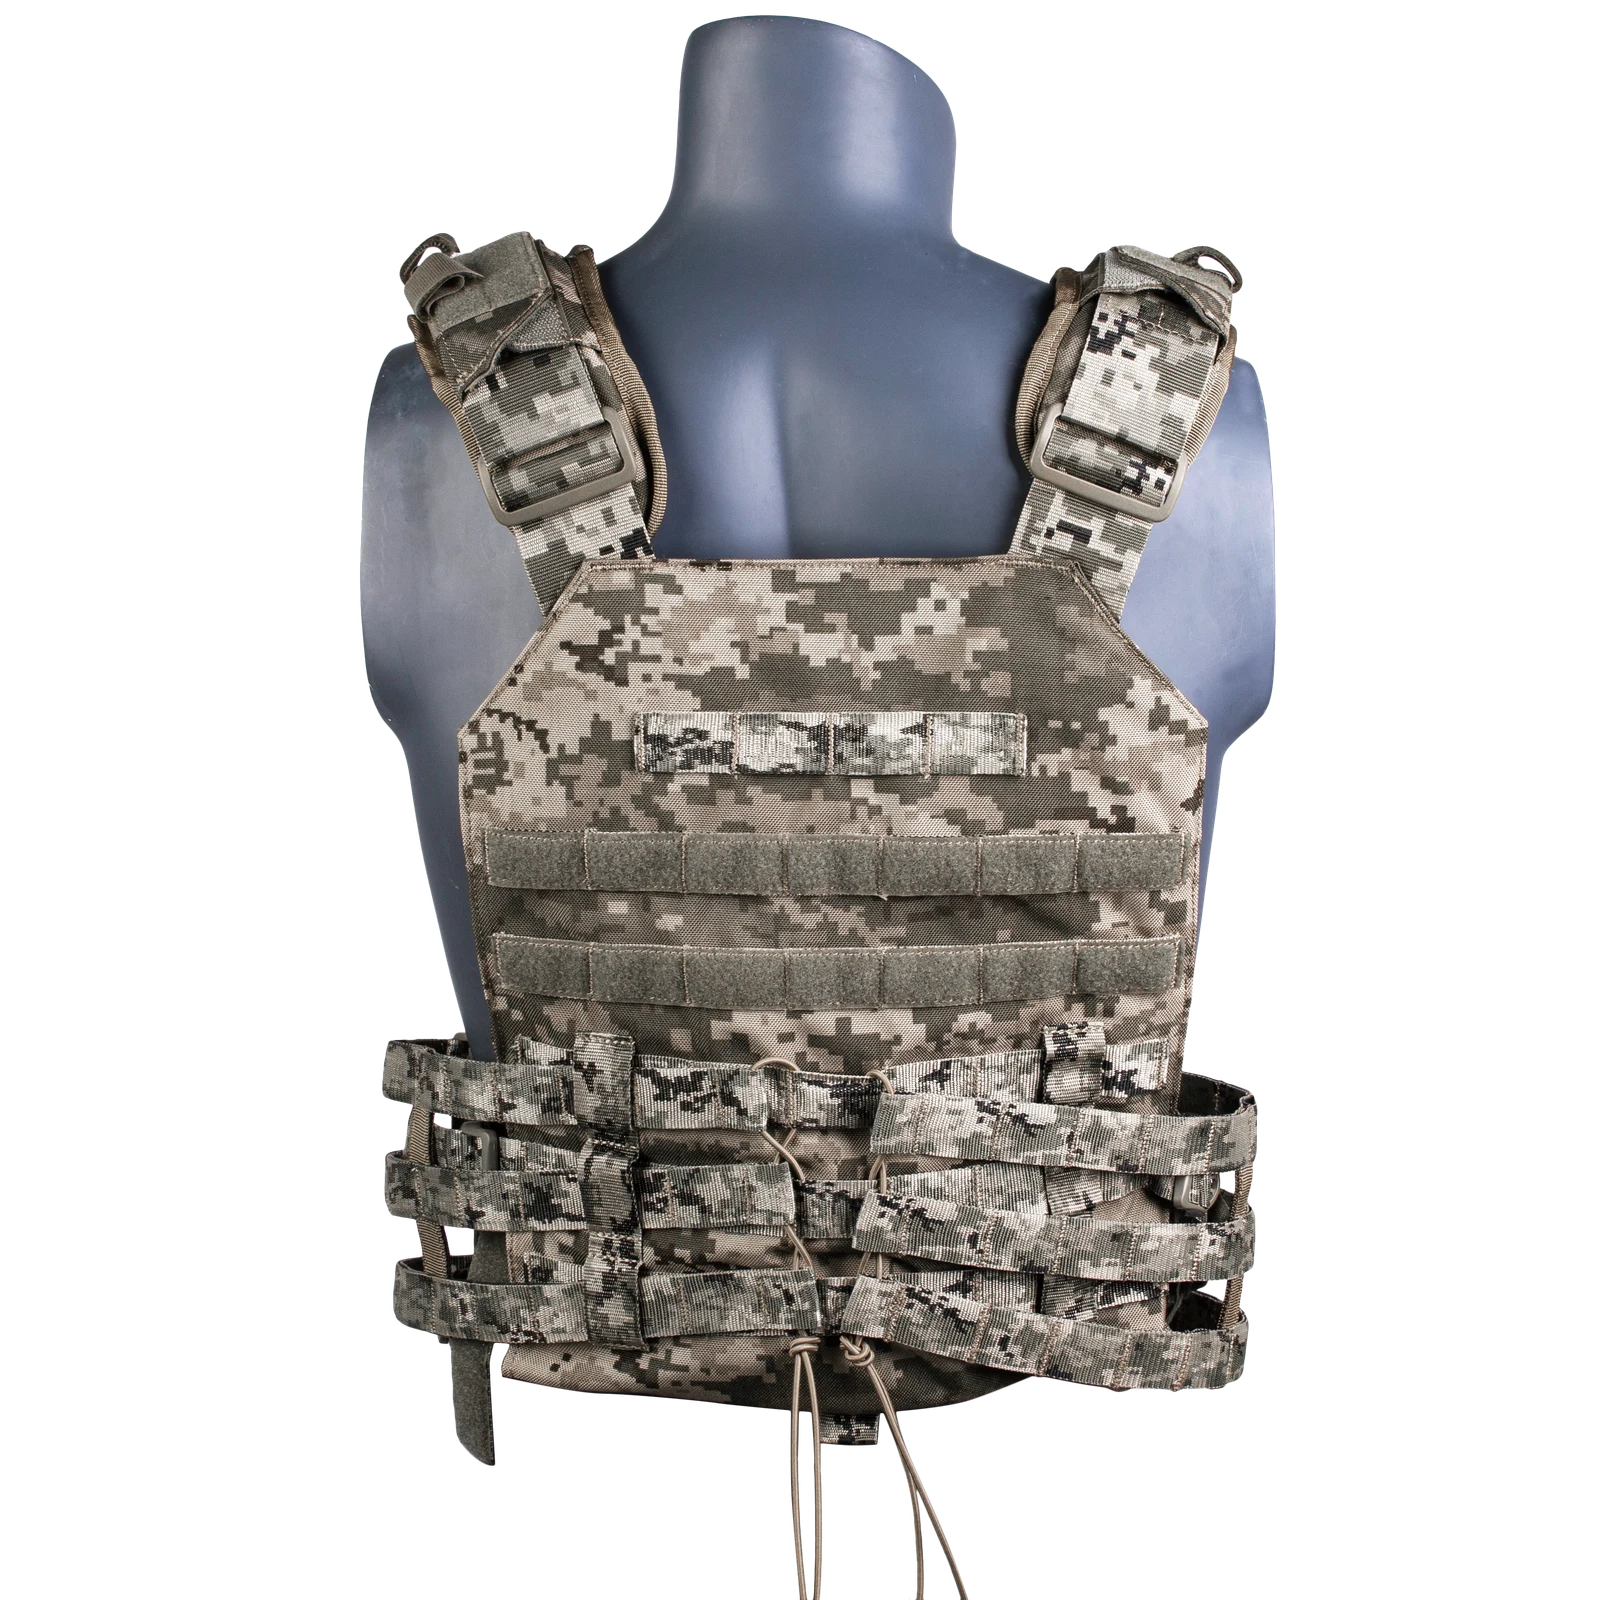
A rear adjustment needs a reference someone can revisit. If a cord route links several rows, document the relationship of its segments, the stored allowance and the left and right settings. A vertical cord route and loose ends are visible in the rear photograph, but not every hidden segment is exposed. This view alone is insufficient for a complete reassembly instruction.
Add flat and opened interior views to the sample handover where needed to show hidden routing. After changing a side-band setting, revisit the relative front and rear panel positions. Do not pull the front panel off its intended position merely to accommodate an unresolved rear setting.
04
Define where the front flap returns
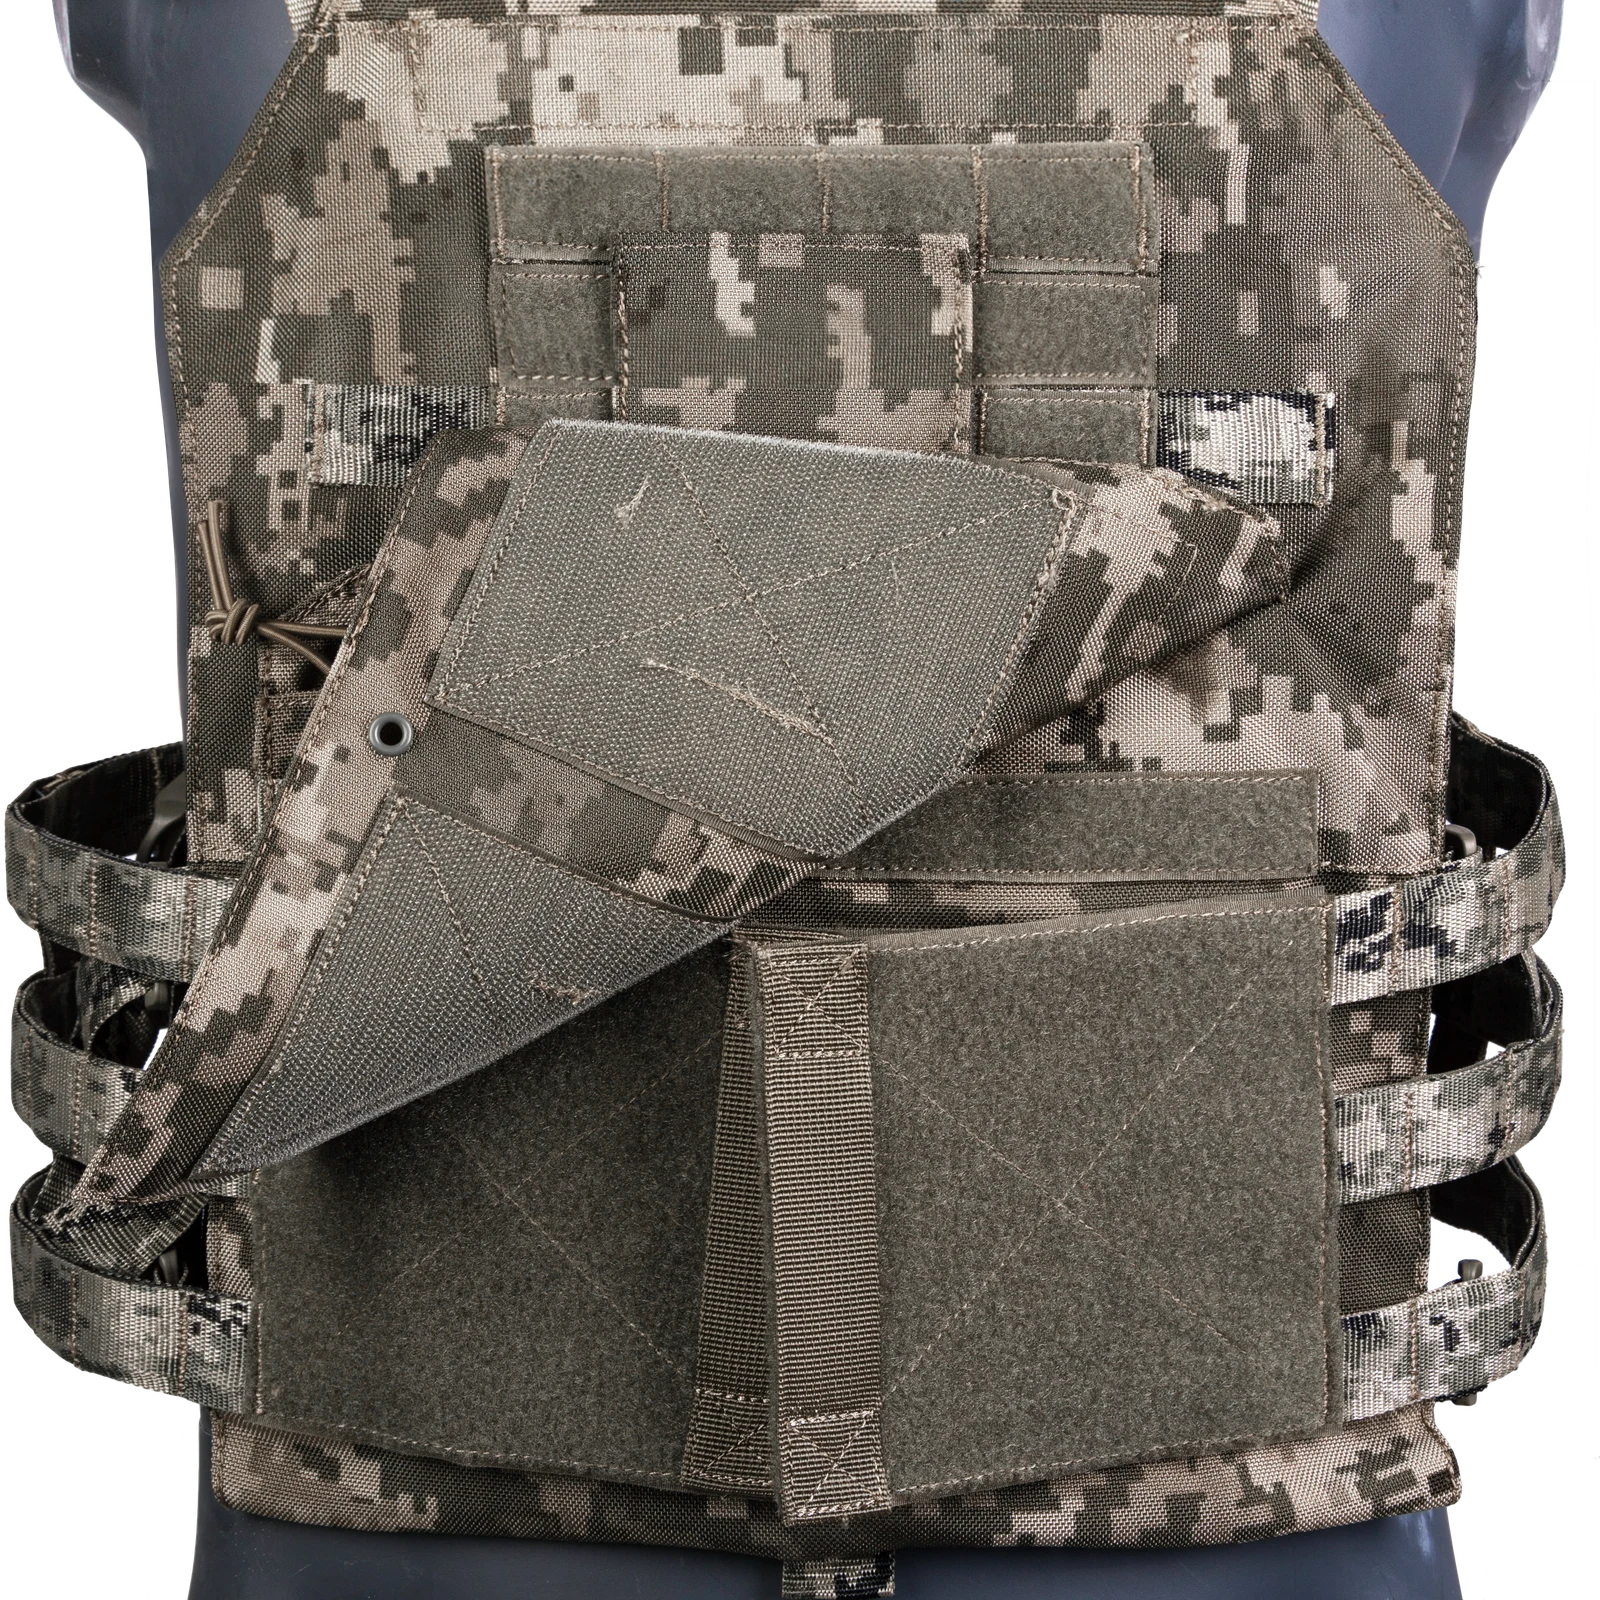
Place the side-band ends in their intended connection area before returning the covering flap along its planned path. Establish the layer order first. This makes it possible to distinguish insufficient coverage, a misplaced row and an obstructing folded edge. A flat exterior does not show that every layer underneath is correctly placed.
The raised-flap photograph exposes broad hook-and-loop surfaces and band ends. It provides a reference for alignment and overlap, without showing the complete closing action or its retention result. Add a normally closed reference on the development sample and check whether any exposed hook surface approaches clothing or nearby fabric parts.
05
Keep clothing conditions distinct
Changing clothing layers changes the outside circumference and contact arrangement. Preserve the project’s thin-layer and thick-layer references separately, checking whether the intended panel locations can be recovered within the planned adjustment area. Releasing every band to its longest position does not automatically define an additional universal size.
If normal removal only needs the front flap to open, the instructions should preserve the initial rear setting. If different clothing requires a new setting, identify the corresponding action. Distinguishing adjustment from reclosure helps someone reproduce the documented arrangement instead of guessing each time.
06
Approve a group of states
Keep the approved sample identifiable
Provide the panel reference positions, side-row alignment, hidden rear routing, front overlap and clothing condition together. Define the useful adjustment range with state photographs and corresponding measurements. The longest available band length alone leaves much of that information unresolved.
After changing a connection surface, cord route or band material, revisit the handling and intended conditions. These are development communication methods, not reported elasticity, ventilation, retention-strength or wearing-test results. Further textile-interface topics are available in the JKPD blog.
Related: utility vest front pocket closure clearance. See the JKPD product reference.
Discuss your bag development project
ANSON XIE
General Manager & Founder
Quanzhou Junkai Pengda Special Equipment Co., Ltd.
Email: ansonxie@jkpdtime.com
Phone: +86 177 5095 3355
WhatsApp: +86 177 5095 3355
Factory address: Floors 2–4, Building 1, Phase I, Huixin Intelligent Manufacturing Industrial Park, Hui'an County, Quanzhou, Fujian, China