
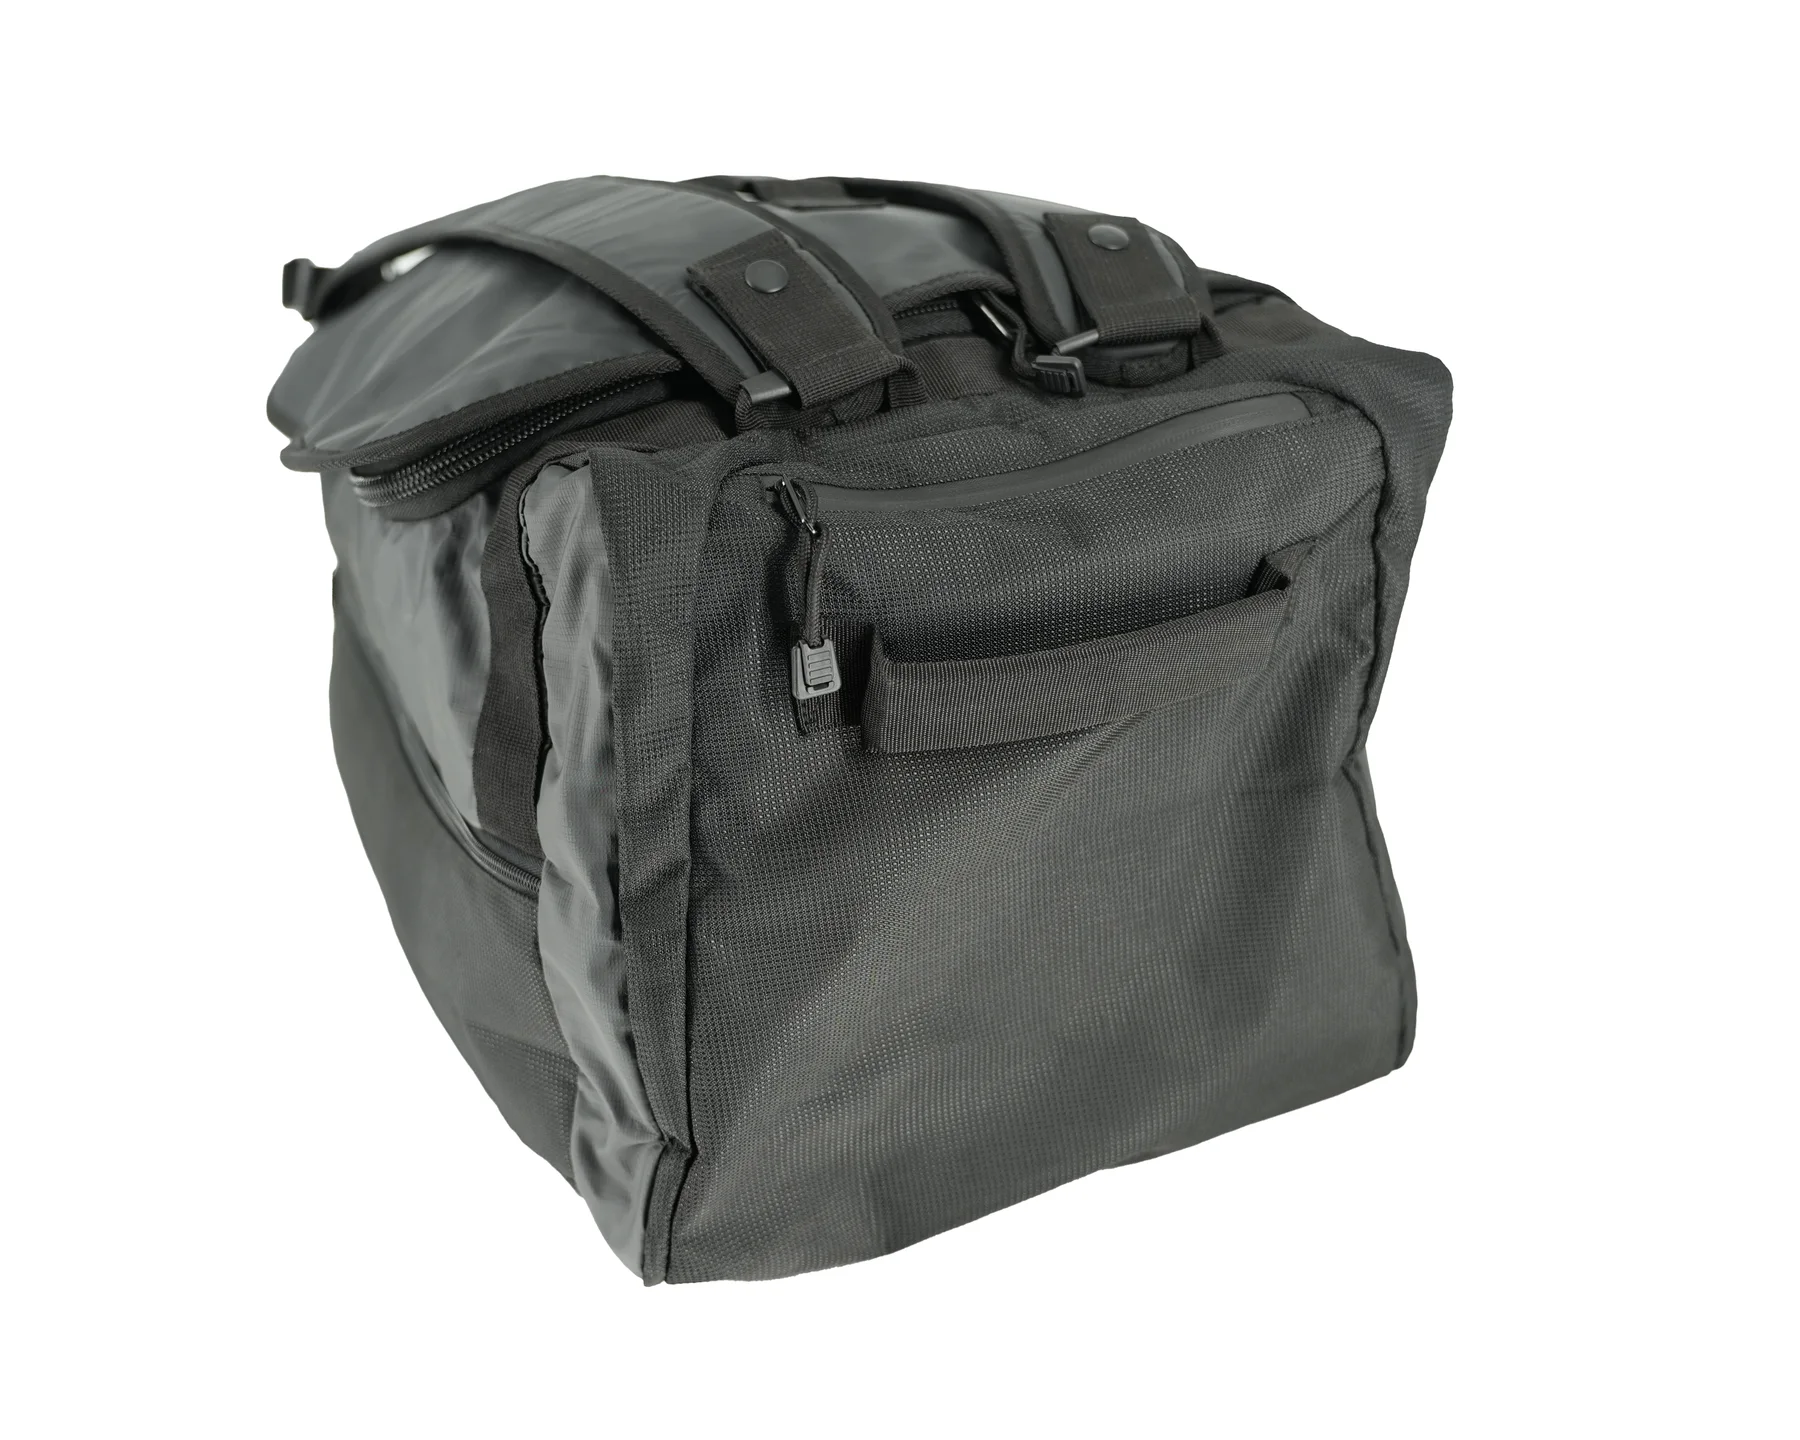
When a travel organizer lining opens beside a seam, the first response is often to ask for stronger thread or more stitches. That may address the wrong failure. The thread can remain intact while the woven fabric yarns move away from the stitch line, leaving an opening that a tidy surface inspection did not predict.
Start by documenting what moved or broke. Then compare the actual lining, cut direction and seam construction before changing the sewing specification. The following review is for woven linings; knitted, coated and laminated materials may need different assessment methods.
01
Is the problem thread breakage, fabric damage or yarn movement?
Keep the affected sample before attempting a repair. Photograph both sides, mark the position on the organizer and record the contents and handling condition. Re-sewing the seam immediately can hide the evidence needed to distinguish a construction problem from an isolated assembly error.
Look for broken sewing thread, damaged fabric yarns and yarn displacement beside the seam as separate observations. Several can occur together, so avoid reducing a mixed failure to one label. Ask the laboratory or technical team to examine uncertain examples rather than assigning a cause from a distant photograph.
Also check whether the opening disappears when the load is removed and what visible change remains. Record observations without turning a hand pull into a numerical performance claim. A controlled comparison is useful only when the specimens and assessment conditions are identifiable.
02
Define what the lining is expected to hold
A lining that loosely covers the shell has a different job from a pocket carrying a charger or a divider pulled tight by packed contents. Map the load path at the affected location. Identify whether the lining should carry that load or whether the design unintentionally transfers it there.
For a travel organizer, agree on reference contents and their arrangement before sampling. Include bulky objects that press against pocket corners rather than relying only on total packed weight. Two packs with the same mass can stress an internal pocket very differently.
Check pocket depth and allowance for the contents as well as fabric selection. If the proposed pocket is already taut at the intended load, changing the thread alone leaves the geometric constraint in place. Consider whether revised dimensions can reduce that tension without making the organizer inconveniently loose.
This is a design hypothesis to test, not evidence that a particular product has failed. The accompanying exterior product photograph establishes product context only; it does not reveal or certify the hidden lining construction.
03
Compare identified fabric and seam samples
Retain the lining article, supplier, finish, color and lot information. Mark the cut direction on every specimen and on the pattern. Otherwise a change in orientation can be mistaken for an improvement caused by a new thread or stitch setting.
Prepare a baseline seam using the proposed production combination. Record the seam allowance, stitch type, stitch spacing, needle and thread references. Keep those variables fixed while comparing candidate linings, then use a separate trial to examine a construction change.
Ask the supplier for information relevant to the actual woven article, not just a generic polyester or nylon description. A material's name or nominal weight does not establish the behavior of the sewn seam. Finish and construction details belong in the approval record even when two swatches look similar.
A useful comparison sheet separates fabric changes from sewing changes. List the baseline, the single intended change, the assessment result and any new appearance or handling issue. If several variables must change together, label that trial as a new combination rather than claiming to have isolated one cause.
04
Why can more stitching be the wrong first correction?
Additional stitching changes the assembly rather than automatically repairing the material limitation. Review needle damage, seam bulk, appearance and the space available near the pocket edge. A construction that looks acceptable on a flat strip may become difficult to turn or bind at the organizer corner.
Consider a wider allowance or a different seam arrangement as candidates, not universal prescriptions. Check whether the pattern has enough material and whether the finished interior still fits the contents. Every correction must survive the next assembly step, not just the isolated seam evaluation.
If reinforcement is proposed, identify its material, coverage and attachment. Review the transition where it ends and the effect on the surrounding lining. Moving the visible problem to the edge of a stiff patch is not a complete solution.
Keep the decision grounded in the failure record. Broken thread and displaced lining yarns can call for different investigations. For thread identity and sampling controls, the related bag sewing-thread guide covers a separate part of the specification.
05
What should the laboratory report answer?
The public listing for ASTM D1683/D1683M-22 concerns failure in sewn seams of woven fabrics, including seam strength and yarn displacement. It also states that the method does not predict actual wear performance. Use that boundary when discussing what a report can support.
Ask the laboratory to confirm the suitable method and edition, specimen preparation and reporting terms for the proposed lining. Agree on acceptance criteria with the buyer before testing. The existence of a named standard does not supply a universal pass value for every travel organizer.
Link the report to the fabric article and seam combination actually assessed. Record deviations and distinguish a standard laboratory seam from a seam removed from the product. Where the final construction differs, explain how that difference will be reviewed rather than treating the results as interchangeable.
Keep this technical evidence alongside an assembled-product trial using the agreed packing and handling conditions. Neither replaces the other: a controlled material comparison and a practical organizer review answer different purchasing questions.
06
Carry the decision into cutting and sewing
Once the combination is approved, retain a labeled fabric swatch, seam specimen and complete organizer. Include the pattern revision and cut-direction markings. This gives cutting and sewing staff references for both the material and the construction they are expected to reproduce.
Check the first production pieces before a large batch accumulates. Review the affected pocket or divider from both sides, including allowance capture and visible damage. If inspection requires opening a seam, define the sampling and disposition of those pieces in advance.
Control replacements to lining, finish, thread and seam arrangement through the same record. A similar-looking substitute should not inherit approval without reviewing the affected requirements. Send the lining references, intended contents and observed seam issue through the project inquiry page so the next sample has a specific question to resolve.
Discuss your bag development project
ANSON XIE
General Manager & Founder
Quanzhou Junkai Pengda Special Equipment Co., Ltd.
Email: ansonxie@jkpdtime.com
Phone: +86 177 5095 3355
WhatsApp: +86 177 5095 3355
Factory address: Floors 2–4, Building 1, Phase I, Huixin Intelligent Manufacturing Industrial Park, Hui'an County, Quanzhou, Fujian, China