
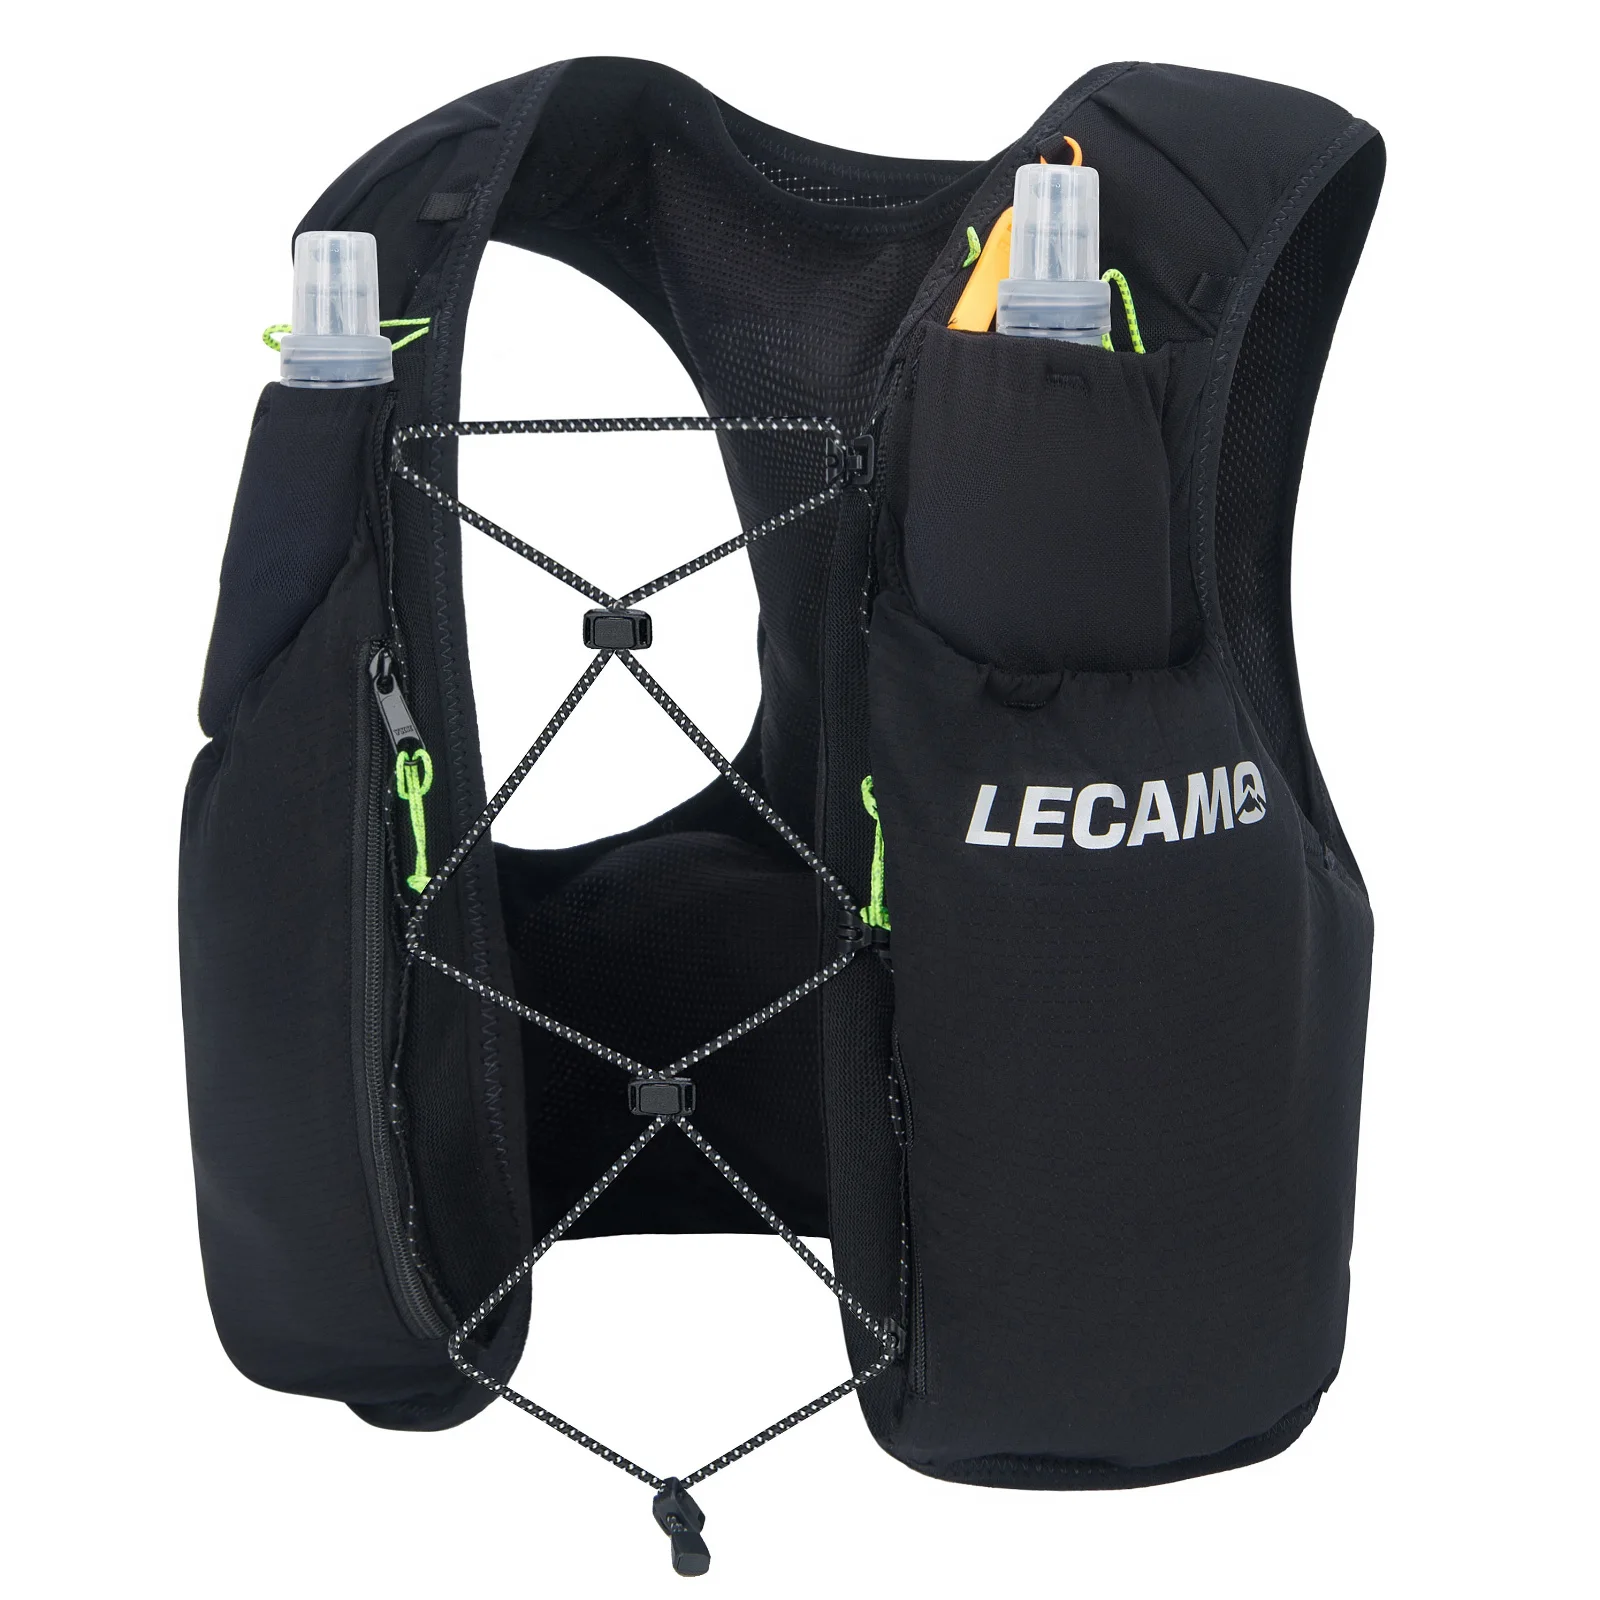
A running vest may feel soft between two fingers and still have an uncomfortable edge when its front pockets are loaded. Fabric hand feel is only part of the decision. Seam position, binding tension and the way the load moves all deserve their own review.
For a brand developing a trail running vest, the useful question is not simply which seam is softest. It is which complete construction stays appropriate for the intended fit, load and movement. The following checks help structure sampling; they do not promise that any design will prevent irritation.
01
Map body contact before selecting a stitch
Start with the areas likely to touch the wearer: neckline, shoulder edges, arm openings, side panels and the lower edge. Mark each on the pattern and identify whether contact is directly against skin or through the intended clothing layer.
Now add the load. Front bottles, a phone and rear storage can alter panel position. An edge that rests away from the body in an empty fitting may move closer when those pockets are filled.
Review the vest across the intended size range rather than treating one sample size as proof for all wearers. Record the fitting setup, adjustment position and contents so that later samples can be compared fairly.
This contact map gives the sewing discussion a purpose. A seam hidden inside a pocket has different priorities from a junction beside the neck.
02
Separate softness, stretch and strength
A comfortable-feeling seam is not automatically suitable for a loaded stretch panel. Ask what movement the joint must allow and what load it must carry before selecting thread or stitch construction.
Coats’ Soft and Secure Seams guide discusses strength, required stretch, bulk and softness together. Its recommendations concern apparel, so they are a starting point for material discussion, not a finished running-vest specification.
Build comparison pieces from the actual panel materials. Check how each joint extends, returns and feels on the body-facing side. Look for visible thread breakage, opening of the seam or a stiff ridge after movement.
Do not prescribe a thread merely because it appears in a supplier table. Coats notes that fabric and construction differences can require different thread choices. Confirm suitability for the particular assembly, then validate the complete vest.
03
What does the binding do to the edge?
Binding can cover a raw edge neatly while changing the shape of a flexible panel. Assess its effect on the garment-like fit, not just whether it hides the cut edge.
Compare the edge lying flat, gently extended and worn with the agreed contents. Look for curling, gathering, a hard fold or a section that draws inward more than the surrounding panel. Ask the sampling team to review binding material, feed and applied tension together.
Avoid correcting every ripple by tightening the binding. That may improve a flat photograph while making the opening restrictive. Equally, a loose finish can move or stand away from the panel.
Keep the approved binding and panel combination as a physical reference. Width and color alone do not describe stretch behavior, surface feel or the way the folded edge sits against the wearer.
04
Reduce bulk where several parts meet
Pocket edges, elastic, reinforcement and binding can converge at one point. Inspect those intersections from the inside as well as the outside, particularly near the upper chest and shoulder.
A tidy exterior may hide a thick stack on the body-facing surface. Feel the junction with the vest loaded and examine whether a bottle or another stored object pushes it toward the wearer.
Possible revisions include moving a join away from a contact area, separating two component endings or changing the assembly sequence. Each option needs a sewn trial. Removing layers without reviewing their purpose could weaken a connection that carries pocket load.
Use a close-up photo to mark the exact location of an issue. A general instruction to make the vest softer gives the factory little guidance; identifying the junction and the condition in which it becomes noticeable creates a testable change.
05
Run the fitting review with useful comparisons
Use a repeatable movement sequence and the intended clothing layers. Review arm swing, reaching for front storage and accessing a rear pocket where the design permits it. Include the agreed bottle shapes and contents rather than substitutes that sit differently.
Keep the first comparison controlled. If material, pattern and adjustment all change at once, it becomes difficult to explain why one sample feels different. Record each revision and repeat the same checks before moving on.
Ask participants to identify the location and movement associated with an uncomfortable contact, not just rate the sample as good or bad. Stop a wear check if it causes discomfort; a development review is not a reason to continue an irritating condition.
Fit feedback from a small sample group is useful design evidence, not a guarantee for every runner. Any public comfort or performance claim should match the scope of the evidence actually collected.
06
Check the inside again after handling
Initial appearance does not show how an edge will look after repeated use and care. Agree relevant handling and care checks before approving the construction, based on the intended materials and care instructions.
Inspect the same marked junctions afterward. Look for exposed ends, changed binding shape, loose threads, pocket distortion and surface roughness. Record which sample and material combination produced each observation.
Do not invent a standard number of cycles for every vest. The method, conditioning, duration and acceptance criteria should suit the intended product and any claims. Where formal testing is needed, agree the scope with a qualified supplier or laboratory.
If the proposed care method changes, review whether the evidence still applies. A material approved under one condition should not silently inherit broader claims.
07
Make the production reference specific
A final sample is more useful when its important details are easy to identify. Mark contact-critical seams, binding joins, pocket reinforcement and body-facing finishes in the production reference.
Include material codes, thread specification, stitch construction, seam allowance, finished edge dimensions and any approved assembly notes. Ask the factory to establish suitable machine settings for that actual material combination rather than copying settings from an unrelated product.
During first-piece inspection, compare the inside of the vest with the approved sample. Watch for changes at transitions between thin mesh and thicker pocket assemblies. If the operator has to compensate repeatedly, review the setup or sequence rather than accepting variable results.
The tech-pack guide explains how to organize revisions. For chest adjustments and other connections, keep the hardware review separate but linked to the fit record.
08
What should the buyer send before sampling?
Send front, back and inside views with the likely contact areas marked. Include the intended size range, clothing layers, storage load, bottle dimensions and access priorities. Identify any fixed design features and any areas where construction alternatives are welcome.
Add a clear review plan: who will compare the samples, which movements matter and how comments will be recorded. That helps turn a subjective request for comfort into specific development decisions without pretending that comfort is identical for everyone.
A well-documented sample is not simply a softer vest. It is a construction whose trade-offs are understood and whose critical details can be checked again during production. Share those requirements through the project inquiry page.
Discuss your bag development project
ANSON XIE
General Manager & Founder
Quanzhou Junkai Pengda Special Equipment Co., Ltd.
Email: ansonxie@jkpdtime.com
Phone: +86 177 5095 3355
WhatsApp: +86 177 5095 3355
Factory address: Floors 2–4, Building 1, Phase I, Huixin Intelligent Manufacturing Industrial Park, Hui'an County, Quanzhou, Fujian, China