
A bound curve on a tactical-style soft bag may look tidy from the outside while the inner binding fold gradually escapes the stitch line. Treat that edge walk-out as a layer-position problem to investigate, not merely a wrinkle to flatten. First establish which layer moves, where the movement starts and whether the stitch still catches the required material.
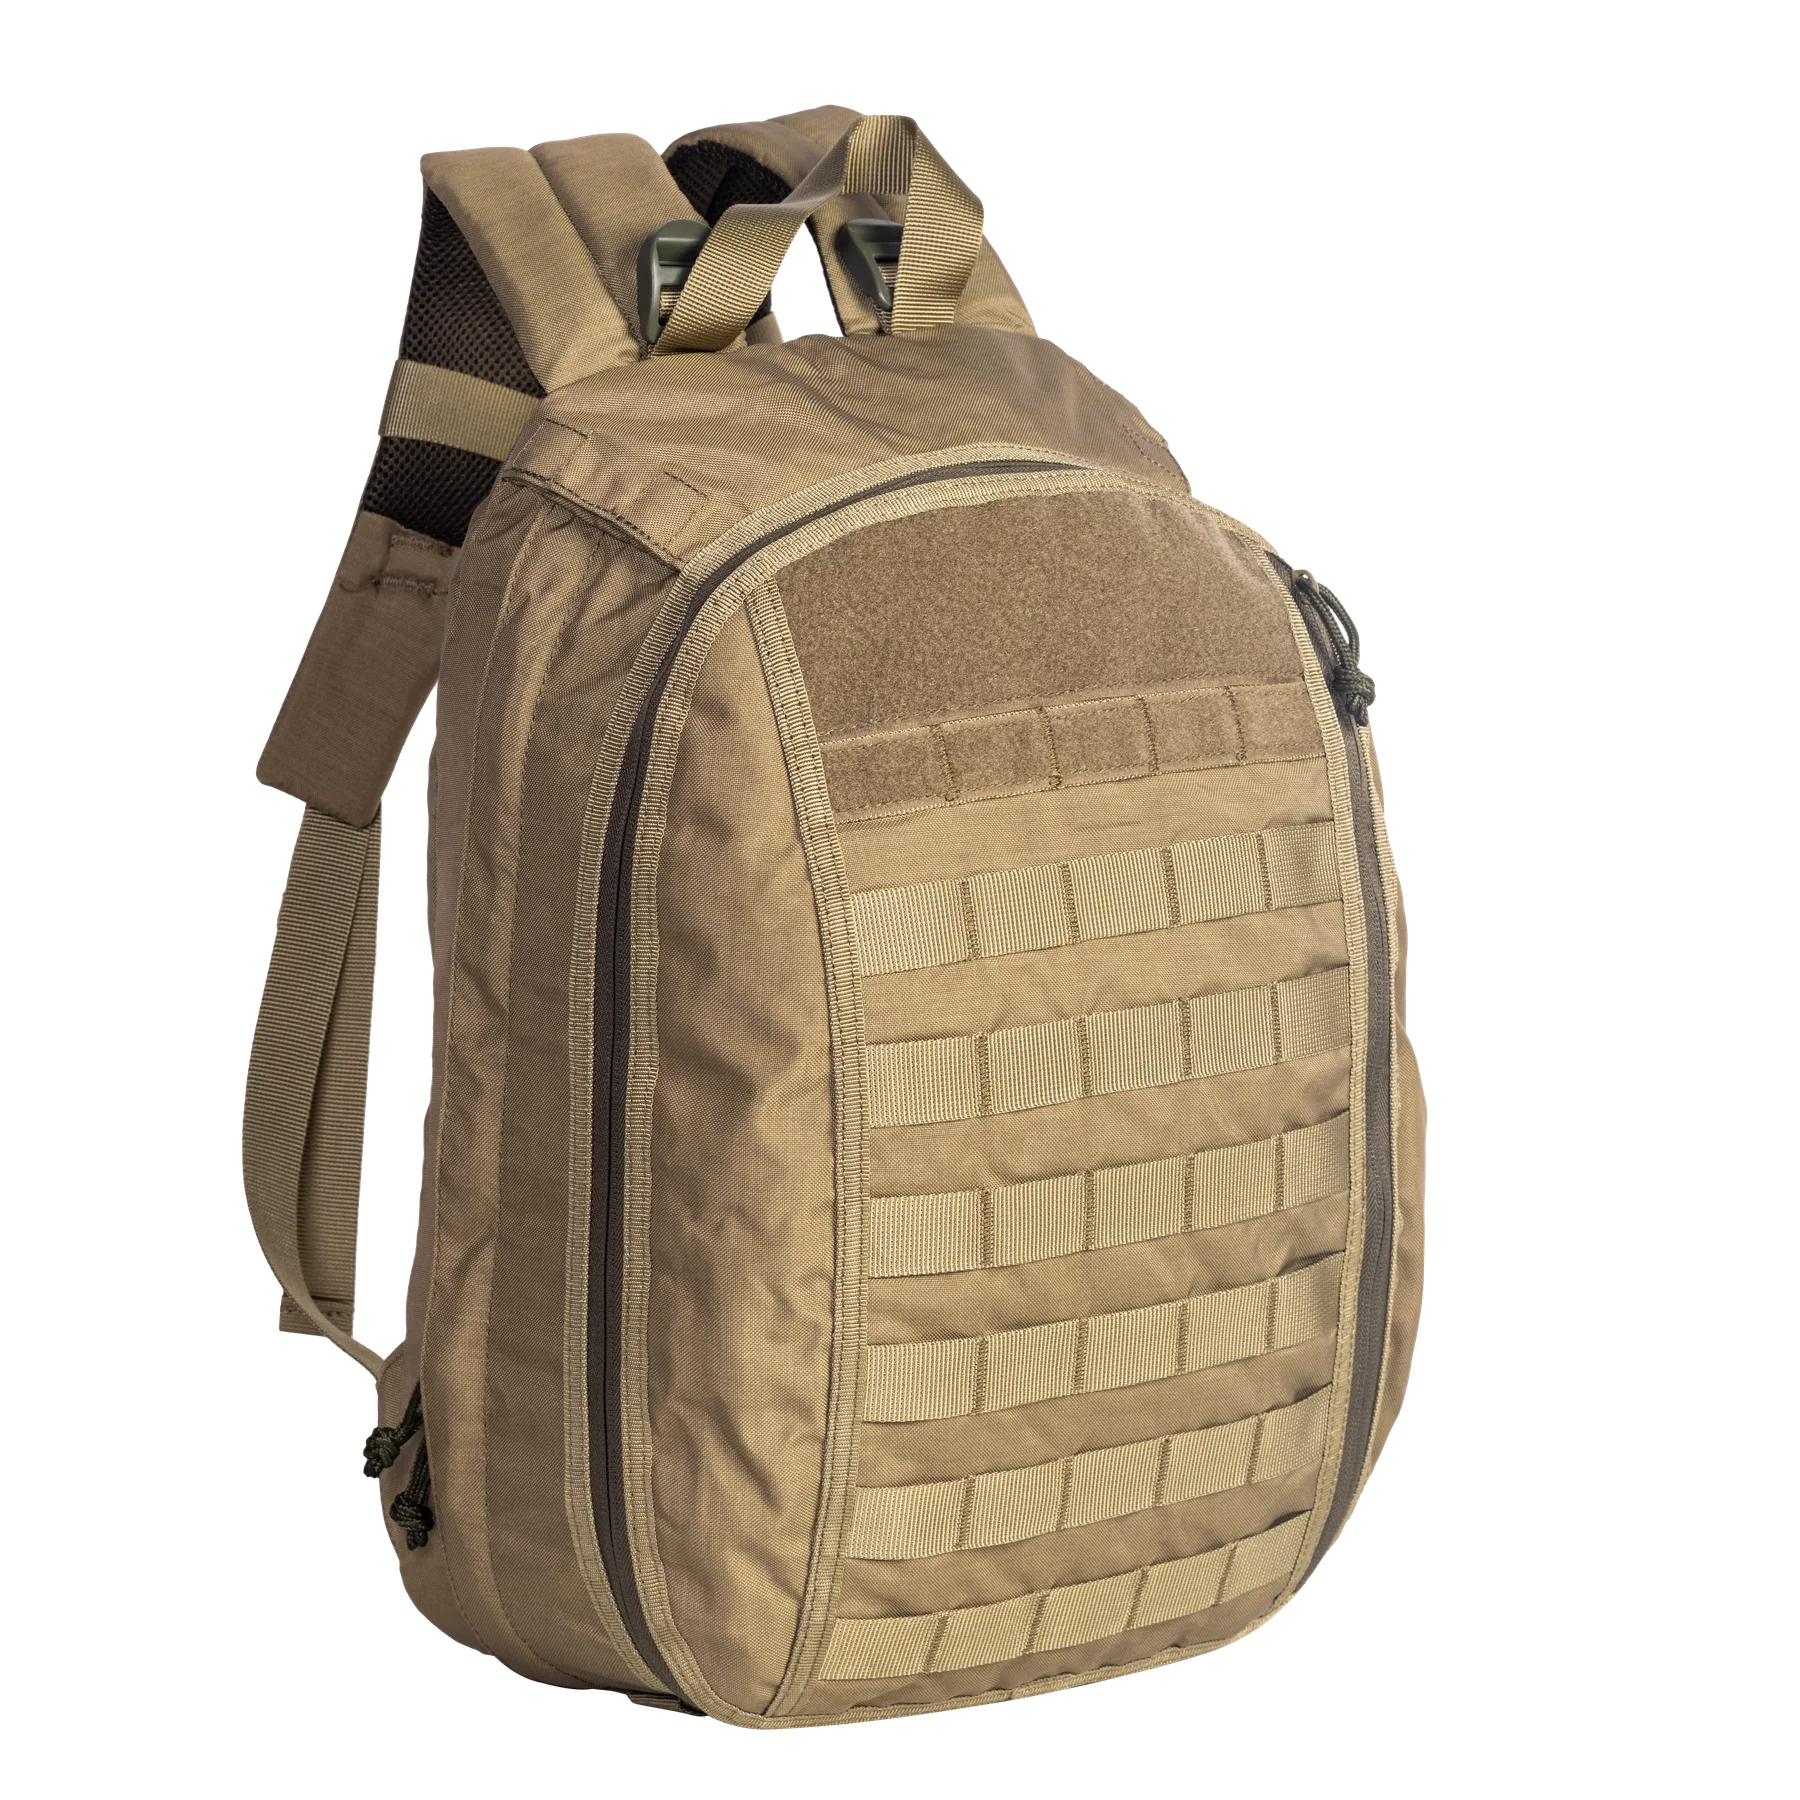
The JK-063 soft backpack provides a product-form reference with curved panel edges. The photograph is not an interior section or evidence of a sewing fault. This article proposes a controlled sample comparison for ordinary bag manufacture; it does not claim that this product was tested or prescribe production machine settings.
01
Separate lost capture from cosmetic gathering
Lost capture means the intended binding fold or panel edge is no longer held by the specified stitching. Cosmetic gathering describes the surface shape. A sample can show one without the other, so the review sheet should have separate entries rather than a single pass box for neat binding.
Open the sample enough to see both faces without stretching the curve flat. Mark the first point where the reverse fold approaches the stitch line, then the point where it leaves it, if that occurs. Include a nearby straight section as a location reference, not as proof that the entire construction is sound.
The interior binding review describes the broader coverage and end-finish checklist. The narrower question here is how to isolate a developing loss of capture around a curve before changing the material or machine setup.
02
Build a paired coupon before changing several variables
Ask the sampling team for a straight coupon and a curved coupon using the same proposed panel, lining, reinforcement and binding stack. Identify their orientation and mark the start and end. These comparison pieces are diagnostic aids; they do not replace the assembled bag or establish its seam strength.
Use the intended curve and assembly sequence rather than choosing an easy arc that happens to sew cleanly. Where a divider or reinforcement enters the seam, add a second curved coupon containing that transition. A smooth uninterrupted curve cannot answer a question about a junction with extra layers.
Keep the comparison traceable
Label each coupon with material references, cut dimensions, fold arrangement and revision. Record the sewing setup used by the technician without publishing those settings as a universal recipe. If different operators make different samples, record that too so a changed result is not incorrectly attributed to the binding alone.
Keep an unsewn stack alongside the sewn pieces. It gives the reviewer a reference for what was supposed to enter the fold. A finished top view cannot show whether a layer was missing before the sewing operation began.
03
Track the fold through the curve
Mark several matching stations on the panel and binding before sewing the trial, using a method suitable for the material. Photograph them before and after assembly. Look for the point where alignment changes rather than measuring only at the final end, where accumulated movement can hide its origin.
Record whether the fold narrows, rolls away from the edge or stays in place while the panel shifts. Those observations suggest different follow-up trials. They are not a diagnosis on their own, because visibility, handling and the way the coupon is held can affect what appears to move.
On a thickness transition, compare the approach, the raised junction and the exit separately. If capture is lost only after the junction, a general comment that the radius is too tight may miss the actual location. Keep the operator's handling sequence in the review notes without assuming that operator technique is the cause.
04
Use puckering guidance without confusing the defects
Coats' seam-puckering bulletin distinguishes tension, structural, dimensional-change and feed-related causes. Its feed discussion describes unequal movement of plies, and its tension discussion explains how thread relaxation can gather a seam. The bulletin supports separating possible mechanisms; it is not a binding edge-capture specification for this bag.
Apply that distinction to the trial plan. If the straight and curved coupons both show gathering, ask the technician to investigate the common setup and material stack. If the straight comparison stays aligned but the curve loses capture, preserve the curved piece and investigate its local geometry and handling. Neither observation justifies changing every setting at once.
The goal is a readable experiment: one identified change, a matched comparison and a recorded result. Avoid promising that lower tension, wider tape or a different presser foot will solve every curved seam. A setting that improves appearance may still leave the reverse fold uncaught.
05
Compare correction options against adjacent requirements
A wider binding can provide more material to enclose a stack, but the finished width and fold must still fit the design. Ask whether the proposed width intrudes into the pocket, creates an unwanted ridge or changes the space near the opening. Verify these effects on the actual assembly rather than only on the coupon.
Revising a panel curve is a pattern change. Check the matching panel and any attached zipper or divider before approving it. Moving a thickness transition away from a tight curve is another possible trial, but only where the adjacent construction allows it; do not remove reinforcement without reviewing its intended function.
Changing binding material also needs its own comparison. Keep the accepted color and hand-feel requirements visible while checking edge coverage and sewing behavior. A sample that becomes easier to sew is not automatically an acceptable substitute for the specified material.
06
Return to the complete soft bag for approval
Install the selected construction in a complete sample and inspect the same stations from both faces. Record whether the original capture loss is absent and whether a new problem appears at the ends or neighboring junctions. Use the intended ordinary contents to check access and contact with the bound edge, without turning that handling check into a strength claim.
Retain both a satisfactory reference and the clearly marked failed trial when practical. Their comparison explains the decision better than a photograph of the final outside face alone. If the final assembly conceals the reverse side, agree how it will be inspected during production before that area becomes inaccessible.
- Record which layer moved and the first affected station.
- Keep the straight, curved and junction comparisons identifiable.
- State the one approved change and the conditions used to review it.
- Separate edge-capture acceptance from any required strength or durability testing.
Send the marked pattern area, layer stack and coupon photographs through the sampling inquiry page. The next instruction should name the curve and transition that need review, not simply ask for cleaner sewing. That makes the correction repeatable while preserving the material and structural requirements of the bag.
Discuss your bag development project
ANSON XIE
General Manager & Founder
Quanzhou Junkai Pengda Special Equipment Co., Ltd.
Email: ansonxie@jkpdtime.com
Phone: +86 177 5095 3355
WhatsApp: +86 177 5095 3355
Factory address: Floors 2–4, Building 1, Phase I, Huixin Intelligent Manufacturing Industrial Park, Hui'an County, Quanzhou, Fujian, China