
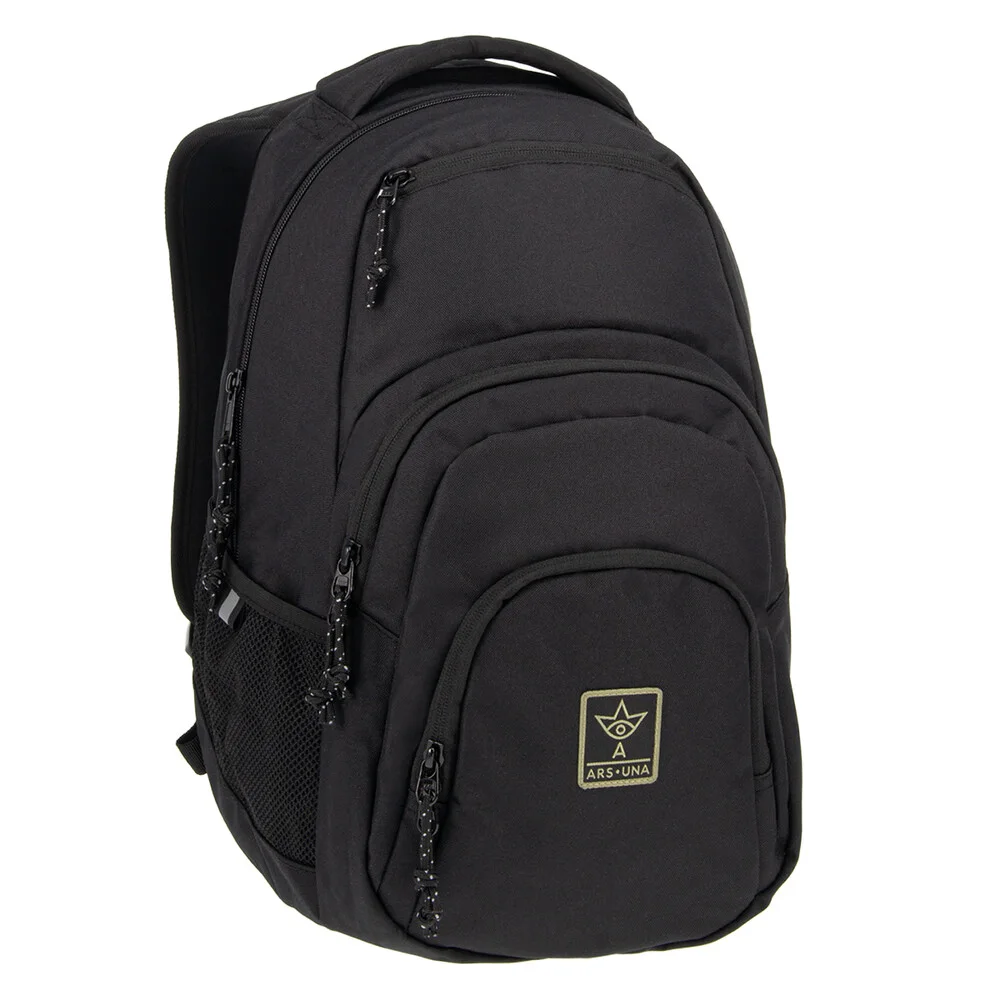
A silver line on a school bag drawing does not tell the developer which material to order, how to attach it or whether another pocket will cover it. Treat reflective trim as a specified component with a place in the finished layout, not a color effect added at the end of artwork approval.
For a buyer, the immediate job is to define the intended feature and obtain suitable evidence. This guide concerns product development and sample review. It does not certify a backpack as protective equipment or promise that a child will be visible in every situation. Keep any proposed marketing claim separate until it has been properly assessed.
01
What does the brief actually require?
Start with the intended use, buyer expectations and proposed product description. Does the brief call for a decorative silver accent or an identified reflective component? Avoid using those terms interchangeably. Show the supplier the actual backpack application instead of asking for a generic roll of reflective tape.
Request the exact product identity and current application instructions. Confirm suitability for the intended student or consumer use; industrial material literature is not an automatic recommendation for school products. If the supplier cannot answer that question clearly, leave selection open rather than approving by appearance.
3M’s reflective-fabric technical sheet emphasizes application suitability and warns that reflective material cannot guarantee visibility under every condition. Its industrial-use limitations also make product-specific selection important. These are cautions, not an endorsement of any grade for this bag. Read the supplier document.
02
Where will the trim remain exposed?
Mark proposed positions on front, side and strap views, using finished seams as reference points. Then review the actual sample with the intended packing arrangement. A location that looks clear on a flat drawing may fold under a pocket, curve away or sit beneath an adjustment strap.
Include the accessories the design is intended to carry. Side-pocket contents, hanging accessories and loose strap ends can change what is exposed. Record the condition rather than assuming that the empty display photograph represents every use. Ask the designer to resolve conflicts before the trim position becomes a fixed cutting instruction.
Use a simple layout sheet with a view, a position reference and any identified obstruction for each area. This is a design review tool, not a visibility test. Do not infer a detection distance from a strip’s length or from a bright spot in a camera image.
03
How will the component be attached?
Compare attachment options only after identifying the actual trim and shell. A sew-on fabric and a transfer material are different components with different instructions. Ask for a trial on the intended substrate and record the process used; an attractive sample on another fabric is not enough.
Inspect the trial’s edges, surface and surrounding panel before moving to an assembled bag. Look for unwanted lifting, wrinkles, marks or changes in the shell’s appearance. If the supplier proposes a process adjustment, document it and repeat the affected checks rather than accepting a verbal assurance.
Do not copy heat settings or sewing specifications from a different product sheet. Where a component is unsuitable for the chosen location or substrate, changing the component or layout may be more sensible than forcing the process. Keep the material supplier involved in questions beyond the sampling team’s verified instructions.
04
What changes when the backpack is worn?
Review the layout in the intended wearing configuration with agreed strap adjustment and representative contents. Photograph the front-facing straps and the bag from the relevant views. The purpose is to find coverage and placement issues that a flat sample cannot show, not to certify real-world visibility.
Consider a hypothetical strip running behind a filled side pocket. The drawing may show its full length, while the assembled sample exposes only part. Record the obstruction, change the proposed position if needed, and review the revised sample under the same conditions. Do not simply move the camera to make the strip visible.
If different backpack sizes share the feature, check their individual layouts. Scaling a pattern can move a strip closer to a seam or another component. Put the position into the backpack tech pack with a finished reference, rather than leaving it in an isolated artwork file.
05
Which evidence supports the product claim?
Keep the material’s documentation and the assembled-product assessment separate. Ask the buyer to provide the exact claim they intend to print, including any statement about performance or certification. Then agree what evidence is required for that claim with the relevant supplier or qualified testing organization before release.
A flash photograph is useful for recording a sample, but it is not a substitute for a defined assessment. Likewise, an identified component does not automatically establish the performance of the whole backpack. Do not attach a supplier certificate to the sales page as though it certifies every finished design.
Keep evidence traceable to the material and sample revision reviewed. If the claim cannot be supported, revise the claim or leave it out. A precise description of a verified component is more useful to an importer than a broad promise that the development records cannot defend.
06
How do you keep later batches consistent?
Retain the approved placement sheet, component reference and assembly sample together. Make incoming substitutions visible to the person responsible for product approval. “Same silver color” is not a sufficient change description, particularly when purchasing is choosing between several suppliers or component constructions.
During production review, compare position, attachment and exposed layout against the approved reference. Keep photographs of the relevant views rather than collecting only a front hero image. Log deviations by location so the team can decide whether a component, operation or drawing needs correction.
Review care information for the entire bag instead of borrowing a cleaning claim from one trim. The shell, padding and other parts still matter. For a new project, send the intended use, layout views and proposed claims through the inquiry page; use sample revision records to track the resulting decisions.
FAQ
Questions buyers often ask
Can we approve reflective trim from a supplier photograph?
A photograph can start a discussion about appearance, but it does not identify the material reliably or establish suitability. Obtain a product reference, current instructions and an application trial on the intended bag material.
Does adding reflective trim make the backpack certified?
No. Do not transfer a component claim to the complete backpack without appropriate evidence. Confirm the scope of any documentation and obtain qualified advice on the exact finished-product claim before using it.
Discuss your bag development project
ANSON XIE
General Manager & Founder
Quanzhou Junkai Pengda Special Equipment Co., Ltd.
Email: ansonxie@jkpdtime.com
Phone: +86 177 5095 3355
WhatsApp: +86 177 5095 3355
Factory address: Floors 2–4, Building 1, Phase I, Huixin Intelligent Manufacturing Industrial Park, Hui'an County, Quanzhou, Fujian, China