
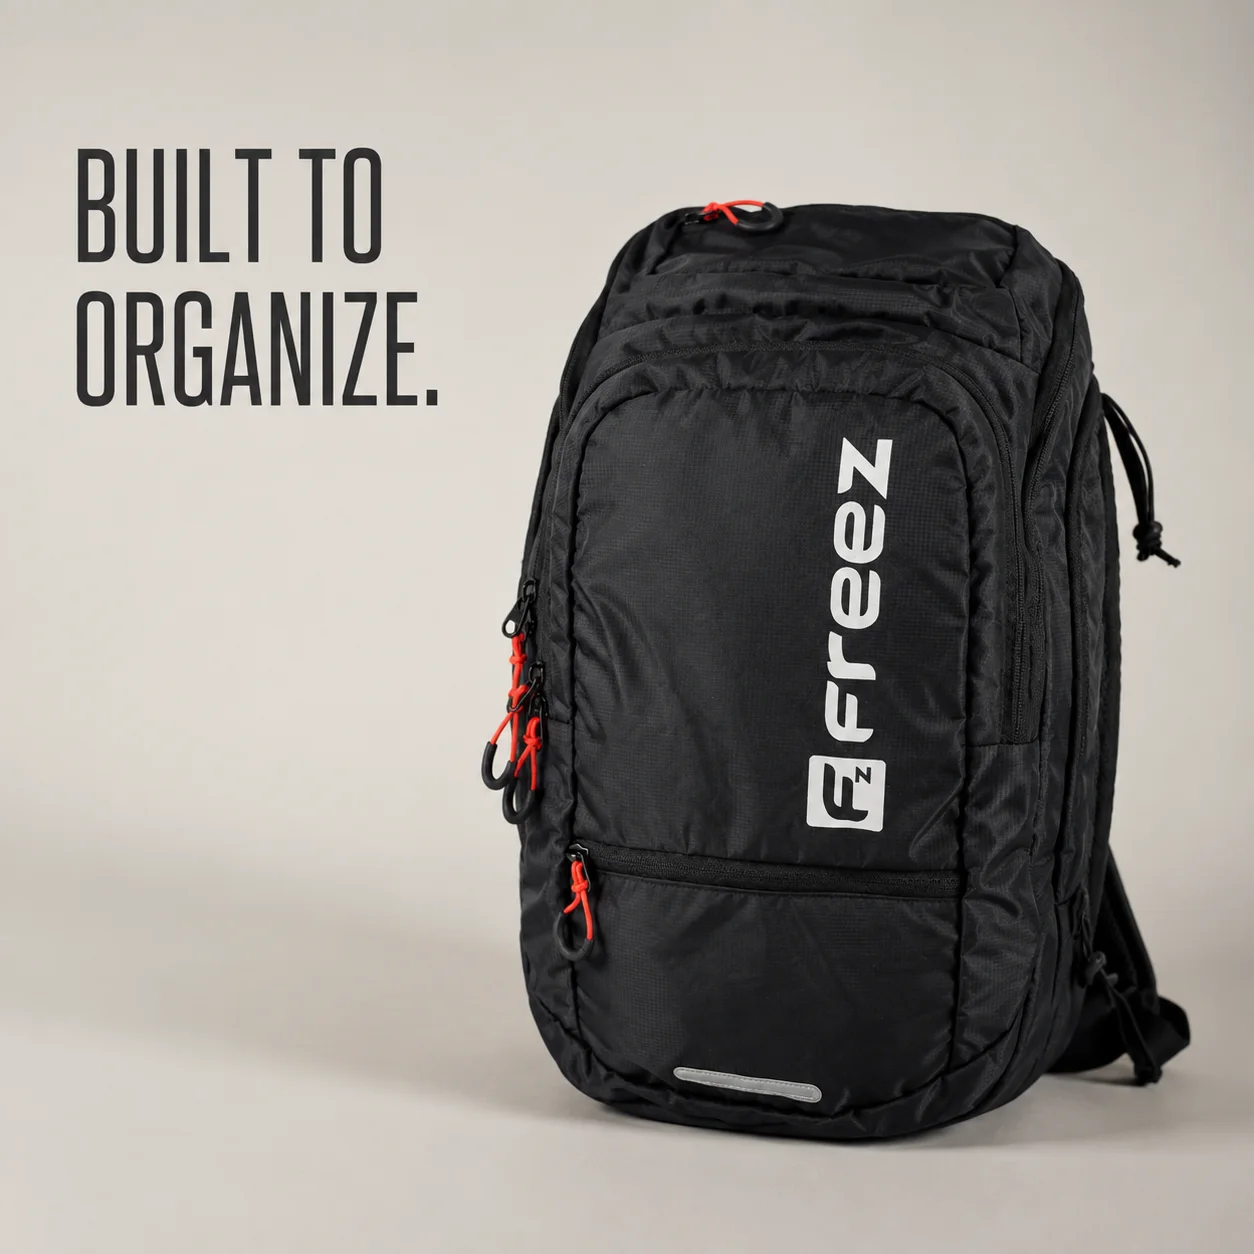
Loose shoulder-strap tails need somewhere to go after the user adjusts a sports backpack. Cutting them shorter may tidy one sample while removing the range another wearer needs. A better development sequence is to establish the adjustment range first, choose a tail-retention method, and then check whether adjustment remains accessible with the bag packed.
The JK-036 sports backpack provides the product starting point for this review. Its published visual is an exterior reference, not proof of a particular keeper design or snag-resistance result. The following checks are proposed for a buyer's customized version; they do not claim that the pictured model has already passed them.
Tail retention is also different from load adjustment. A keeper gathers surplus webbing. The adjuster and its assembled connection control the working strap length. Confusing those functions can leave a neat-looking strap that still slips, or a stable adjustment that is unnecessarily awkward to operate.
01
Establish the range that must remain usable
Review the intended fit range and clothing conditions before defining the cut length. Assemble the shoulder strap with the actual adjuster, sewn end treatment and attachment geometry. Flat webbing length alone does not show the usable range once material has been consumed by folds and hardware routing.
Check the shortest and longest intended settings with a representative packed bag. At the short setting, identify the largest surplus tail that needs storage. At the long setting, confirm that the user still has an accessible end to pull and that the specified end treatment remains in the correct position. Do not reduce range simply because the longest loose tail looks untidy in a photograph.
Record the usable settings against clear reference points. If the wearer-facing strap length and the free-tail length are both called strap length on a drawing, a factory can satisfy one measurement while missing the other. Name them separately and show where each measurement begins and ends.
02
Choose a retention method for the actual bundle
An elastic keeper can hold a folded tail with few additional parts, but its fit depends on both the bundle thickness and the keeper construction. A rigid slide may keep the tail aligned without storing much surplus. A separate retention clip can offer convenient opening, while adding a component that needs compatibility and usability review. None is automatically the right choice for every strap.
As a component example, ITW Nexus describes its Web Dominator as a removable device for retaining loose webbing, using an adjustable elastic cord arrangement. This illustrates one retention approach, not a recommendation to fit that part to every bag. Its presence in a supplier catalogue does not establish compatibility, purchasing availability or test performance for a JKPD assembly.
Build the chosen keeper around the webbing actually specified. Width, thickness, surface texture and the number of folds all affect the retained bundle. A substitute webbing that threads through the main adjuster may still make the keeper too tight or too loose. Review the two interfaces separately.
03
Keep adjustment and retention from fighting each other
Position the keeper so that the user can reach the adjustment point without dismantling the whole bundle. If every small tightening movement requires a full unroll and refold, the feature may be ignored during normal use. Conversely, an easily released keeper is not useful if it lets the tail work free during the intended activity.
Supplier guidance also shows why adjuster geometry should not be treated generically. ITW Nexus identifies webbing compatibility and routing features for its GTSR Waveloc Body. That information is specific to the component. It does not mean any similarly shaped buckle will hold any webbing. Obtain the selected part's current instructions and drawing before freezing the routing.
Assess adjustment in the intended use state, not only with an empty bag on a table. Check whether the retained tail blocks access to the release area, covers a pull tab, or causes the strap to twist. If the keeper doubles as a guide, establish which side of the webbing faces outward and make the assembly instruction unambiguous.
04
Review the path of a released tail
Look at what happens when the tail is deliberately released for adjustment and then left unretained. This is a foreseeable state during use. Inspect whether it hangs near pocket zippers, side attachments or the user's moving arms. The purpose is to improve routing and instructions, not to claim that all snagging risks have been eliminated.
Keep surplus material away from openings that repeatedly swallow it during packing. A keeper placed close to a side-pocket mouth may hold the strap neatly until that pocket is filled. Repeat the review with the intended contents because the pocket's outward shape can change the available space.
For ordinary sports-bag development, do not turn a housekeeping component into a safety-device claim. If the intended environment introduces hazards beyond normal carrying, those requirements need their own qualified assessment. A visual check of loose ends is not a certification or an assurance of safety around machinery.
05
Make the sample review repeatable
Prepare a small set of named review states: shortest intended adjustment, longest intended adjustment, intermediate setting with surplus retained, and adjustment with the keeper opened. Use the same packing set and record the keeper, webbing and hardware identifiers. Photograph both sides of the assembly so the routing can be reproduced.
Agree the repeat-use sequence and acceptance criteria with the buyer. Observe whether the bundle escapes, the keeper migrates, the user loses access to the tail, or the working strap setting changes. Keep the findings separate: a slipped adjustment and an opened keeper may require different corrections even if both leave extra webbing hanging.
After the agreed handling sequence, inspect the webbing where it contacts the keeper and any fold or seam that bears against it. Look for displaced stitching, damaged edges or a distorted retention part. Report observations without translating an informal development review into a standardized durability rating.
06
Turn the approved arrangement into an assembly instruction
Show the routing, keeper position, tail-end finish and folding sequence on the production sheet. Identify whether the keeper is installed before or after the webbing end is sewn. A component that can slide on during sampling may become impossible to install after a thicker finished end is formed.
Substitution control
Keep an approved assembly available for comparison. If a keeper or adjuster is substituted, revisit threading, range, access and retention rather than approving it by colour and nominal width alone. The bag sample revision guide explains why drawings and retained samples need matching revision records.
A useful final review leaves the strap adjustable across the agreed range, keeps surplus webbing in its intended position, and gives the production team a reproducible construction. Send the product reference, fit requirements and proposed hardware through the JKPD contact page to discuss a sample. Describe the problem as an adjustment-and-retention question, rather than asking only for shorter straps.
Discuss your bag development project
ANSON XIE
General Manager & Founder
Quanzhou Junkai Pengda Special Equipment Co., Ltd.
Email: ansonxie@jkpdtime.com
Phone: +86 177 5095 3355
WhatsApp: +86 177 5095 3355
Factory address: Floors 2–4, Building 1, Phase I, Huixin Intelligent Manufacturing Industrial Park, Hui'an County, Quanzhou, Fujian, China