
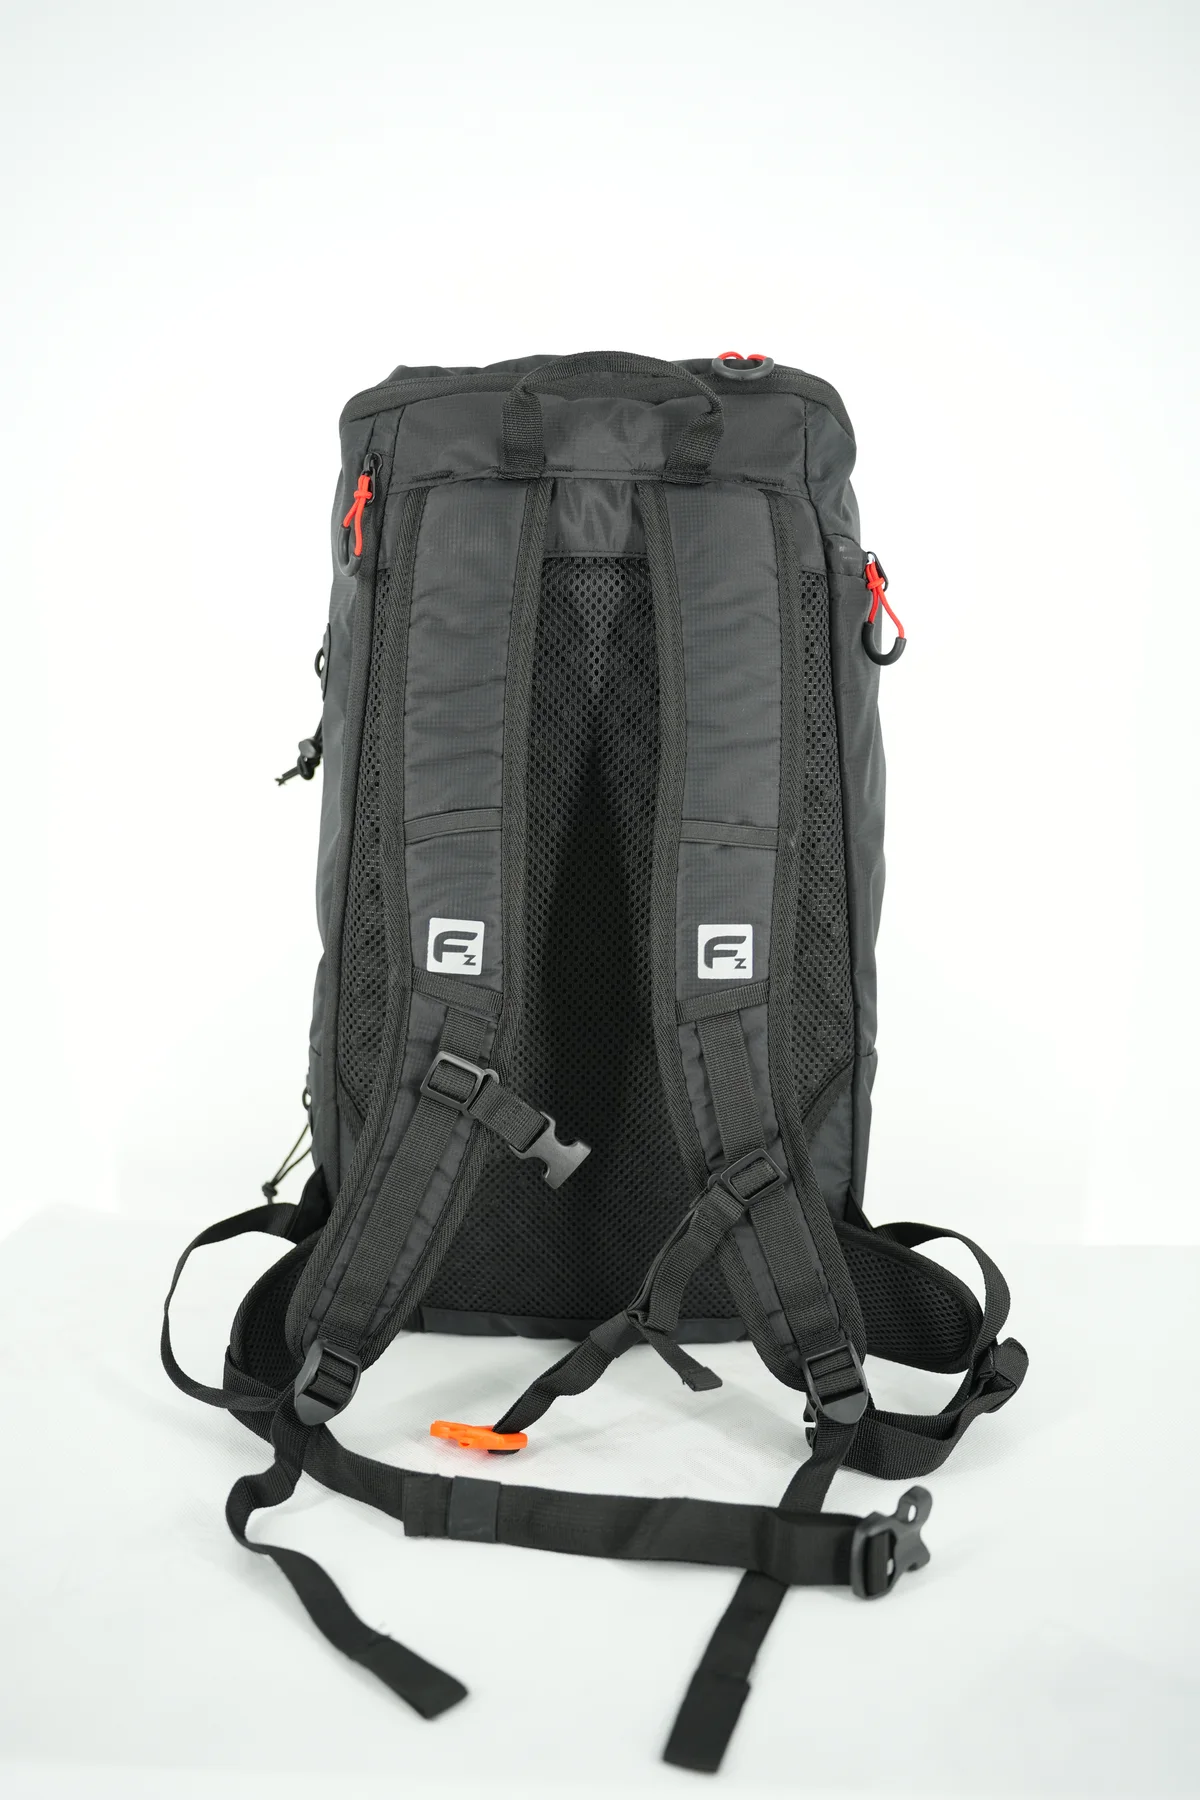
A sports backpack shell can have an even stitch line and still contain damaged fabric yarns beside it. Before approving a sewing setup, inspect the material as well as the stitches. A useful needle trial reproduces the actual layers, direction and thickness changes of one operation; a neat seam on an easy scrap is not enough.
The aim is not to choose one needle number for an entire backpack. It is to establish a repeatable combination for a defined join, then identify which changes require another review. The following is a proposed development workflow, not a report of JKPD test results or a universal needle specification.
01
Separate fabric damage from stitch formation
Start with the defect description. Broken shell yarns, a visibly enlarged opening, a missing stitch and a broken sewing thread are different observations. Photograph the face and reverse before unpicking anything, and mark the affected location on a component sketch. Removing the thread immediately can destroy useful evidence about where the problem began.
Groz-Beckert's sewing troubleshooting guidance identifies needle diameter, point condition, machine contact surfaces and speed among possible contributors to material damage. It treats skipped stitches separately, including loop pickup and needle stability. This is a reason to diagnose the symptom before changing the setup, not evidence that a particular backpack has any of these faults.
For an initial review, compare the sewn area with an untouched piece from the same fabric lot. Use consistent lighting and magnification suitable for the yarn structure. A bright pinhole alone should not be recorded as a confirmed broken yarn; record what is visible and escalate uncertain cases for closer examination.
02
Reproduce the difficult part of the sports bag
Choose a named operation, such as joining a woven side panel to a zipper assembly or attaching a folded pocket edge. Record every layer in order, including coating, reinforcement and tape. Identify which face contacts the presser foot and which contacts the feed system. A change in stack order can matter even when the list of materials is unchanged.
The trial should include the transition that makes the operation difficult: a folded end, a crossing seam or a local reinforcement edge. Keep an uncomplicated straight section as a comparison. Do not substitute several loose shell layers for the actual folded tape assembly and call them equivalent simply because both look equally thick.
Cut and label trial pieces in the intended fabric direction. Retain enough untreated material to compare later trials. If the pocket changes from woven fabric to mesh, give it its own review instead of extending the shell approval to a structurally different textile.
03
Confirm the machine system before comparing sizes
A needle must first belong to the system specified for the machine and operation. Size and point style do not make an incompatible needle system suitable. Have a qualified technician check the machine setup and follow the equipment's safety and maintenance instructions; a product-development brief should not substitute for machine servicing.
Groz-Beckert's needle-selection guidance explains the tradeoff between limiting fabric damage and retaining adequate needle size, while matching the thread to the needle eye. It also distinguishes cloth-point choices. Those are selection principles, not a single recommended point for every coated sports-bag shell.
Ask the sewing team to record the complete needle designation, thread reference, machine identity and operation. “Small needle” or “heavy thread” is not enough for purchasing or repeat production. If the supplier proposes a specialist needle, retain its exact reference and application advice with the sample record.
04
Change one cause at a time
Begin from a documented baseline using a serviceable needle. Compare a justified alternative while holding other settings and materials constant as far as practical. Note unavoidable differences. A trial that changes thread, stitch spacing, needle and machine simultaneously may produce a better seam, but it does not explain which change was necessary.
Use a compact trial record
- Identify the fabric lot, layer stack, component direction and exact operation.
- Record needle system, size, point, thread reference and relevant machine settings.
- Mark starts, ends, thickness transitions and any observed defect positions.
- Photograph both sides and retain the physical sample, including rejected trials.
- State the next decision: accept for this operation, revise, or investigate further.
A smaller needle is not automatically an improvement if it creates another failure during the actual operation. Likewise, increasing size to eliminate one stitch problem does not excuse visible damage to the shell. The useful comparison considers both material condition and stitch formation on the same sample.
05
Examine more than the fresh seam
Review the seam before and after handling appropriate to the component's intended use. Agree the handling sequence and observation method beforehand. A zipper join, a flat pocket edge and a reinforced attachment do not necessarily need identical checks. Keep any agreed load or repetition requirements in the project specification rather than borrowing unexplained numbers from another product.
Look at the transition zones separately from the straight run. Record whether an observed opening changes after handling, whether yarn ends become visible and whether the sewing thread remains intact. If the coating shows a mark, distinguish a surface change from confirmed damage through the textile structure. Do not infer waterproof performance from this visual inspection.
This review also differs from seam-puckering assessment: a smooth surface does not prove undamaged yarns, and a wavy surface does not identify the needle as the cause. Each finding needs its own evidence and disposition.
06
Carry the result into assembly and purchasing
After a promising local trial, examine the same join in an assembled backpack. Restricted access, turning and adjacent parts can change how the operation is performed. Retain the operation sample alongside the assembled approval sample so the hidden material condition remains available for comparison.
Treat substitution as a controlled change. A new shell finish, different thread reference or revised reinforcement can invalidate the assumptions behind the earlier trial. The purchaser does not need to prescribe every machine setting, but should require the production team to identify what changed and whether the operation must be resampled.
Approval should name the operation and revision, not say that a needle is “approved for all bags.” Include the agreed inspection condition, unacceptable observations and responsibility for resolving ambiguous findings. Keep needle maintenance and broken-needle controls under the factory's established procedures; this sampling article does not replace them.
07
Send a brief that can be reproduced
For a new sports backpack project, supply the shell and trim references, proposed join, intended use and photographs of any concern. Request a labelled baseline and alternative sample instead of a verbal assurance that a different needle will solve the problem.
The decision package should connect material, operation and evidence: what was sewn, with which setup, what was observed and which revision was accepted. That makes a later material change reviewable without pretending that a clean-looking first sample proves long-term durability. Discuss the required sample scope through the JKPD inquiry page.
Discuss your bag development project
ANSON XIE
General Manager & Founder
Quanzhou Junkai Pengda Special Equipment Co., Ltd.
Email: ansonxie@jkpdtime.com
Phone: +86 177 5095 3355
WhatsApp: +86 177 5095 3355
Factory address: Floors 2–4, Building 1, Phase I, Huixin Intelligent Manufacturing Industrial Park, Hui'an County, Quanzhou, Fujian, China