
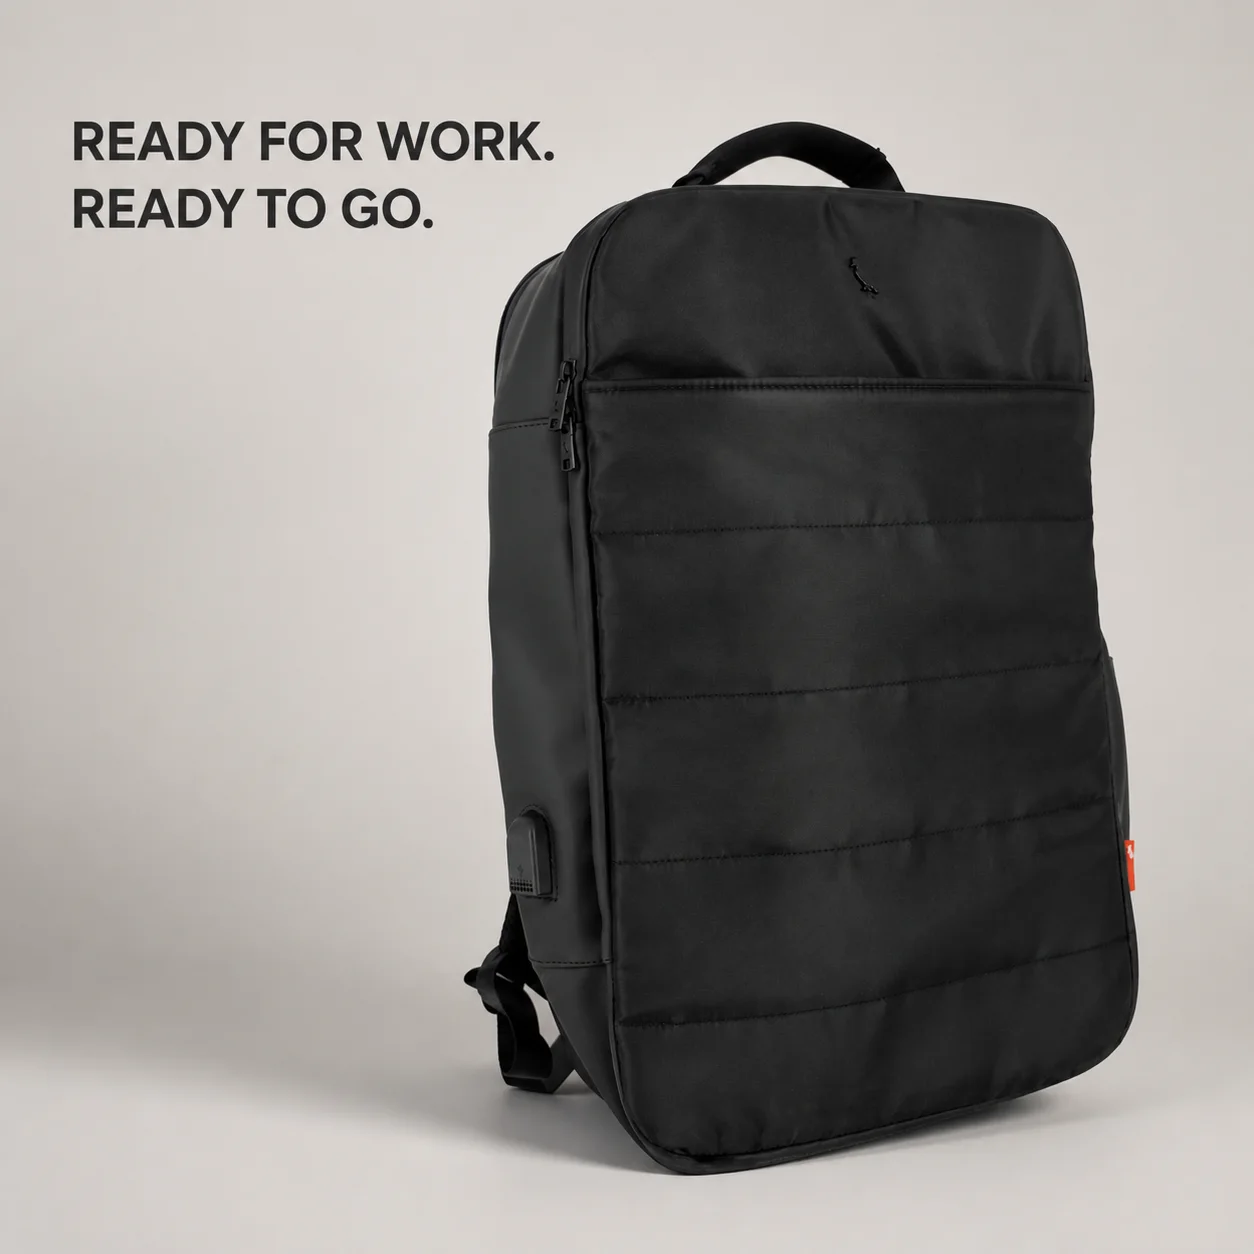
A small wave beside a front-pocket seam can dominate the appearance of an otherwise restrained business backpack. The tempting response is to ask for tighter stitching, a thicker backing or more careful sewing. Those are changes, not diagnoses. Before altering the approved construction, establish where the distortion starts and which operation introduces it.
This guide sets out a buyer-facing review process for a sewing technician and product developer to use together. It concerns visible seam appearance, not a universal machine setting or a promise of defect-free production. A flatter sample still needs the usual checks for stitch formation, dimensions and intended function.
01
What exactly is being rejected?
Mark the affected stitch line on an unedited photograph and retain the physical sample. Distinguish a wave along the seam from a fold caused by how the empty bag sits. Ask whether the issue appears on the shell, lining or both, and whether it continues beyond the stitched area.
For a business backpack, compare the front panel flat, after assembly and with an agreed packing arrangement. Keep the light direction, viewing distance and support method consistent. A closely lit photograph can make one sample look worse than another even when the production result has not changed.
Write the acceptance question in plain language: for example, whether the pocket edge must remain visually straight in the agreed review condition. This is a hypothetical review criterion, not an established tolerance. Agree the reference with the buyer before attempting to make every natural fabric movement disappear.
02
Which evidence belongs with the sample?
Collect the panel pattern revision, shell and backing identities, thread reference and operation sequence. Include the seam before and after nearby components are attached. That record helps separate a problem present at the first join from distortion introduced later by a zipper, pocket bag or bound edge.
Coats groups seam puckering causes into tension, structural jamming, material or thread dimensional changes, and uneven feeding. Its troubleshooting guidance also notes that causes can overlap. That is a useful reason to investigate rather than automatically blame the thread. Read the Coats technical bulletin.
Apply that framework to the actual bag sample with a qualified sewing technician. Record machine identity and the original setup before any adjustment. If the sampling room has already changed several variables, return to a documented baseline or make a fresh comparison sample; otherwise, the apparent improvement has no reliable explanation.
03
How should a controlled trial be arranged?
Use matched pieces from identified material and keep their cutting direction and layer order consistent. Give each trial a simple reference number. Decide in advance what changes, what stays fixed and which observations will count as useful evidence. This turns a collection of attractive swatches into a reviewable experiment.
Suppose a front-pocket seam looks smooth until the pocket lining is joined. A practical trial could retain the shell and pattern while comparing the documented lining-joining operation. Photograph the intermediate stage, then the finished panel. This is a proposed investigation, not a claim that the lining is always responsible.
Have the technician choose adjustments appropriate to the equipment and materials. Do not send a generic tension number across different machines. Retain an unchanged control beside each trial, and stop changing settings once the evidence becomes ambiguous. A new trial should answer a specific question, not merely look different.
04
Does the flatter trial still work as a seam?
Review stitch formation and the intended seam requirements alongside appearance. Reducing visual distortion is not permission to leave loose stitches, change the approved stitch layout without review or weaken a required join. If a new thread, needle or stitch specification is proposed, treat it as a controlled construction change.
Assemble the trial into the relevant section of the bag. Check pocket access, zipper operation, panel dimensions and the adjacent layers. A loose panel can hide a problem that returns after turning or joining. For device storage, keep the laptop compartment fit review separate from the appearance decision.
Ask for both the benefit and the tradeoff. An extra backing layer may change feel, folding or sewing access; a different operation may change production time. Compare those consequences before approving the correction. There is no useful victory in making one front seam look flatter while creating a new assembly problem.
05
How do you transfer the correction to production?
Retain the accepted sample together with the trial record and operation instructions. Identify the actual material combination and approved revision rather than writing only “follow sample.” A production operator needs to know which details matter and where the buyer expects inspection.
Review an initial production piece before the affected operation spreads through the order. Use the same viewing conditions and compare the same stage of assembly. If appearance differs, check whether the production material, equipment or sequence differs from the trial before introducing another unrecorded adjustment.
A useful handover lists the affected seam, reference photographs, trial identification, accepted result and remaining checks. It should also state who can approve substitutions. The sample revision control guide explains how to keep those records aligned with purchasing and development.
06
What should trigger another review?
Reopen the relevant checks when the shell finish, backing, lining, thread or operation changes. A replacement can share the same color without sharing the same sewing behavior. Keep the earlier approved piece so the team can compare the change rather than relying on memory.
Also distinguish production distortion from creasing introduced during packing. Review the bag before packing and after the agreed unpacking condition when that distinction matters. Do not conceal an unresolved seam issue with stuffing, aggressive pressing or selectively lit photographs.
The finished decision should be narrow and useful: this identified combination meets the agreed appearance reference and the recorded functional checks. It is not proof that every colorway or future material lot will behave identically. Share the marked seam photographs and material references through the project inquiry page when preparing a business backpack development brief.
FAQ
Questions buyers often ask
Can a photograph identify the cause of seam puckering?
It can locate the visible issue, but it usually cannot establish the cause. Retain a physical sample and compare documented material combinations and intermediate assembly stages before approving a correction.
Should we add backing to every front panel?
No. Evaluate whether backing addresses the identified problem and how it changes feel, dimensions and assembly. Confirm the finished construction instead of treating an extra layer as a universal remedy.
Discuss your bag development project
ANSON XIE
General Manager & Founder
Quanzhou Junkai Pengda Special Equipment Co., Ltd.
Email: ansonxie@jkpdtime.com
Phone: +86 177 5095 3355
WhatsApp: +86 177 5095 3355
Factory address: Floors 2–4, Building 1, Phase I, Huixin Intelligent Manufacturing Industrial Park, Hui'an County, Quanzhou, Fujian, China