
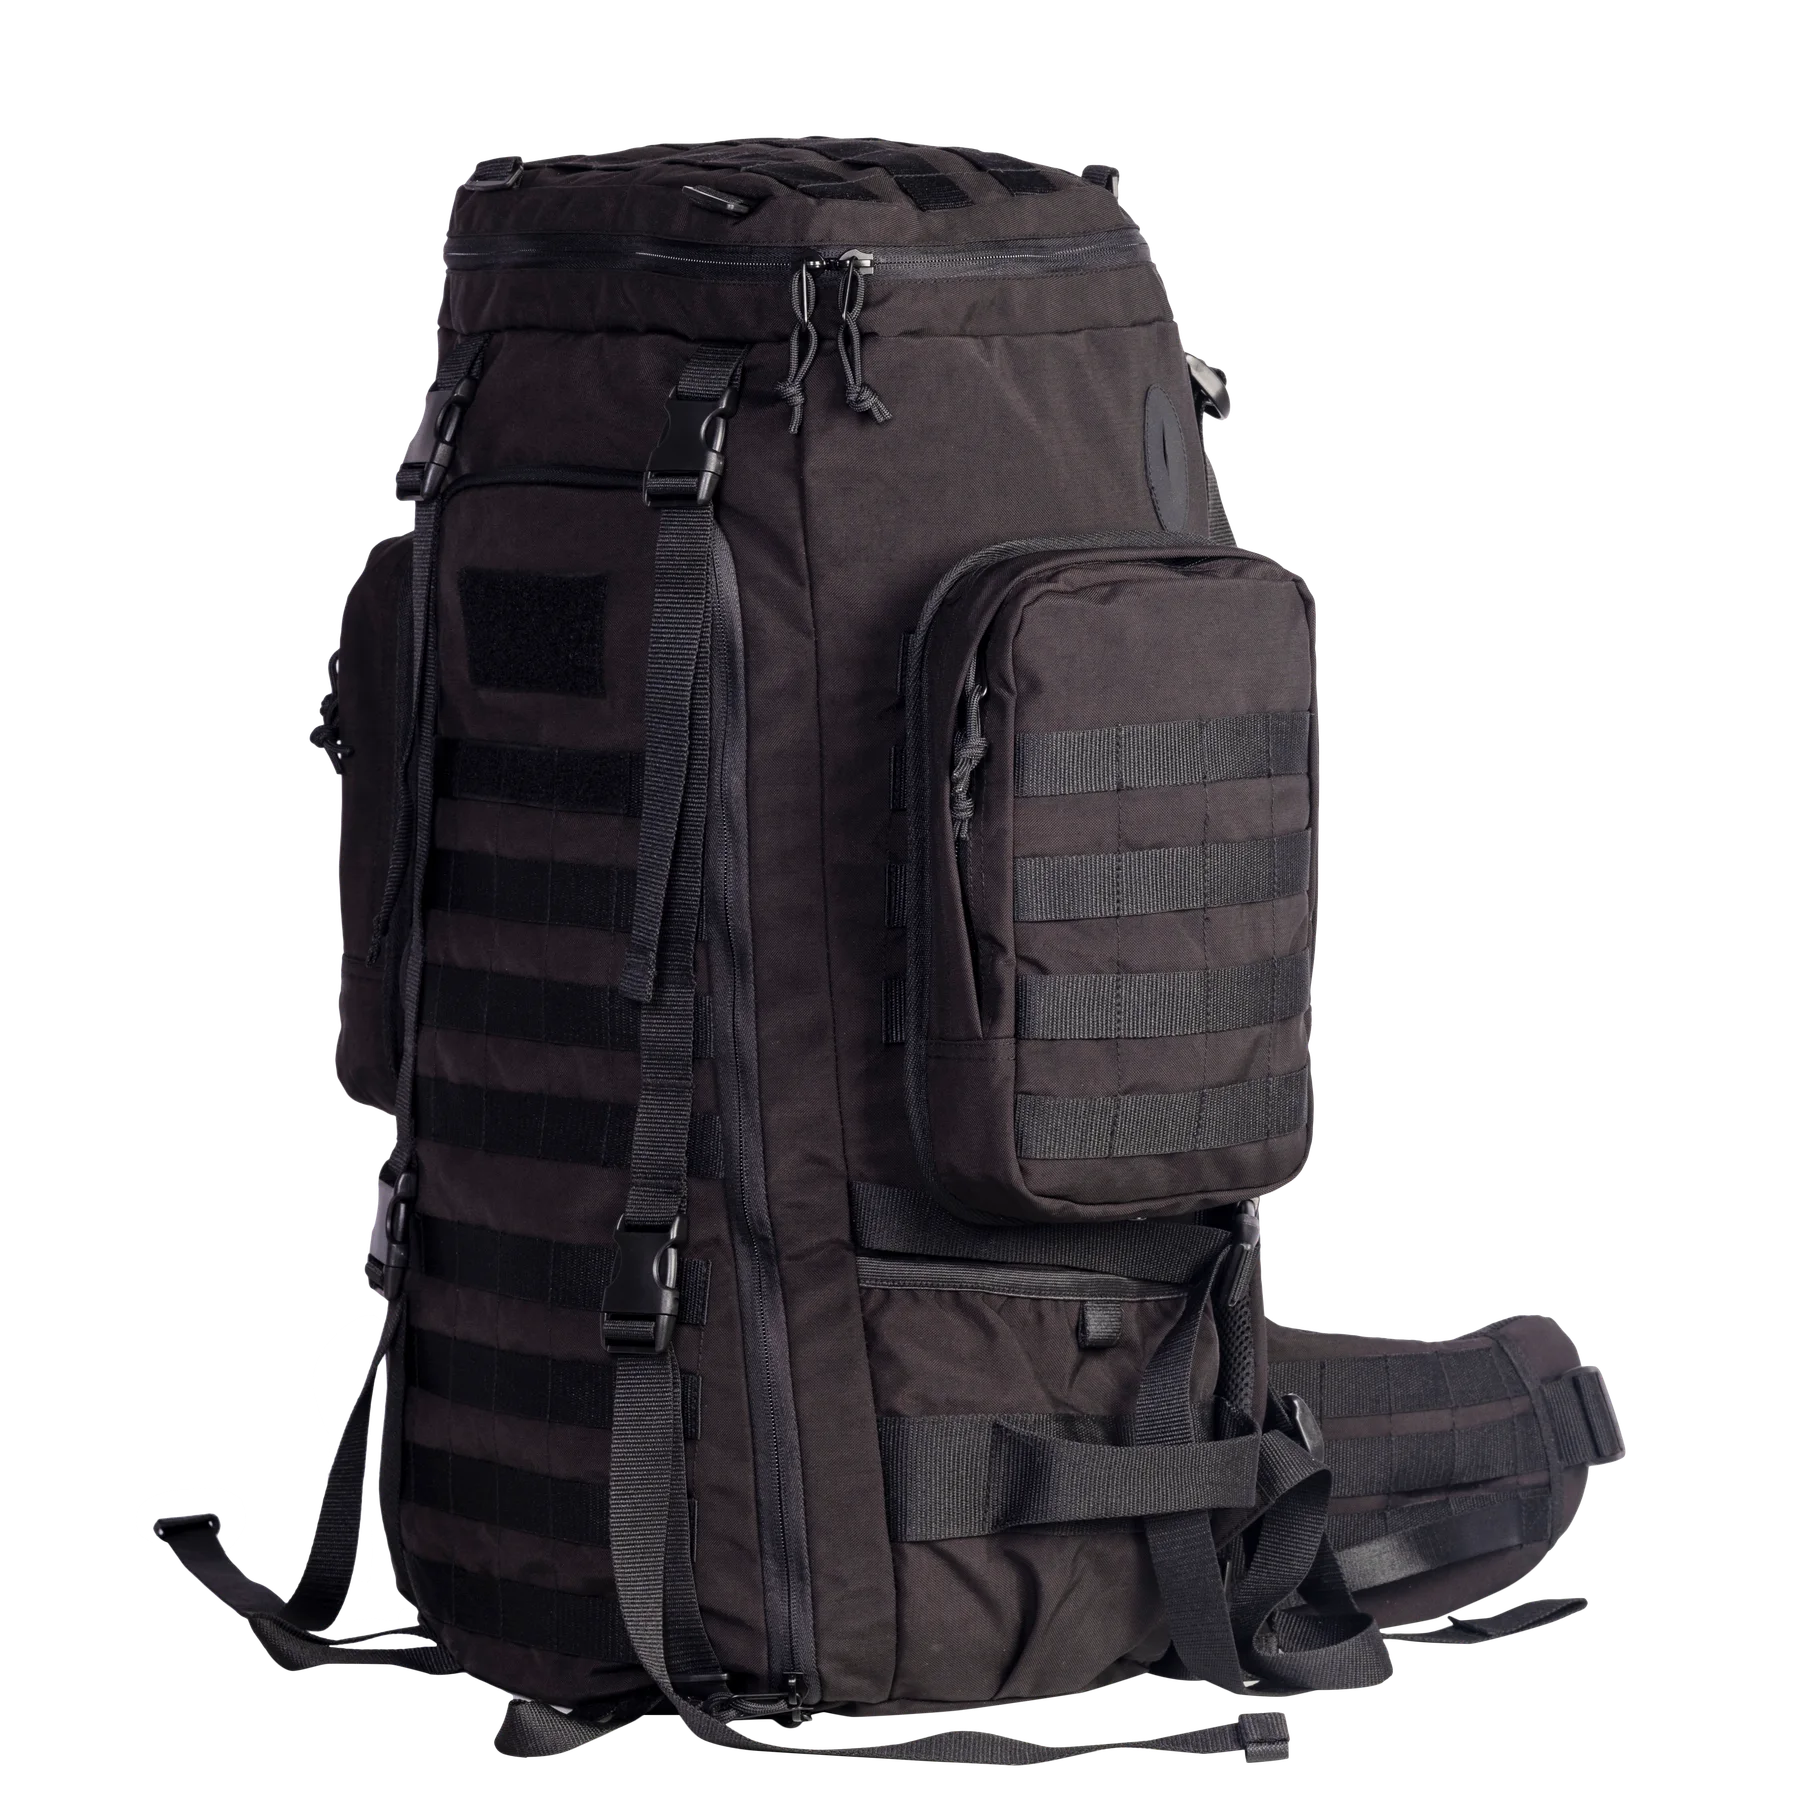
A modular side pouch needs a defined strap route and a defined final closure. Passing a strap straight behind the backpack’s webbing differs from alternating between the pack and the pouch. Development information should show that route explicitly, supported by photographs of the actual connection area.
Select a specific set of rows on the backpack and pouch. Record which surface and row each strap passes through, then identify the final closure separately. Similar-looking horizontal webbing does not establish cross-product compatibility or connection performance.
01
Locate the pouch with a set of rows
The selected attachment rows determine the pouch position. Start with the intended height of its upper edge relative to the backpack, then identify the horizontal locations used by both straps. A later relocation can then be distinguished from a revision to the attachment route itself.
The product reference has side pouches; the replacement photograph shows the opposite-side oblique arrangement. If left-to-right interchangeability is required, document each side’s rows and opening direction. A note asking for symmetrical installation leaves the team without information about the curved body surface and neighboring straps, which also affect the actual arrangement.
02
Return the route to the pouch side
The 5.11 manufacturer’s attachment guide describes alternating between backpack webbing and the corresponding pouch attachment points. For a project using that system, the route should connect the two surfaces progressively rather than continue only behind the rows on one surface.
Determine the exact route from the project’s actual construction. The overall photograph does not expose every segment behind the pouch. Inspect the actual attachment straps and end closures on the sample; the photograph does not establish installation to a particular standard.
03
Arrange the route before closing the end
The alternating route and end closure perform separate tasks. Lay each segment flat and check its direction between rows before moving the end into the intended closing position. If reaching that position requires substantial pulling, revisit the route and selected rows before changing the component length.
Work progressively across both straps where the construction allows, rather than completing one side before aligning the other. Record the space between the final row and the closing component on the development sample. Someone reinstalling the pouch should be able to recognize a clear end point from the instructions.
04
Allow for a curved, packed body
The relationship between the pouch back and backpack side can change with the main contents. The oblique photograph provides a layout reference; its internal loading is not established. Pack the intended main-compartment items and observe whether the attachment surface curves and how the upper and lower pouch edges sit afterward.
This comparison supports layout and packing decisions. Strength, retention and durability need separate project requirements and evidence. A closed snap or a neat row of webbing cannot supply those outcomes, and visual approval of the installed arrangement should keep that distinction clear.
05
Make the instructions reversible
For removal, identify how the end releases before withdrawing the strap along its installed route. If regular relocation is intended, review removing the empty pouch, reinstalling it and replacing the contents as a complete task. The first successful installation alone leaves the later operating sequence unresolved.
Number the rows in an accompanying reference and identify the start, alternating locations and finish. Keep the original product photographs intact. A demonstration using a different end fitting can explain a route, but its release action should not become the instruction for the actual end fitting selected for the project.
06
Hand over a matched interface
Keep the approved sample identifiable
Identify the corresponding revisions of the backpack rows, pouch back, straps and closing components. Retain the installation location and intended contents alongside material, finished-dimension and connection requirements. Replacing one component then has a defined combination against which to review the change.
Keep the installation steps and intended scope with the brand’s product information. A MOLLE-style appearance alone cannot provide universal compatibility. More modular bag-development topics are available on the JKPD blog.
Related: backpack side pouch envelope. See the photographed product reference.
Discuss your bag development project
ANSON XIE
General Manager & Founder
Quanzhou Junkai Pengda Special Equipment Co., Ltd.
Email: ansonxie@jkpdtime.com
Phone: +86 177 5095 3355
WhatsApp: +86 177 5095 3355
Factory address: Floors 2–4, Building 1, Phase I, Huixin Intelligent Manufacturing Industrial Park, Hui'an County, Quanzhou, Fujian, China