
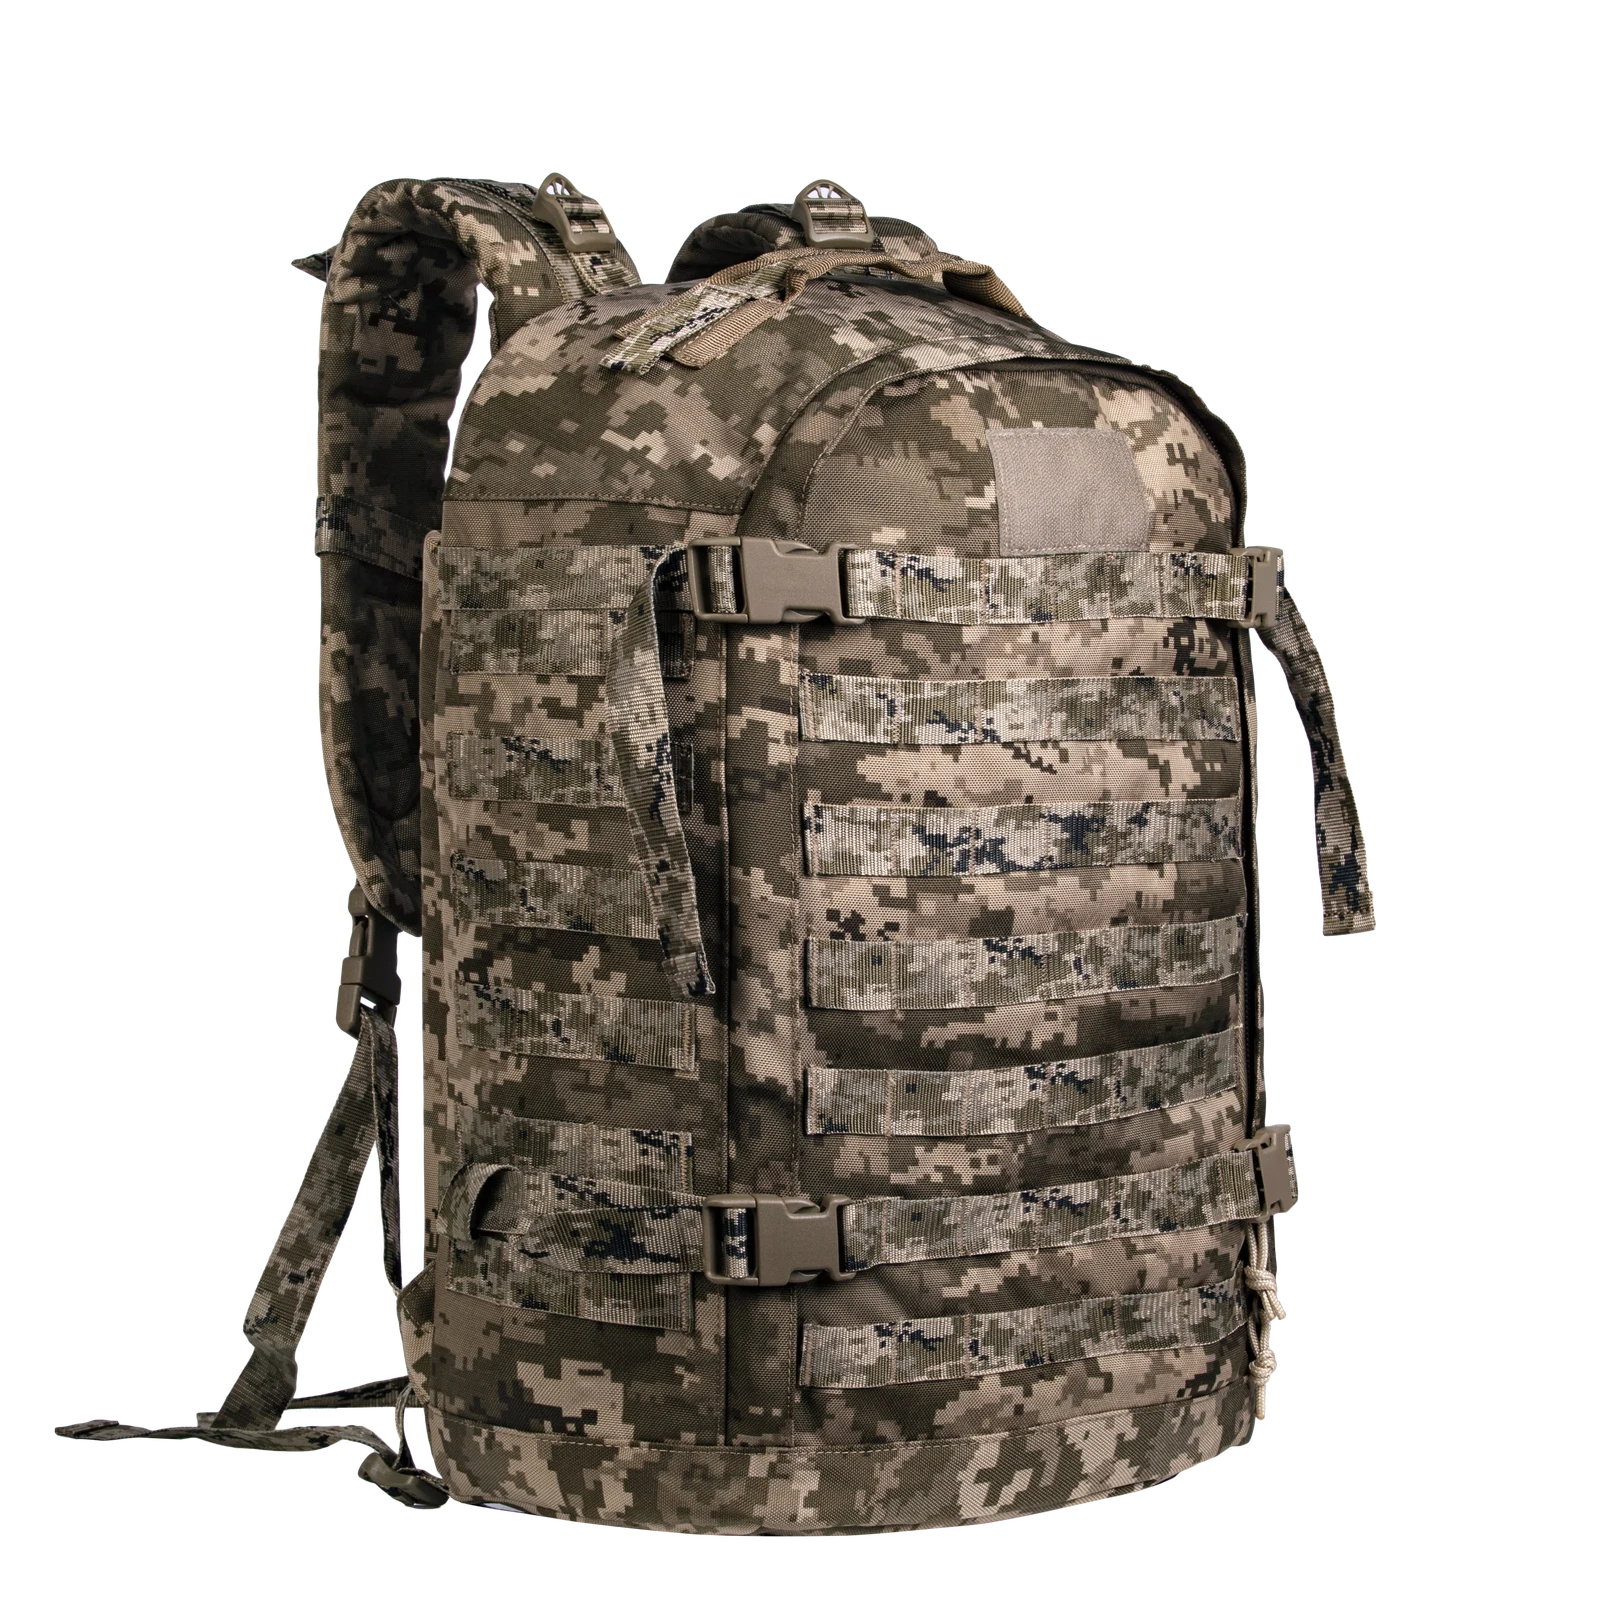
A side pouch changes more than storage space. It changes the backpack's overall width, the space beside the user's arms and the parts that meet a surface when the bag is put down. Define the permitted space around the pack before choosing the pouch volume and attachment method.
This article concerns the space occupied by side attachments. The company-library photographs show the base backpack without an installed accessory. They do not establish compatibility with a particular pouch.
01
Give the extra pouch a specific job
A bottle, a spare layer and a collection of small accessories need different openings and orientations. Start with the item and the point in the journey when it is needed. Establish whether the user removes the pack, whether the item is rigid, and whether separation from the main compartment serves a practical purpose.
An available row of webbing is not a reason to fill it. An accessory without a clear job can become a protrusion that makes the bag harder to move through a doorway or place beside a seat. For items rarely used en route, compare an internal position before adding another external compartment.
02
Describe width and fore-and-aft position
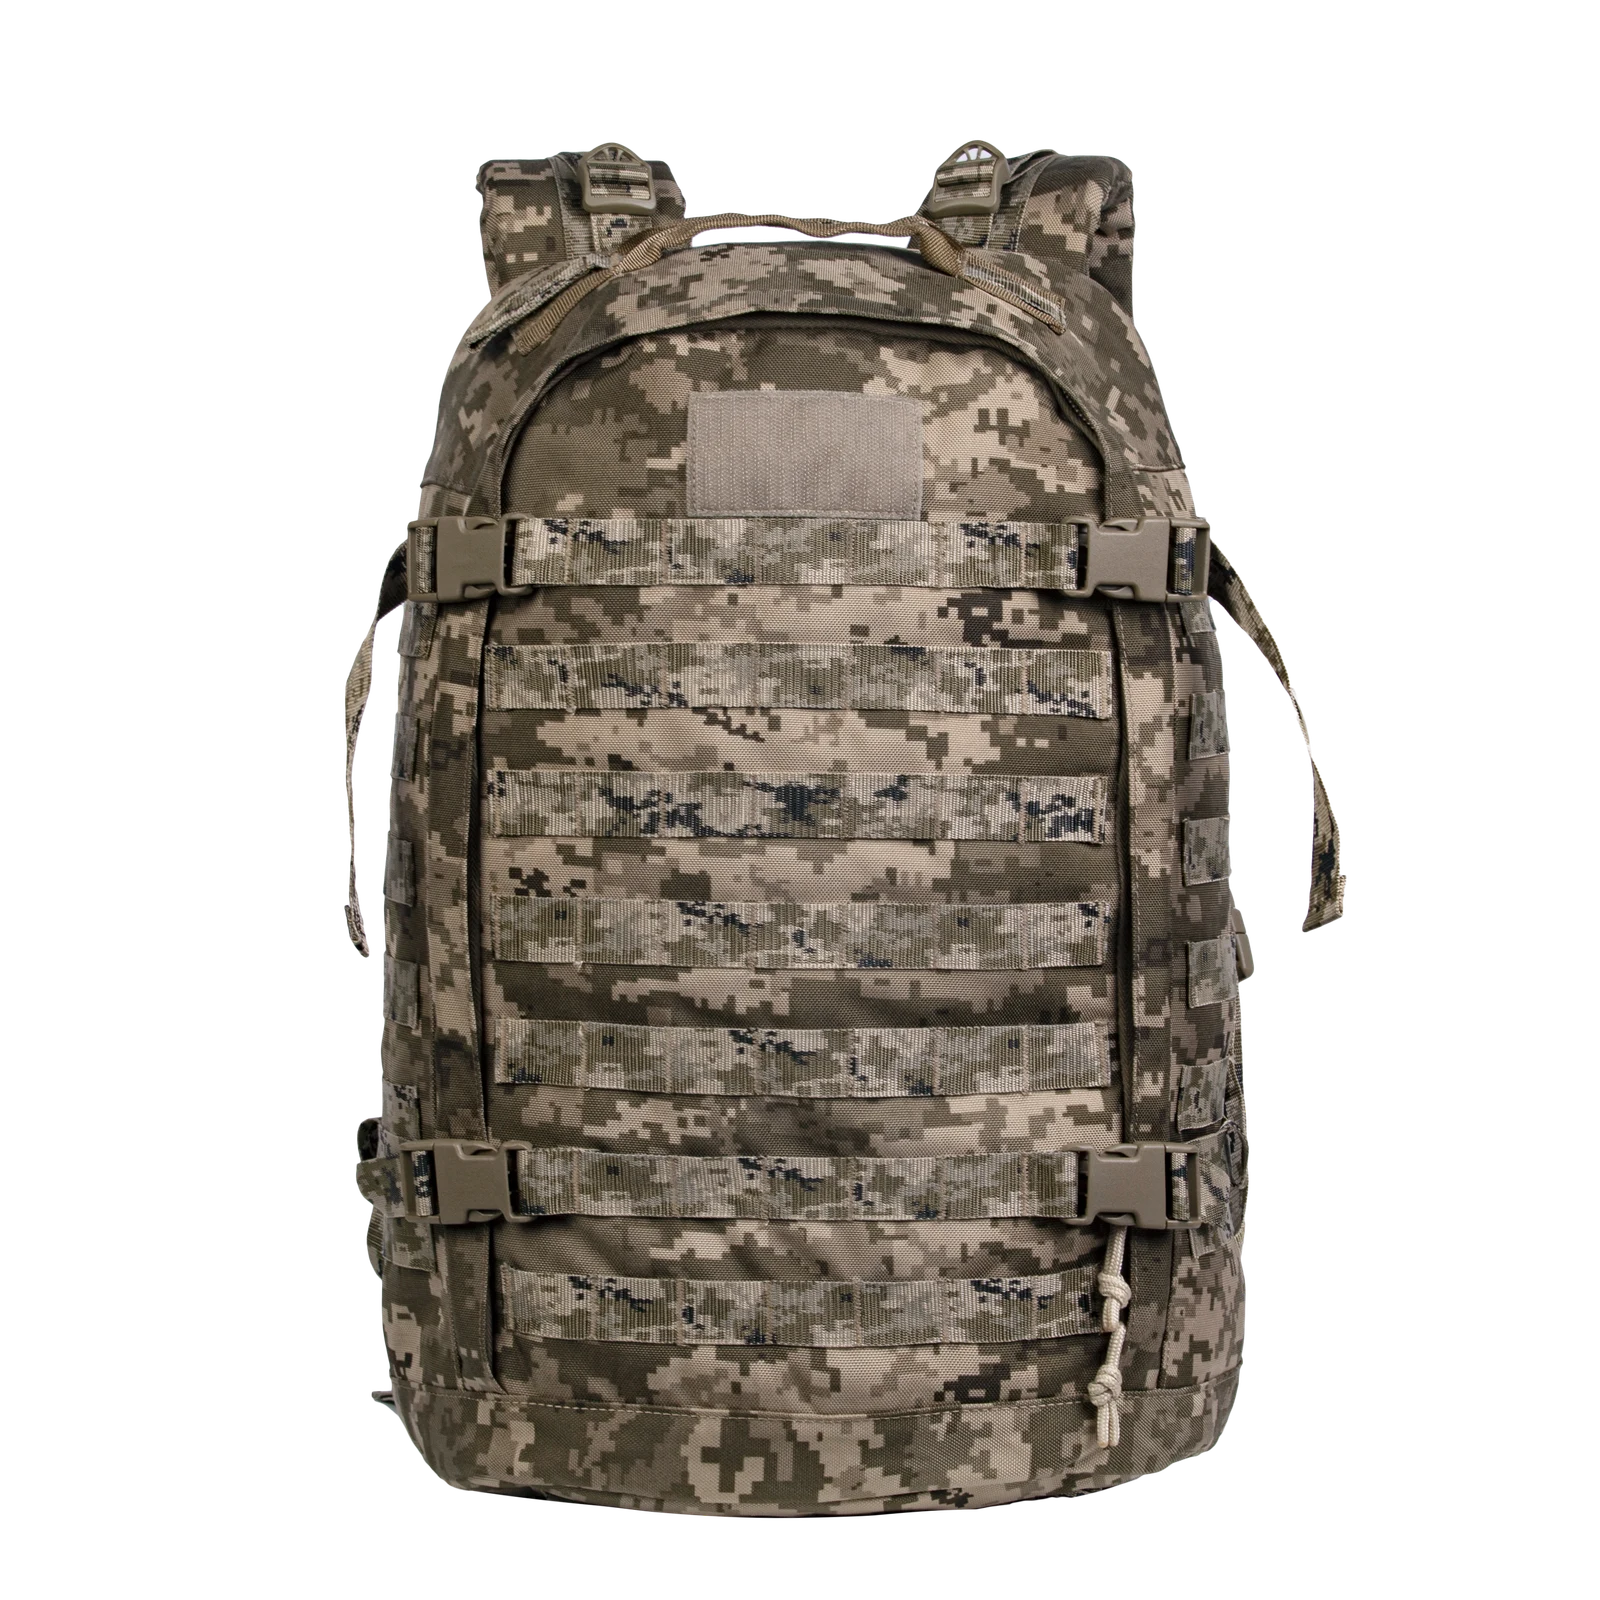
A front view shows the left and right outline. A three-quarter view helps explain where the side wall sits between the front of the bag and the body-facing panel. Moving an attachment along that wall changes its relationship with the arms and with other openings, even if its height remains unchanged.
Record the maximum projection with the intended contents inside. A flat pouch measurement does not describe the shape produced by a rigid bottle. The development drawing should identify both the attachment area and the occupied space, so a supplier can distinguish a location problem from a pouch-size problem.
03
Protect the space used by everyday movements
A pouch close to a lower shoulder-strap attachment should be considered alongside arm movement, putting the bag on and reaching for an adjustment. A useful sample review uses the intended objects and completes the intended actions. This is a proposed development activity, not a wear trial conducted for this article.
If the combination makes contact, compare moving the pouch toward the front, reducing its depth or relocating the contents. Pulling its attachment tighter is not a substitute for choosing a suitable position. It also does not prove that the accessory back panel matches the base construction.
04
Plan one side with the other side in mind
The opposite side does not automatically need an identical pouch. Different items may justify different storage, but the loaded combination deserves attention. Two empty accessories that look symmetrical in a catalog can behave differently once one contains a rigid object and the other contains a light garment.
REI's packing guidance cautions that outside gear can snag or scrape against the surroundings and recommends limiting unnecessary external items. That is a general use consideration here, not a load rating or certification for the photographed backpack. It supports a purposeful attachment plan rather than filling every available location.
05
Check the whole attachment area
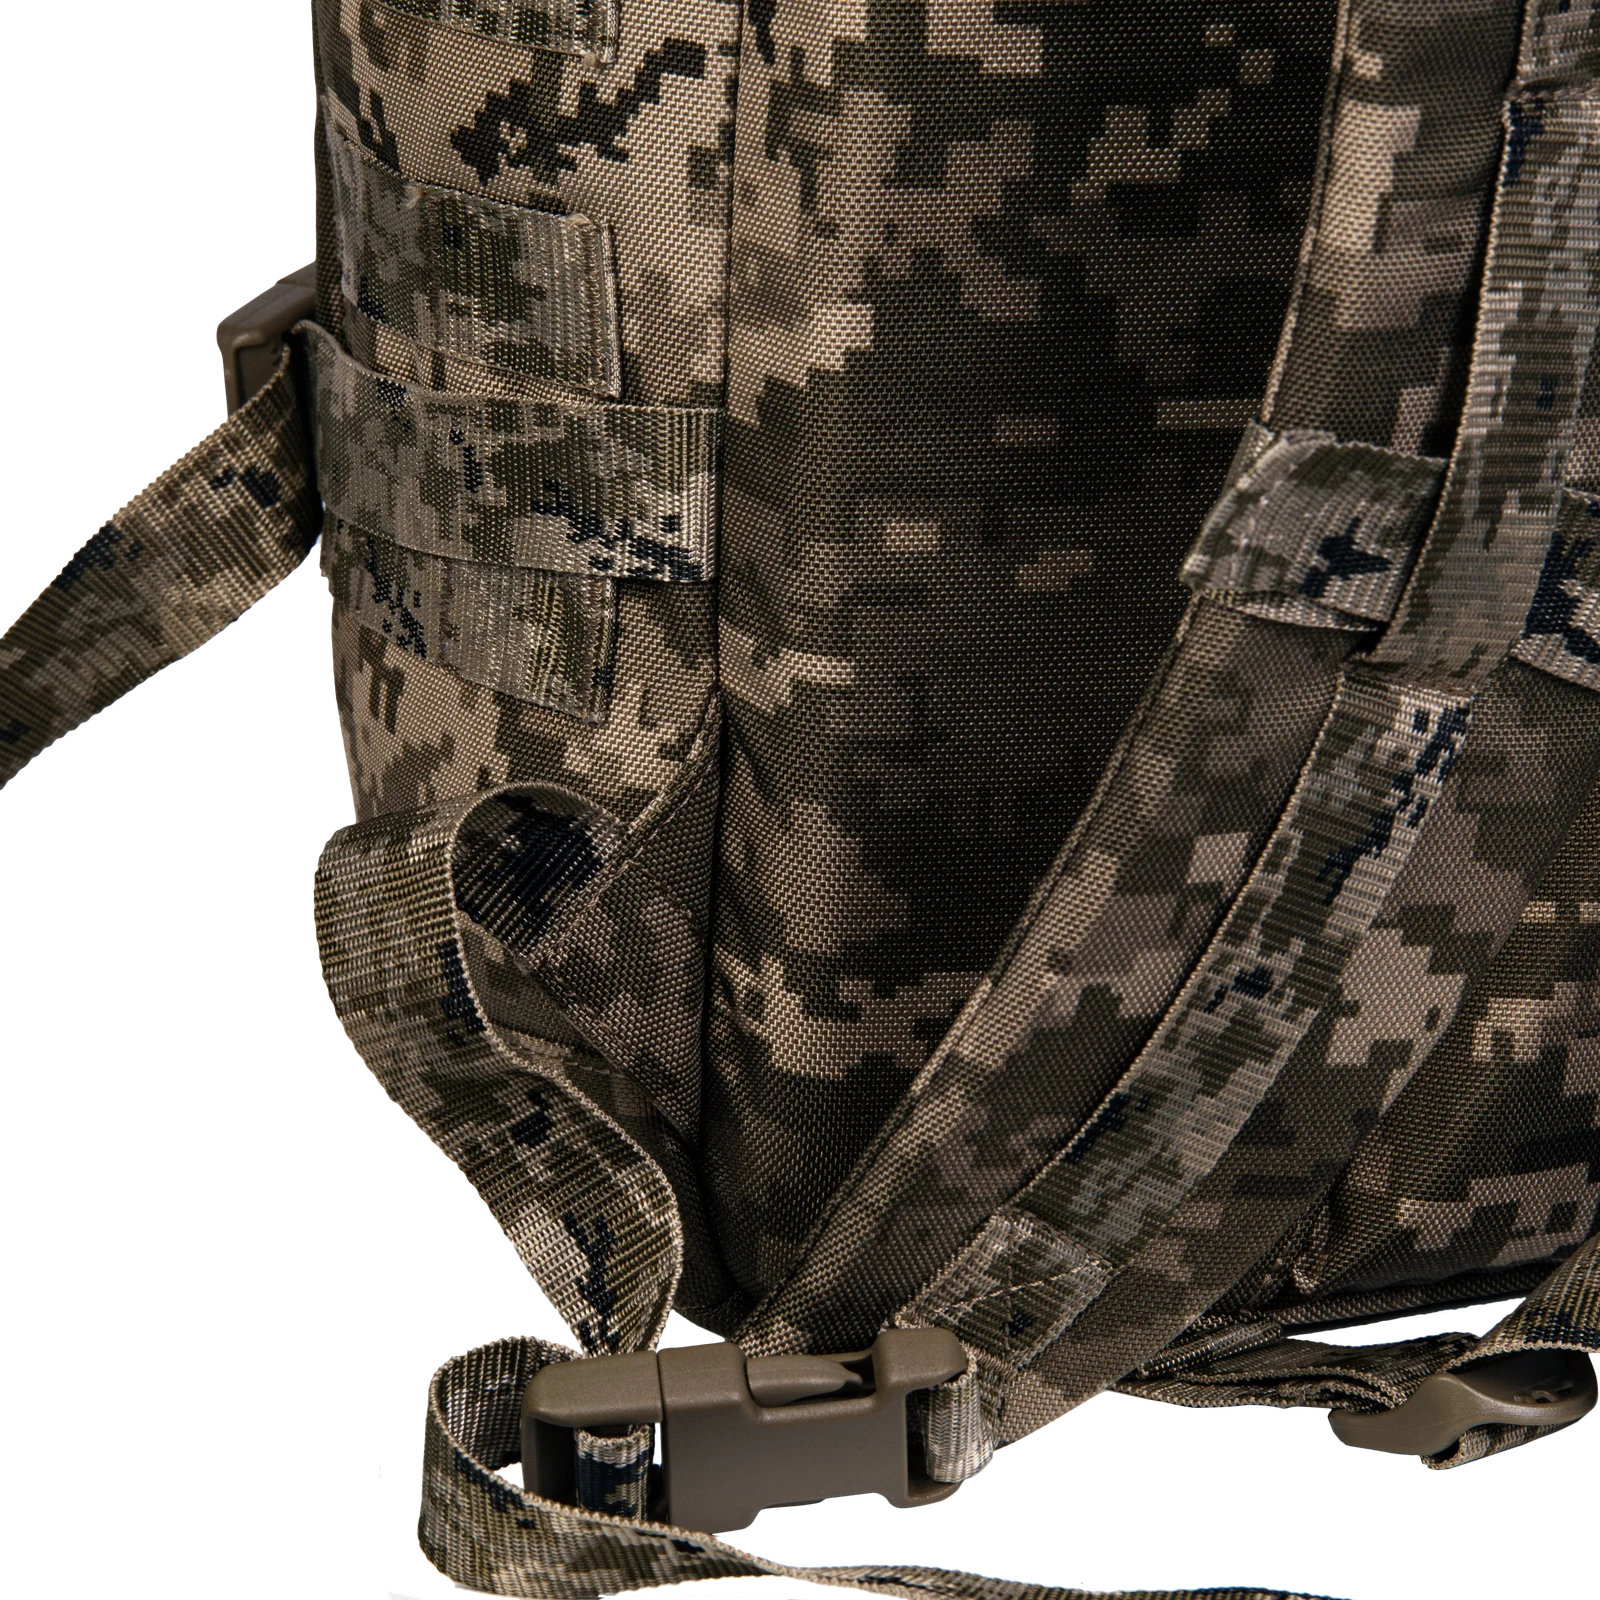
The detail photograph places side webbing, a shoulder strap and a buckle in the same limited area. Passing a strap through the webbing is only one part of installation. An accessory can still cover another adjustment, sit over a raised fitting or leave its own opening facing an awkward direction.
No ruler or accessory back panel is shown. The photographs cannot establish webbing spacing, compliance with an attachment standard or compatibility with a named system. Obtain dimensions and a routing reference for both parts. Specify which rows and columns are used instead of relying on an undefined description such as universal tactical attachment.
06
Approve a loaded combination, not an empty outline
Keep the approved sample identifiable
The handover should identify the main-pack revision, accessory revision, mounting location and intended contents. Keep views of the empty base, the loaded combination and the bag placed on a surface. Those states answer different questions: whether the accessory base touches first, whether a pull remains easy to locate and whether the original pack is convenient after removal.
Choose reinforcement and materials around that defined arrangement. Appearance alone cannot identify fiber content, attachment strength or service life. Likewise, an unmodified base-pack image is a construction reference, not evidence that a proposed accessory has been approved. For related development topics, visit the JKPD blog.
Related: modular backpack interior space. See the photographed product reference.
Discuss your bag development project
ANSON XIE
General Manager & Founder
Quanzhou Junkai Pengda Special Equipment Co., Ltd.
Email: ansonxie@jkpdtime.com
Phone: +86 177 5095 3355
WhatsApp: +86 177 5095 3355
Factory address: Floors 2–4, Building 1, Phase I, Huixin Intelligent Manufacturing Industrial Park, Hui'an County, Quanzhou, Fujian, China