
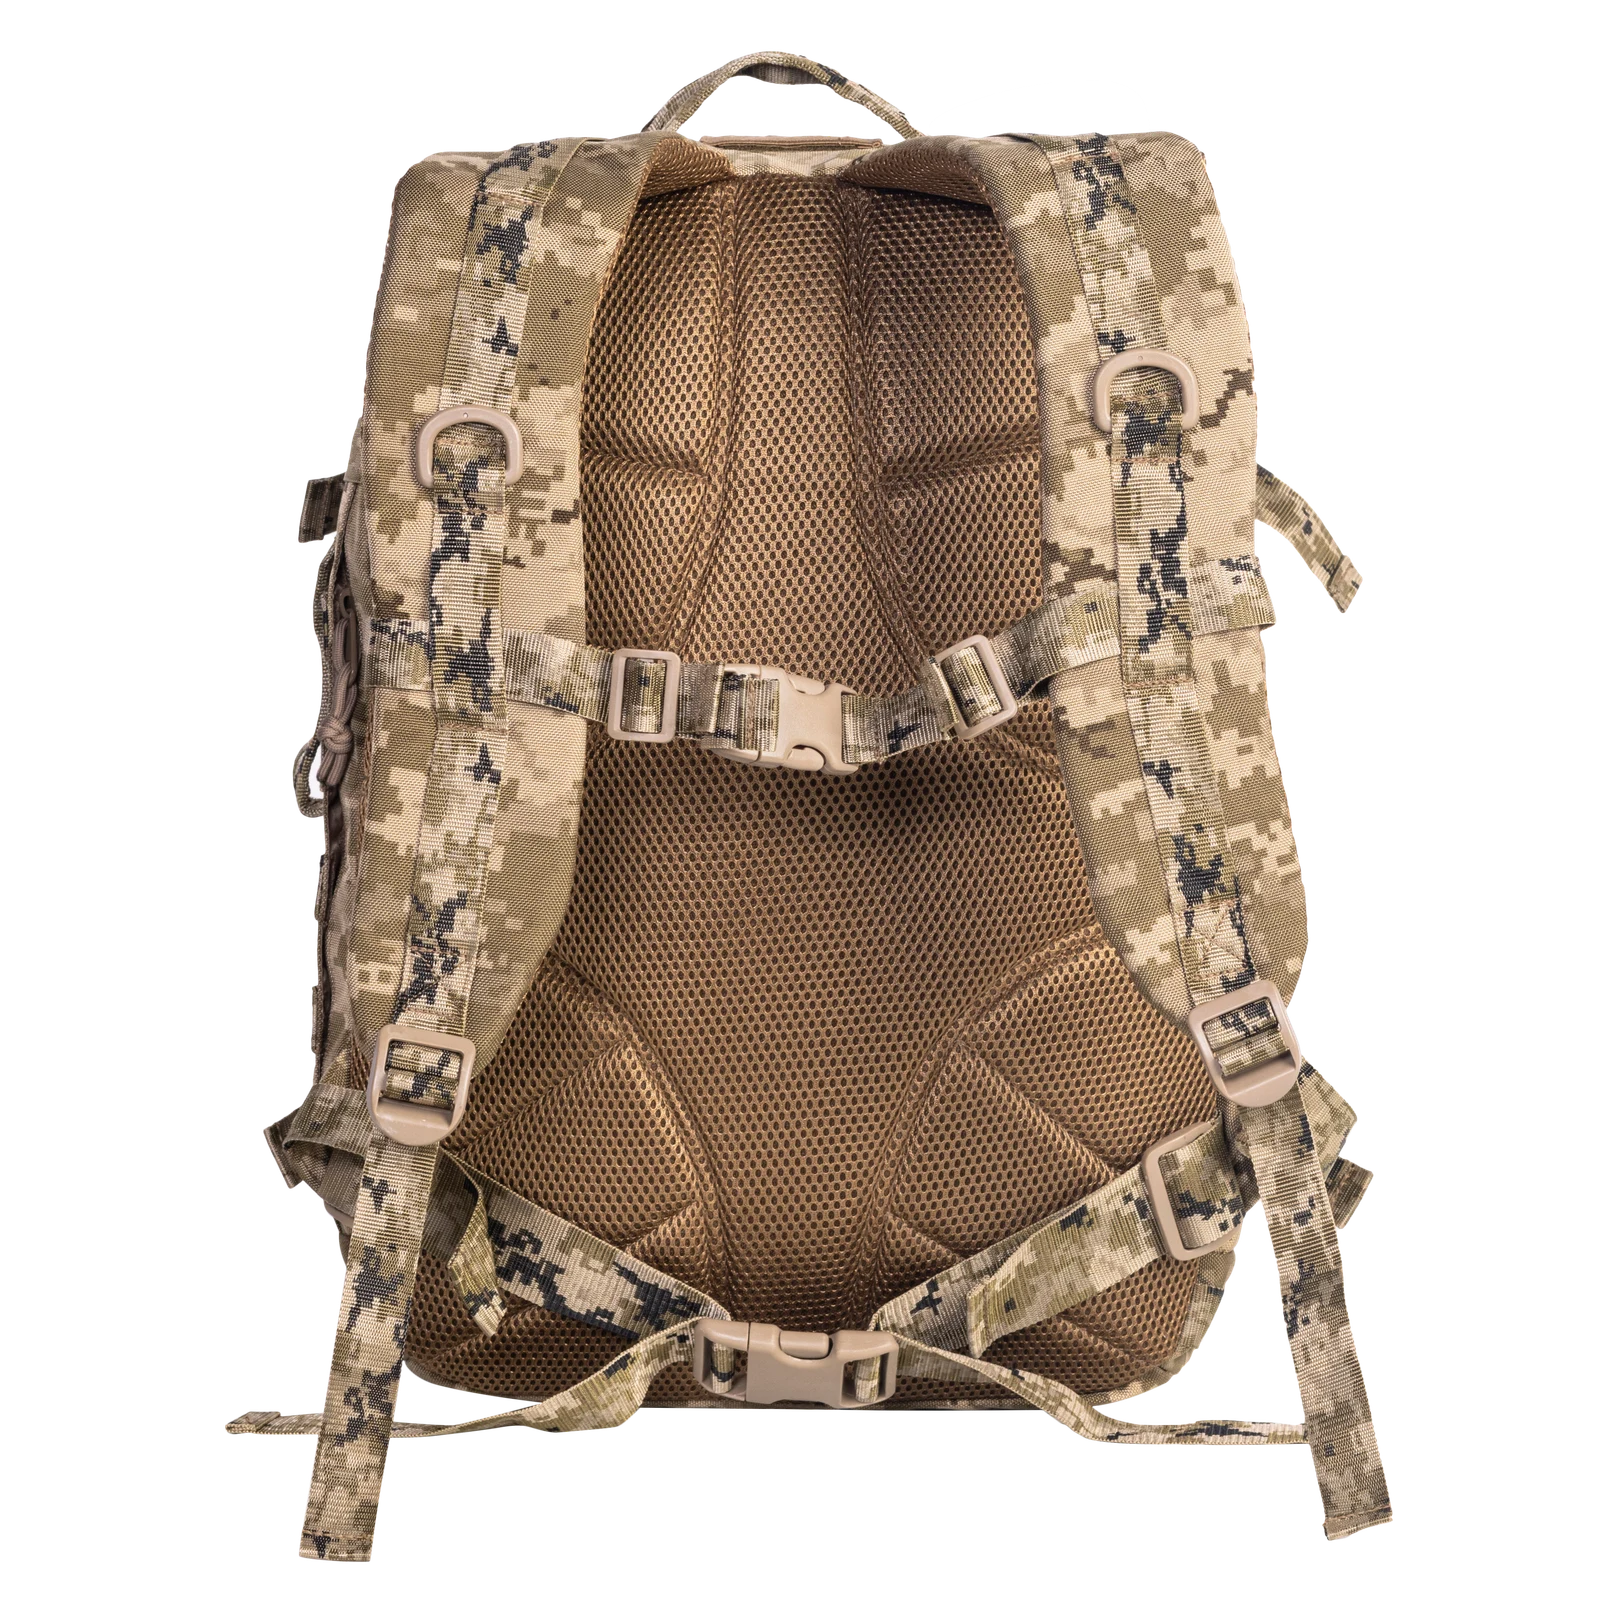
A shoulder D-ring should be located around a defined accessory: how it connects, where it rests and whether it leaves the sternum strap usable. Adding a ring creates a visible interface. A useful attachment arrangement also needs a selected connector, an accessory shape and room for the neighboring operations.
Assign the attachment point a specific task before choosing its position. Review the ring, retaining webbing and accessory connector together. A D-shaped outline does not identify a component model, material or allowable load.
01
Choose the accessory before its location
A small key pouch, an eyewear case and a hose retainer have different shapes and handling requirements. One may need an accessible opening; another may mainly need a consistent direction. A general request for a multipurpose ring leaves these differences unresolved for the sample maker.
Provide both the accessory and its connector. Record the clearance required to engage the connector separately from the space occupied after installation. An accessory that can be clipped on may still have an opening obstructed by its final position. Decide which actions it must support before treating the interface as complete.
02
Review the ring’s freedom to turn
Movement within the retaining webbing affects accessory orientation. Compare an empty accessory with the intended reference contents inside it. Observe whether the connector moves toward one end of the ring and whether the ring turns toward the edge of the shoulder strap. Specify a preferred resting direction if the task needs one.
The ITW Nexus D-ring information lists double-bar versions intended to limit movement or rotation at the retainer. This is a feature of identified components, rather than evidence that every D-ring behaves alike. The brand and construction of the photographed rings are not confirmed, so that description is not assigned to them.
03
Leave the sternum strap independently usable
Review the sternum strap after installing the accessory. Establish its intended wearing position, then check whether the added item covers the buckle, blocks an adjustment end or links the two shoulder straps in an unintended way. The whole working area matters alongside the ring’s sewn position.
The rear photograph places the rings above the sternum strap. It provides a layout reference, without showing a worn or accessorized condition. On the project sample, use the intended shoulder-strap adjustment and go through sternum-strap closure, adjustment and backpack removal. Identify the area that must remain clear for those actions.
04
Account for the curved shoulder strap
A ring and connector can face differently when the shoulder strap curves over the body. Hardware resting outside the strap presents a different contact arrangement from hardware turning toward the wearer. Review the contact locations with the intended clothing layers, particularly where the ring edge, connector and accessory’s upper edge come together.
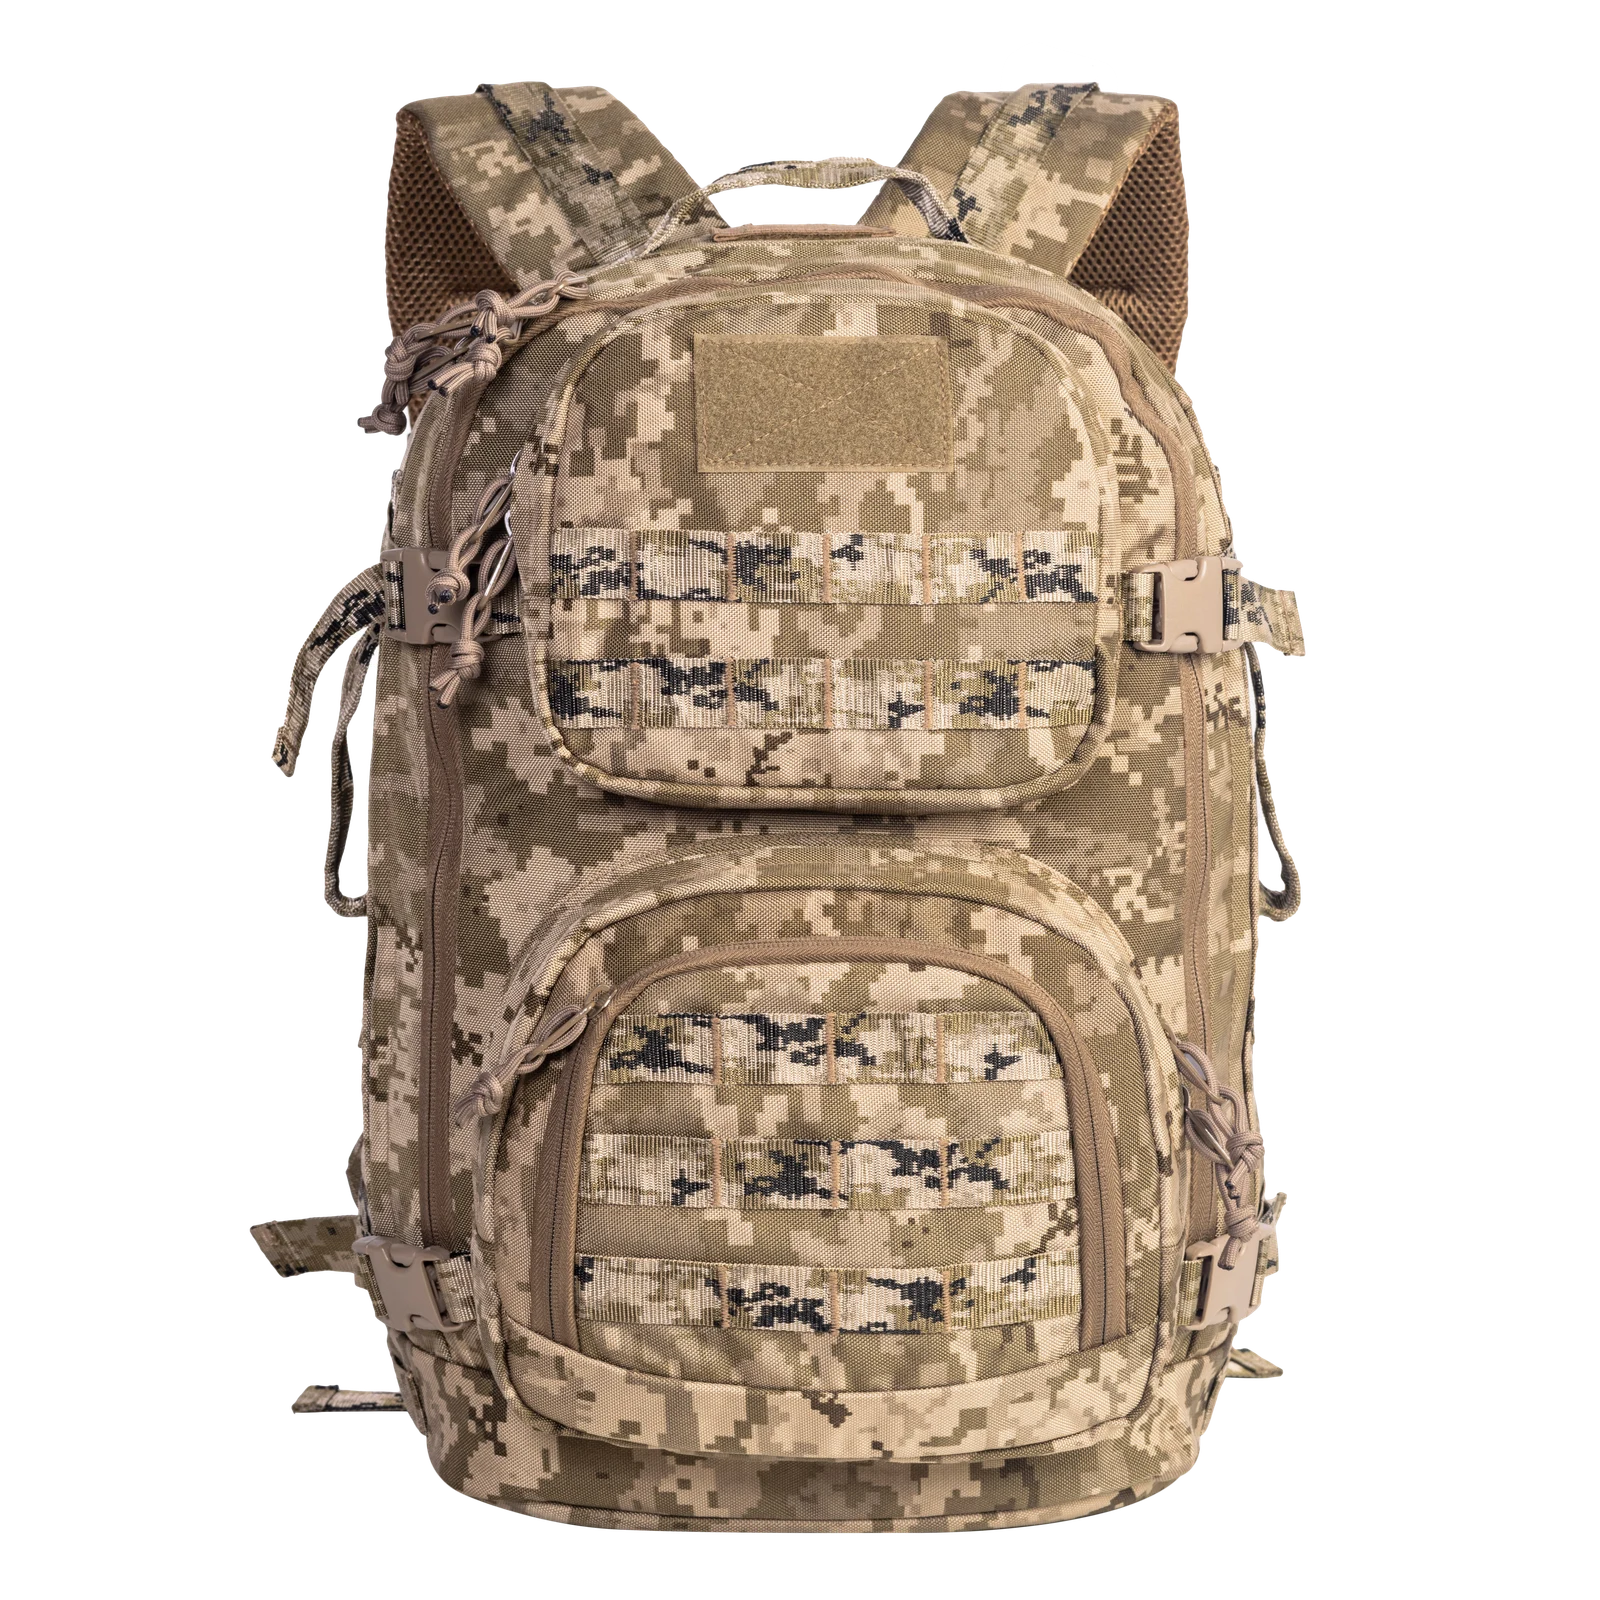
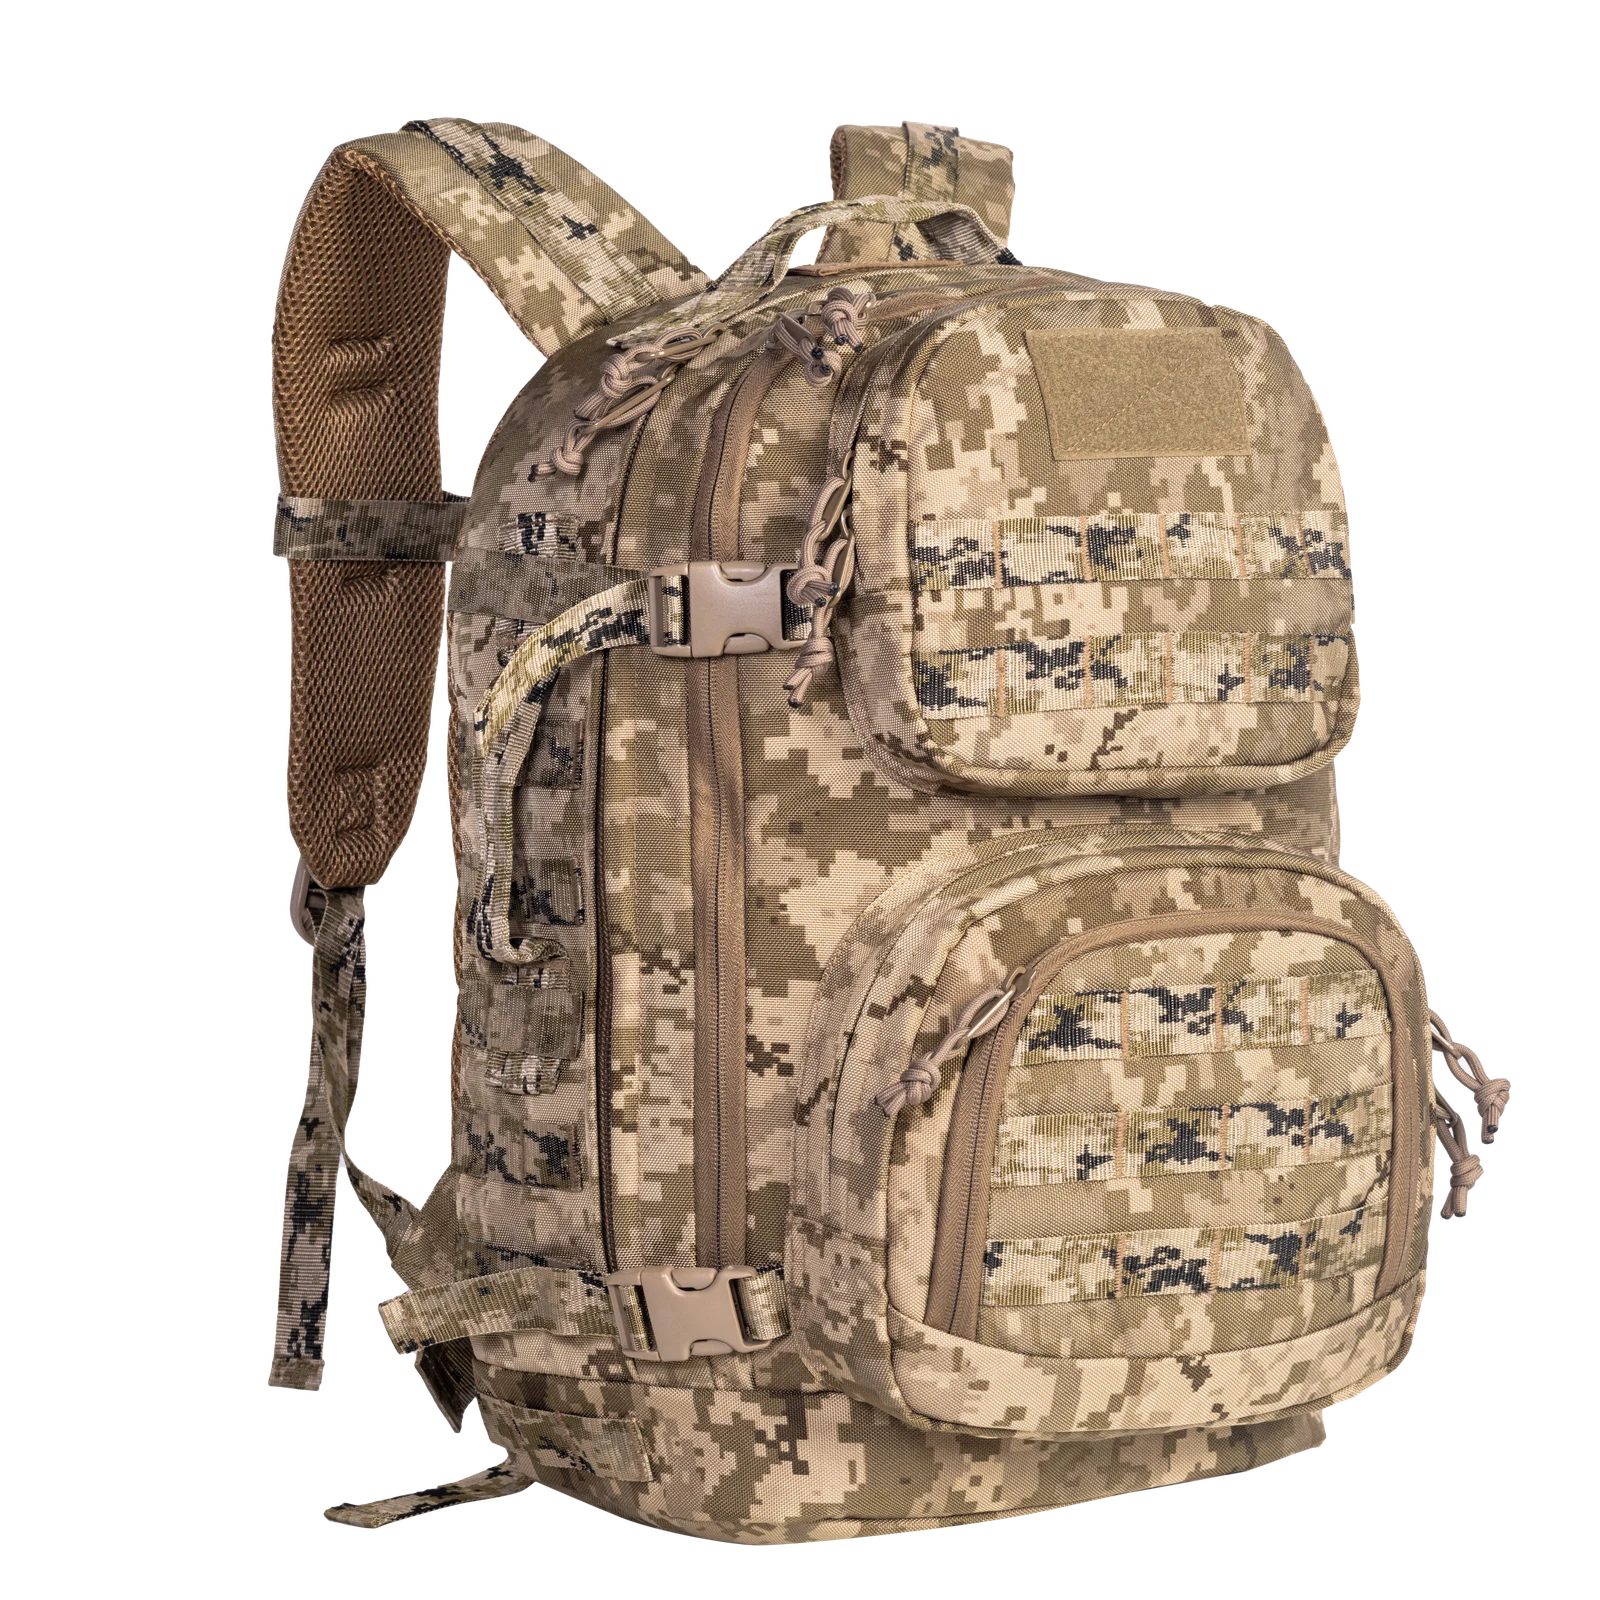
The overall and oblique photographs show the shoulder strap’s route from the bag toward the front of the body. They do not demonstrate comfort. If the accessory needs frequent opening, also consider how it can be held without requiring an awkward second-hand position. No wearing-trial results are reported here.
05
Distinguish a point from a mounting surface
A ring provides a connection location. An accessory that needs a more consistent orientation may require another restraint or an adapter surface. Make that choice around its operation. Adding more rings does not automatically resolve movement, while an adapter also changes the occupied strap width and neighboring sternum-strap space.
The Tasmanian Tiger harness adapter combines a wraparound strap attachment with an accessory mounting face. It illustrates a different interface approach. Its dimensions, material and compatibility cannot be transferred to the backpack pictured here; the relevant distinction is between connecting at a point and providing a mounting area.
06
Hand over the complete connection
Keep the approved sample identifiable
Provide the ring, retaining webbing, sewn location, reference connector and intended accessory direction together. Once the actual component drawing and use conditions are defined, agree the required verification of the complete connection. A component document alone does not establish evidence for its sewn attachment or the finished backpack.
Further interface-development topics are available in the JKPD blog.
Related: bag plastic buckle pom pa materials. See the JKPD product reference.
Discuss your bag development project
ANSON XIE
General Manager & Founder
Quanzhou Junkai Pengda Special Equipment Co., Ltd.
Email: ansonxie@jkpdtime.com
Phone: +86 177 5095 3355
WhatsApp: +86 177 5095 3355
Factory address: Floors 2–4, Building 1, Phase I, Huixin Intelligent Manufacturing Industrial Park, Hui'an County, Quanzhou, Fujian, China