
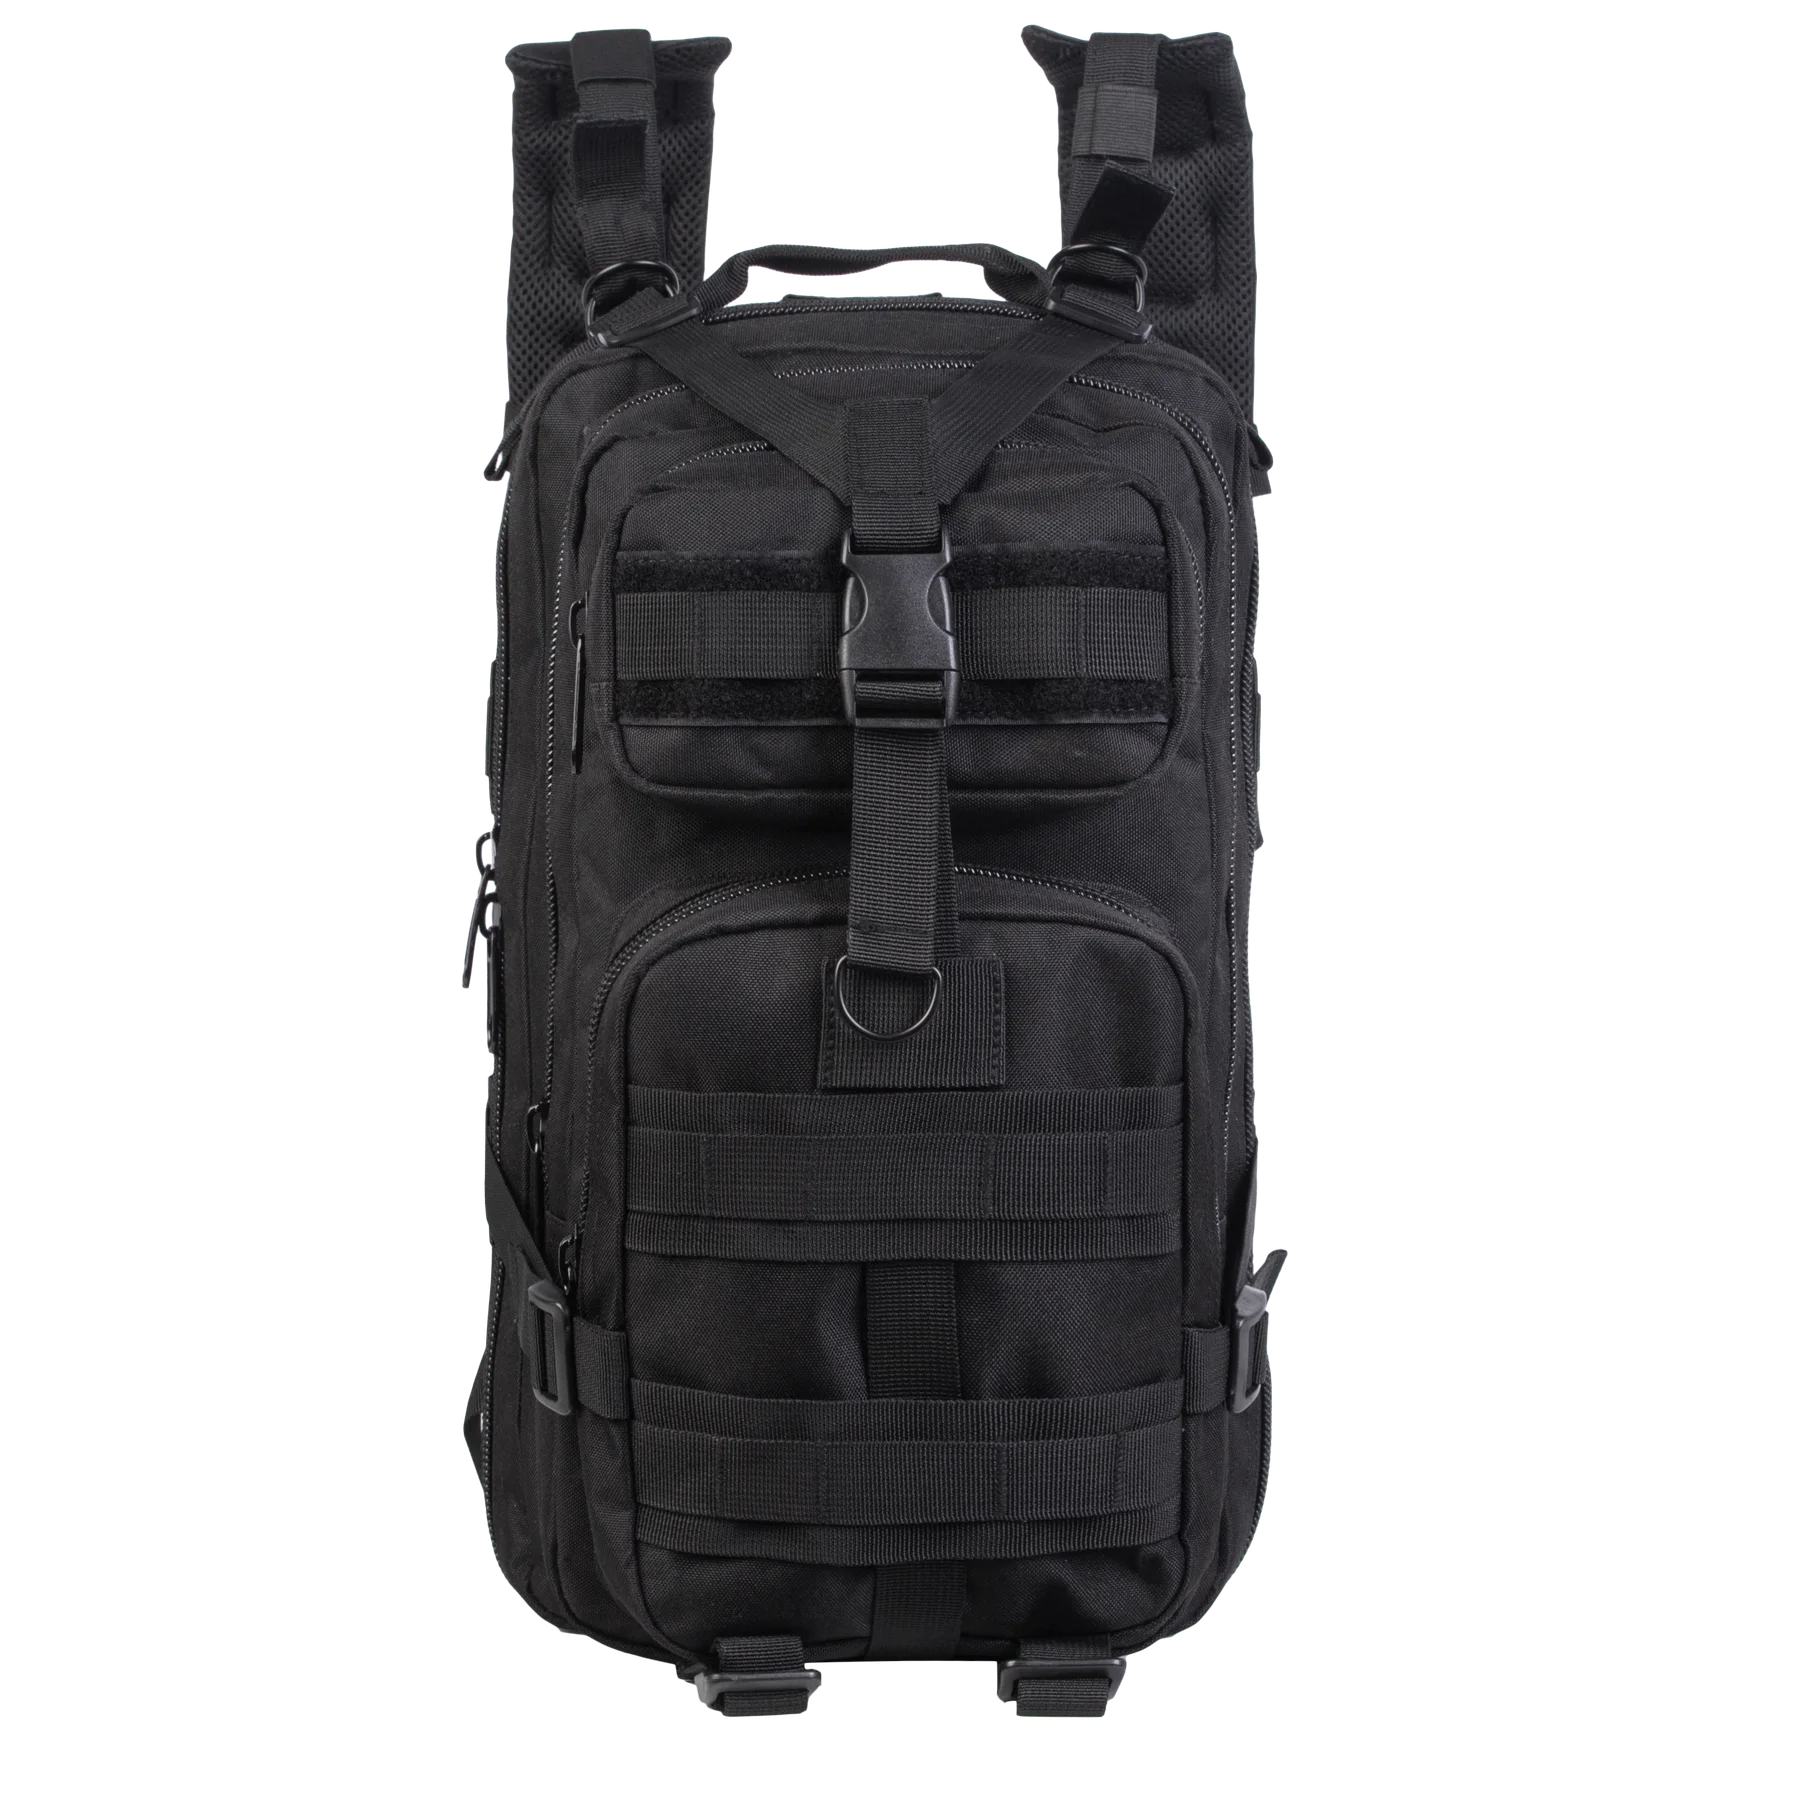
A drawing that says “hook-and-loop closure” leaves several decisions open. Which hook mates with which loop? How much actually overlaps when the pocket is full? What touches a sleeve when the flap is open? Those details affect the finished bag more than a color swatch does.
For buyers developing ordinary tactical-style backpacks and utility bags, approve the complete closure rather than the tape alone. Start with its job, then review a sewn sample with the intended contents. This guide concerns everyday storage and handling, not protective equipment, weapon retention or load-bearing safety applications.
01
Define the job before choosing the tape
Decide whether the material holds a pocket shut, secures a removable organizer or displays an identification patch. These are different tasks. A patch panel may need convenient replacement, while a pocket closure must keep the agreed contents covered during its intended handling.
Write the operating sequence into the brief: grasp the tab, separate the faces, open the pocket, replace the contents and press the closure together. Note which hand supports the bag and whether the panel bends during opening. A useful sample review repeats this sequence instead of making an unexplained judgment that the closure feels strong.
Keep flap access and fastener performance separate. Our tool pouch flap review addresses coverage and retrieval; the task here is to specify the mating surfaces and their attachment. If the product needs a safety-rated retention system, refer it for appropriate engineering and testing rather than borrowing a general bag detail.
02
Specify a matched hook-and-loop pair
Record supplier references for both faces, not just the width and color. Keep hook and loop samples together with their lot identification. Substituting one side because it looks similar can change how the pair engages, so treat a replacement as a new combination requiring review.
Choose a product intended for the proposed attachment method. VELCRO Brand sew-on tape instructions describe sewing the material to fabric and securing the stitching. That is guidance for the named product, not a universal stitch specification for every industrial tape or bag construction.
Ask the selected supplier which construction suits your substrate, care conditions and opening requirement. Obtain relevant technical information before quoting a performance claim. Keep brand names accurate in the material list: a generic hook-and-loop component should not become a branded component simply because someone used the trademark as shorthand.
03
Measure engagement on the packed sample
Usable engagement is the area where the two faces actually meet. The cut length on a drawing does not establish that area. A curved panel, a bulky item or an attachment seam can lift part of the closure away from its mating face.
Mark the intended contact zone on a sample drawing. Then photograph the closure with the agreed minimum and maximum packing arrangements. Open it after pressing the faces together using a consistent method, and look for sections that have folded, rolled or failed to meet.
Do not solve every mismatch by adding more tape. Moving the closure, changing the flap allowance or reducing a stiff junction may address the cause with less bulk. Compare one change at a time so the reviewer can explain why a revision worked.
Review record: identify the packing arrangement, contact zone, opening direction and any lifted edge. Set acceptance requirements with the buyer and supplier; do not infer them from a photograph.
04
Make a sewn assembly trial
Trial the intended tape on the actual shell, reinforcement and lining combination before committing the complete cutting batch. Review both faces of the seam. Look for skipped stitches, damaged material, loose ends and distortion around the tape perimeter.
The sample should include the real corner shape and any nearby seam junction. A straight strip sewn to scrap can establish a starting point, but it does not show how the operator handles a tight corner or a thickness change.
Ask the sewing team to record the machine, needle, thread and settings used for the accepted trial. These are controlled starting conditions, not permanent answers for every later fabric lot. If needle damage appears, reassess the combination with the technical team rather than repeatedly stitching through the same damaged area.
Leave access for inspection and any approved repair process. A closure sewn after the lining is closed may create different internal stitching and access constraints from one attached to the shell panel first. Decide the assembly order while the sample is still easy to change.
05
Check exposed hooks and edge behavior
Review the open as well as the closed state. Move the flap through its normal travel and check whether exposed hooks contact lining, mesh, clothing or neighboring pockets. Choose the hook and loop orientation deliberately rather than copying it from another bag.
If contact is unavoidable, consider a covered resting position or a layout change, then test the revised sequence. These choices can add bulk or another user action. Assess that trade-off on the sample instead of assuming an extra covering piece is always better.
Inspect cut edges, corners and pull tabs after the agreed opening sequence. Record lifting, fraying, distortion or changes in operation. The number of repetitions, conditioning and acceptance criteria should come from the product requirement and an appropriate test plan, not an arbitrary universal number in a blog article.
06
Separate approval from production inspection
A component approval establishes which materials may be used. A sewn sample approval establishes an accepted construction. Production inspection checks whether the current units follow that construction. Keep those three records linked, but do not treat them as interchangeable.
At the start of a run, compare the two tape references, dimensions, placement and stitching against the approved sample. Check an assembled bag with the reference contents. Repeat relevant checks after a material substitution, machine change or construction revision.
Use specific defect notes. “Lower edge curls away when the pocket contains the reference item” gives the team a condition to reproduce. “Bad fastening” does not. Record the correction and review the affected feature before release.
For the broader handover, add the closure references and approval photos to the backpack technical pack. A buyer should be able to trace the finished closure back to its materials and sample decision without searching through disconnected messages.
FAQ
Questions buyers often ask
Does a larger patch always give a better closure?
No. Start by checking whether the existing faces meet correctly under the intended packing conditions. Added material can increase bulk without correcting a lifted edge or awkward opening direction. Compare the complete assembly against the agreed requirement.
Can a replacement tape use the existing approval?
Not automatically. Confirm the new supplier reference and mating pair, then review affected sewing and operating characteristics. Keep the original approval date and the substitution decision distinct in the sample record.
Discuss your bag development project
ANSON XIE
General Manager & Founder
Quanzhou Junkai Pengda Special Equipment Co., Ltd.
Email: ansonxie@jkpdtime.com
Phone: +86 177 5095 3355
WhatsApp: +86 177 5095 3355
Factory address: Floors 2–4, Building 1, Phase I, Huixin Intelligent Manufacturing Industrial Park, Hui'an County, Quanzhou, Fujian, China