
Review a removable organizer inside its intended bag, including insertion, retention, access and removal with its agreed contents.
01
Separate loose placement from attachment
Choose whether the organizer sits loose in the main compartment or connects to the bag through specified components. Mark seating references, attachment positions and permitted movement. Removable does not define retention, and an attached small pocket is not automatically an organizer that lifts out with all contents.
State its role: grouping small items, transferring between bags or separating an equipment set. This article addresses organization and handling. Equipment-protection requirements need separate construction and verification.
02
Review insertion through the actual opening
Check insertion against the real bag opening, lining and other contents that must remain in place. Record both empty and loaded organizer shapes and the intended direction of insertion. Maximum bag width alone does not establish compatibility.
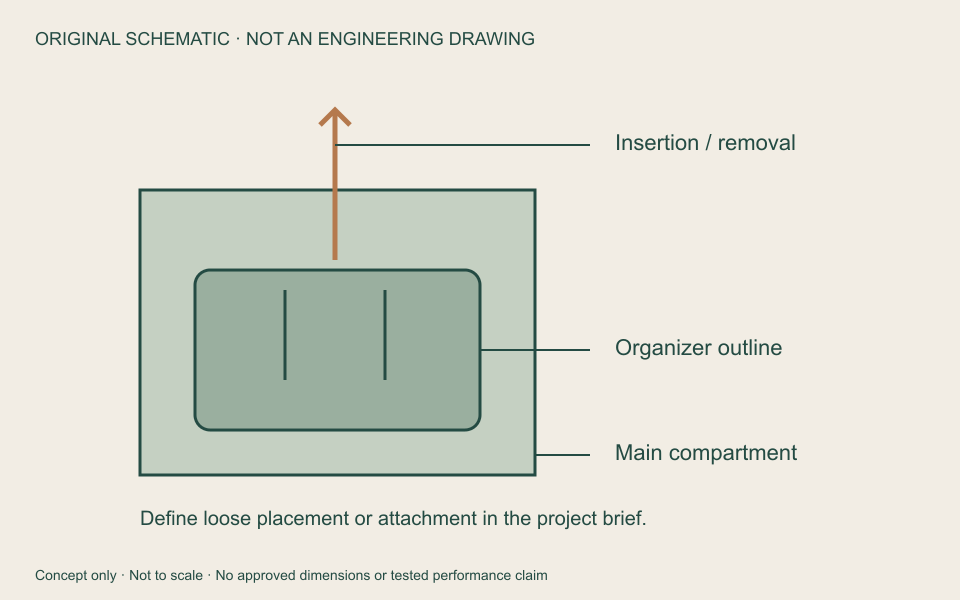
The original schematic shows organizer outline, main-compartment boundary and insertion direction. It specifies no universal clearance and is not a verified section of a particular bag. Establish dimensions using the project sample in its defined load state.
03
Check access to frequently used items
With the organizer installed, check retrieval direction for every required pocket. Record whether bag walls obscure openings, organizer height affects main-compartment closure or other items must move first. These are specific sample observations.
Where one organizer serves two target bags, review both. Fit in one does not establish fit in the other. Additional pockets should support defined retrieval tasks rather than visual complexity.
04
Review removal with contents in place
If the organizer must lift out with its contents, review that action while loaded. State which attachments release first, where the user grasps, whether a pocket closes beforehand and how the organizer locates on reinsertion. Define connection verification separately; one lift does not establish a load rating.
An organizer without a handle may have an agreed removal method. Do not assume a visible loop or webbing piece is a lifting handle. Specify its intended role in the project brief.
05
Approve the bag-and-organizer combination
Record target bag, organizer revision, contents list, attachment configuration and handling photographs. For loose placement, define allowed state changes; for attached designs, record alignment after reinsertion. Approval applies to the combination reviewed.
Recheck compatibility after changes to the bag opening, lining thickness, organizer layout or contents. This supports purchasing handover and avoids treating one approved insert as universally compatible.
Share material references and sample requirements through the JKPD inquiry page.
Discuss your bag development project
ANSON XIE
General Manager & Founder
Quanzhou Junkai Pengda Special Equipment Co., Ltd.
Email: ansonxie@jkpdtime.com
Phone: +86 177 5095 3355
WhatsApp: +86 177 5095 3355
Factory address: Floors 2–4, Building 1, Phase I, Huixin Intelligent Manufacturing Industrial Park, Hui'an County, Quanzhou, Fujian, China