
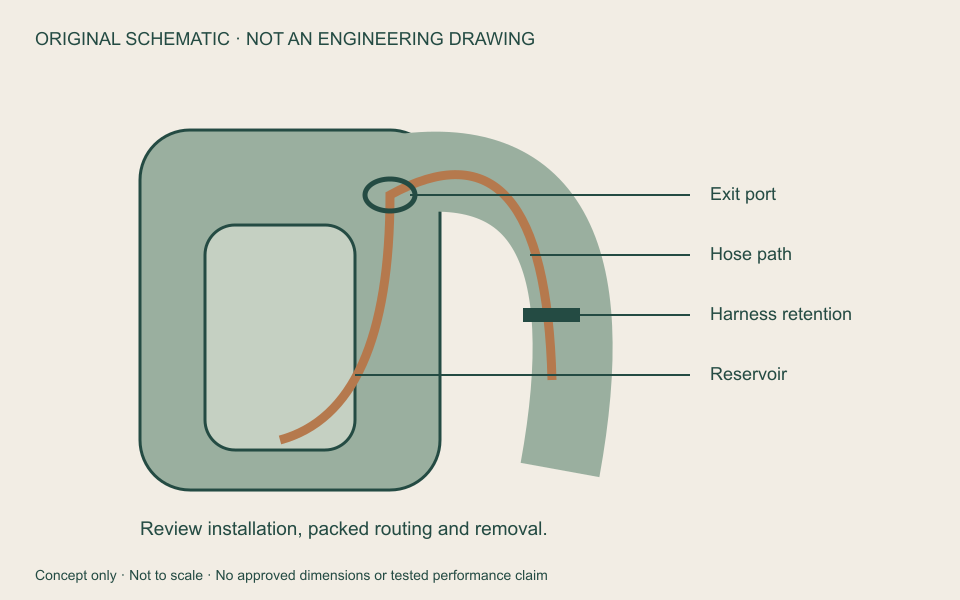
Review a hydration pack route from the intended reservoir to the hose retention on the harness. Enlarging an exit port alone may leave installation, worn handling or removal unresolved. Include the entire route in the brief and keep pack approval tied to the reviewed reservoir combination.
01
Identify the reservoir and connector combination
Provide the reservoir, hose, connectors and drinking end. Record which components may be detached according to their instructions. Establish whether the port must pass the hose alone or an attached connector before sampling.
Capacity alone is insufficient to define compatibility. Retain component IDs, fill state and installation sequence. A connector change requires another clearance and removal review even when nominal capacity stays the same.
02
Draw the complete route to the harness
Connect reservoir position, hose origin, exit port, harness retention and drinking-end parking position on the drawing. Specify left or right routing. Review both separately where the brief requires either option.
The official Osprey Rook/Renn manual describes a backpanel hydration exit and harness hose retention separately. This example supports reviewing both locations; it does not prescribe one construction for every custom pack.
03
Check the route after packing
Close the main compartment with the agreed contents, then wear and adjust the pack. Observe whether the zipper, packed items, handle or harness adjustment components trap the hose. Check whether turning and moving the drinking end require the route to be rearranged.
Attach location photographs and the step that produces interference. The schematic indicates a path only. Bend limits, flow and material behavior require component information and relevant verification rather than inference from the drawing.
04
Define what each retention point holds
Remove the drinking end, move it to the agreed use position and return it. Check interference with the sternum adjustment, zipper pockets and other supplies. Retaining the hose and parking the drinking end may be separate functions; identify the object held by each point.
Review spare hose management after harness adjustment. Record actions and observations rather than an undefined statement that retention is firm. The presence of a component does not prove it prevents unintended release.
05
Include removal in the handover
After emptying, follow component manufacturer instructions to confirm reservoir and hose removal. Establish whether harness retention or connectors must be released and which direction the assembly exits. Do not force compatibility through undocumented cutting or pulling.
Record component revision, routing side, packing conditions and completed installation, worn handling and removal actions. Share intended components through the JKPD inquiry page to define sample routing priorities.
Discuss your bag development project
ANSON XIE
General Manager & Founder
Quanzhou Junkai Pengda Special Equipment Co., Ltd.
Email: ansonxie@jkpdtime.com
Phone: +86 177 5095 3355
WhatsApp: +86 177 5095 3355
Factory address: Floors 2–4, Building 1, Phase I, Huixin Intelligent Manufacturing Industrial Park, Hui'an County, Quanzhou, Fujian, China