
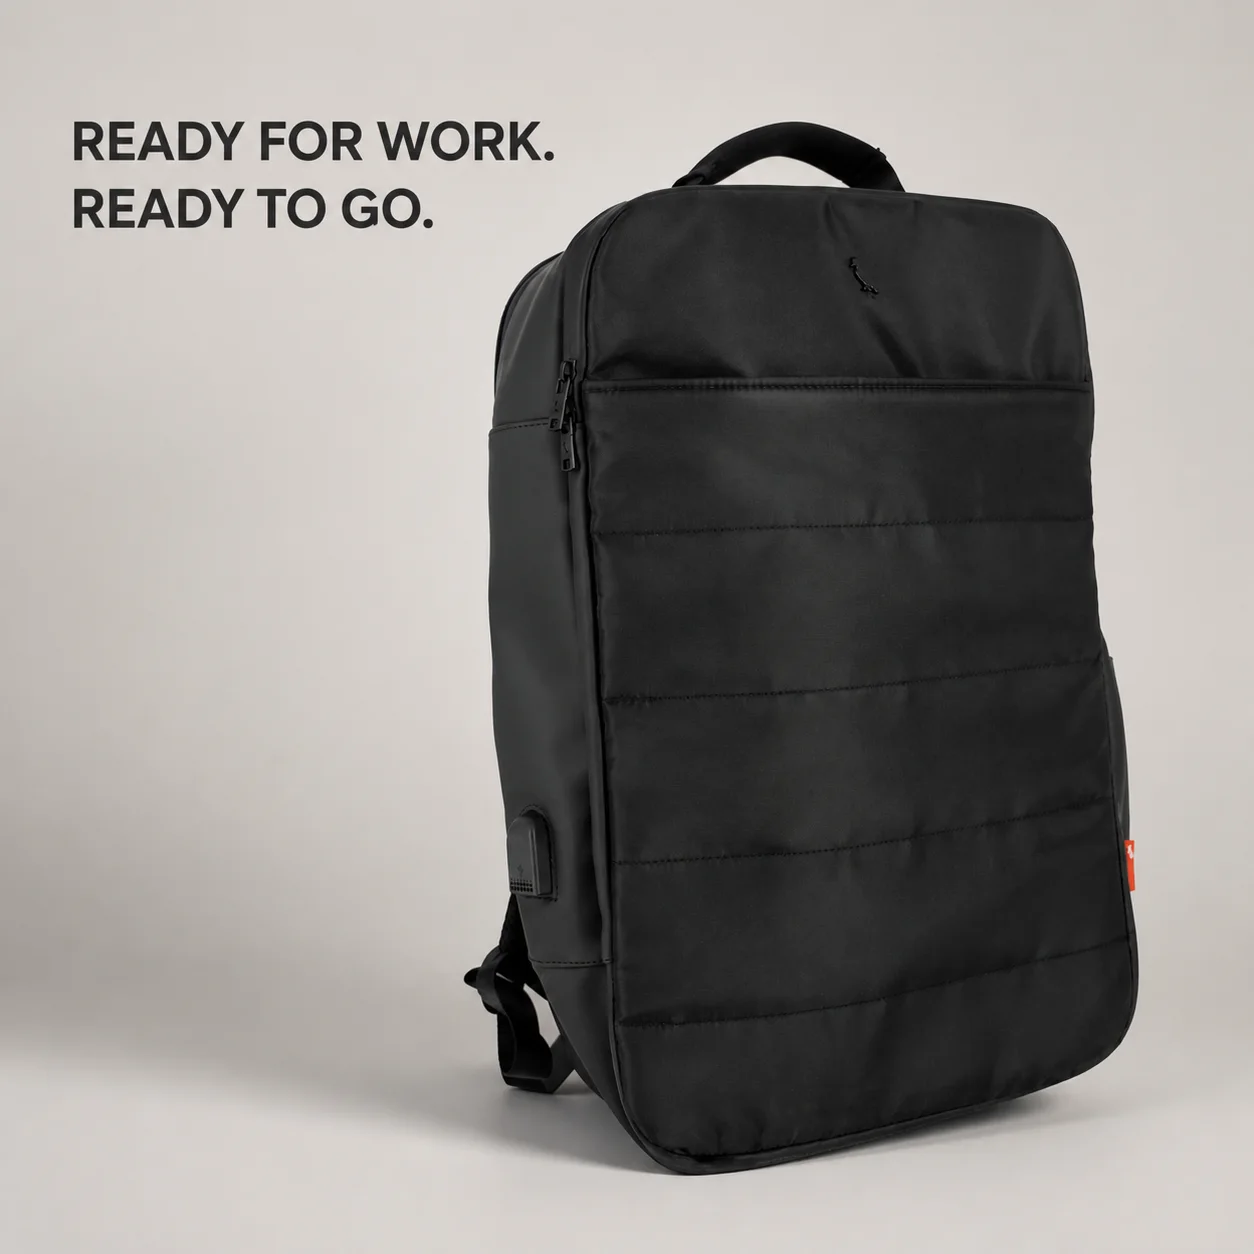
A laptop slides into the sample, the zipper closes, and the compartment looks finished. It is tempting to approve it.
But fitting a laptop into an empty backpack is only the first check. Add a charger, a bottle, documents, and a jacket, and the picture can change. The sleeve may become difficult to reach. A hard charger can press against the divider. The laptop may settle closer to the bottom than expected.
For a business backpack, the laptop compartment should be developed as part of the whole bag. Fit, access, padding, support, and neighboring pockets all affect whether the design works in daily use.
01
Define the device dimensions before the sleeve dimensions
A screen-size label is not a complete fitting specification. The compartment must accommodate the device’s external width, height, and thickness, including a protective cover if that is part of normal use.
Ask the brand to identify the intended device range. Then distinguish three measurements:
- The usable space inside the finished sleeve.
- The clear opening through which the device passes.
- The surrounding compartment space when the backpack is packed.
These are not interchangeable. A generous internal pocket can still have restricted access.
Check the largest intended device, but also try a smaller one. A compartment that accepts a broad range may need a retention feature to limit movement. That feature should be easy to operate and should not place exposed hard components against the device.
If the product will carry a compatibility claim, state the supported dimensions clearly. Avoid approving the claim solely from a nominal screen size.
02
Treat the bottom of the sleeve as a separate design decision
A raised sleeve bottom can create space between the device and the base of the backpack. However, that gap only helps if the finished construction maintains it under the intended load.
Review how the sleeve attaches to the back panel and how the surrounding materials deform when packed. A gap visible in an empty sample may become smaller when the bag is loaded.
Padding also needs a more precise specification than “thick foam.” Ask for the material grade, thickness, relevant supplier data, and how the foam is held in position.
More padding is not always the right answer. It can reduce usable space, make the opening restrictive, or create bulky corners that are difficult to sew consistently.
Treat cushioning as a design feature that requires validation. Do not describe a backpack as drop-proof or promise a particular impact rating without an appropriate test and supporting evidence.
03
Give chargers and accessories their own space
A charger pocket can make a business backpack more organized, but its position matters.
Place a hard object in the pocket and inspect what lies on the other side. If it presses directly into the laptop area, the design may need a different pocket location, additional separation, or more depth.
The same review applies to stacked organizer pockets. A drawing shows their outlines; a packed sample reveals how they compete for volume.
Use actual accessories during development. A compact charging adapter and a large power supply create different demands. Let the intended user’s equipment determine the pocket rather than approving a standard organizer panel without checking it.
One useful rule for the sample review is to fill adjacent pockets before judging laptop access. Otherwise, the test does not represent normal use.
04
Choose a lining that works beyond the first impression
A soft lining can feel reassuring, but touch alone does not establish suitability.
Review its surface, tendency to shed, color transfer risk, seam finish, and compatibility with the intended cleaning instructions. Check both the fabric and the finished sleeve, including corners and binding.
Ask the material supplier for relevant test information. Where the target market or product claim requires additional testing, agree on the method and acceptance criteria before production.
Avoid assuming that a dark lining will hide every problem. It may make small accessories harder to find. A lighter lining can improve visibility, but its appearance after ordinary use also needs consideration.
The choice should support the product’s use, not simply match the outside color.
05
Control the sewing where different layers meet
A business backpack often combines outer fabric, lining, foam, reinforcement, and zipper tape. Getting each material right does not automatically produce a clean finished panel.
Coats identifies several causes of seam puckering, including excessive thread tension, fabric structure, unequal feeding, and dimensional differences between components. The correct response depends on the cause; changing the thread alone may not solve it. Coats: Eliminating Seam Puckering
For a padded laptop panel, sample the actual material combination before committing to bulk assembly. Examine straight seams, corners, and transitions where the number of layers changes.
If the panel twists or puckers, investigate the construction and sewing setup together. Record the approved materials and settings so that the production team has a repeatable reference.
Inspect the inside as carefully as the exterior. A neat front panel does not compensate for an exposed rough edge inside the device compartment.
06
Check access in the situations that matter
A separate laptop opening can be convenient, but only if the device can pass through it without a struggle.
Try the sample with the main compartment packed. Open the zipper through its normal travel, remove the device, and replace it without pulling neighboring pockets out of shape.
Also check the bag in different carrying conditions:
- Standing on a desk or floor.
- Held by the top handle.
- Resting on the user’s lap.
- Attached to luggage, if a trolley sleeve is included.
These are functional checks, not certified performance tests. They help reveal whether the layout matches the intended routine.
If the bag includes a bottle pocket, review its position relative to the electronics compartment. Do not assume that a fabric divider creates liquid isolation, and do not make that claim without verifying the finished construction.
07
Agree on what production must reproduce
The approved sample should establish more than overall appearance.
Record the usable sleeve dimensions, opening clearance, padding specification, sleeve position, and attachment details. Identify which dimensions are critical and agree on tolerances that the production process can maintain.
Create a repeatable fitting check using a defined device or dimensionally accurate gauge. A gauge can help verify fit, but it does not establish impact protection.
For any mechanical or durability test, specify the load, method, conditioning, repetitions, and acceptance criteria as appropriate. Avoid relying on instructions such as “make it strong enough.”
The purpose is to turn a good sample into clear production requirements, not leave important decisions to interpretation.
FAQ
Questions buyers often ask
Is a raised laptop sleeve always necessary?
No. It is one possible design approach, not a universal requirement. Its value depends on the intended use, the base construction, and how the compartment behaves under load.
Does thicker foam mean better protection?
Not by itself. Material properties, coverage, attachment, available compression space, and the finished bag structure all matter. Compare complete constructions against agreed requirements rather than thickness alone.
Can one sleeve fit several laptop sizes?
Yes, within a defined range. Check the largest device for access and the smaller devices for movement. Publish accurate compatibility information instead of suggesting that one size fits every laptop.
Approve the packed backpack, not the empty pocket
A useful business backpack does not merely accept a laptop. It lets someone carry their work equipment, reach it easily, and use the remaining space without creating new problems.
Before approving a design, review the device, charger, daily contents, and carrying routine together. For the drawings and measurements that support that review, see the backpack tech-pack guide. You can then share your product requirements for a focused development discussion.