
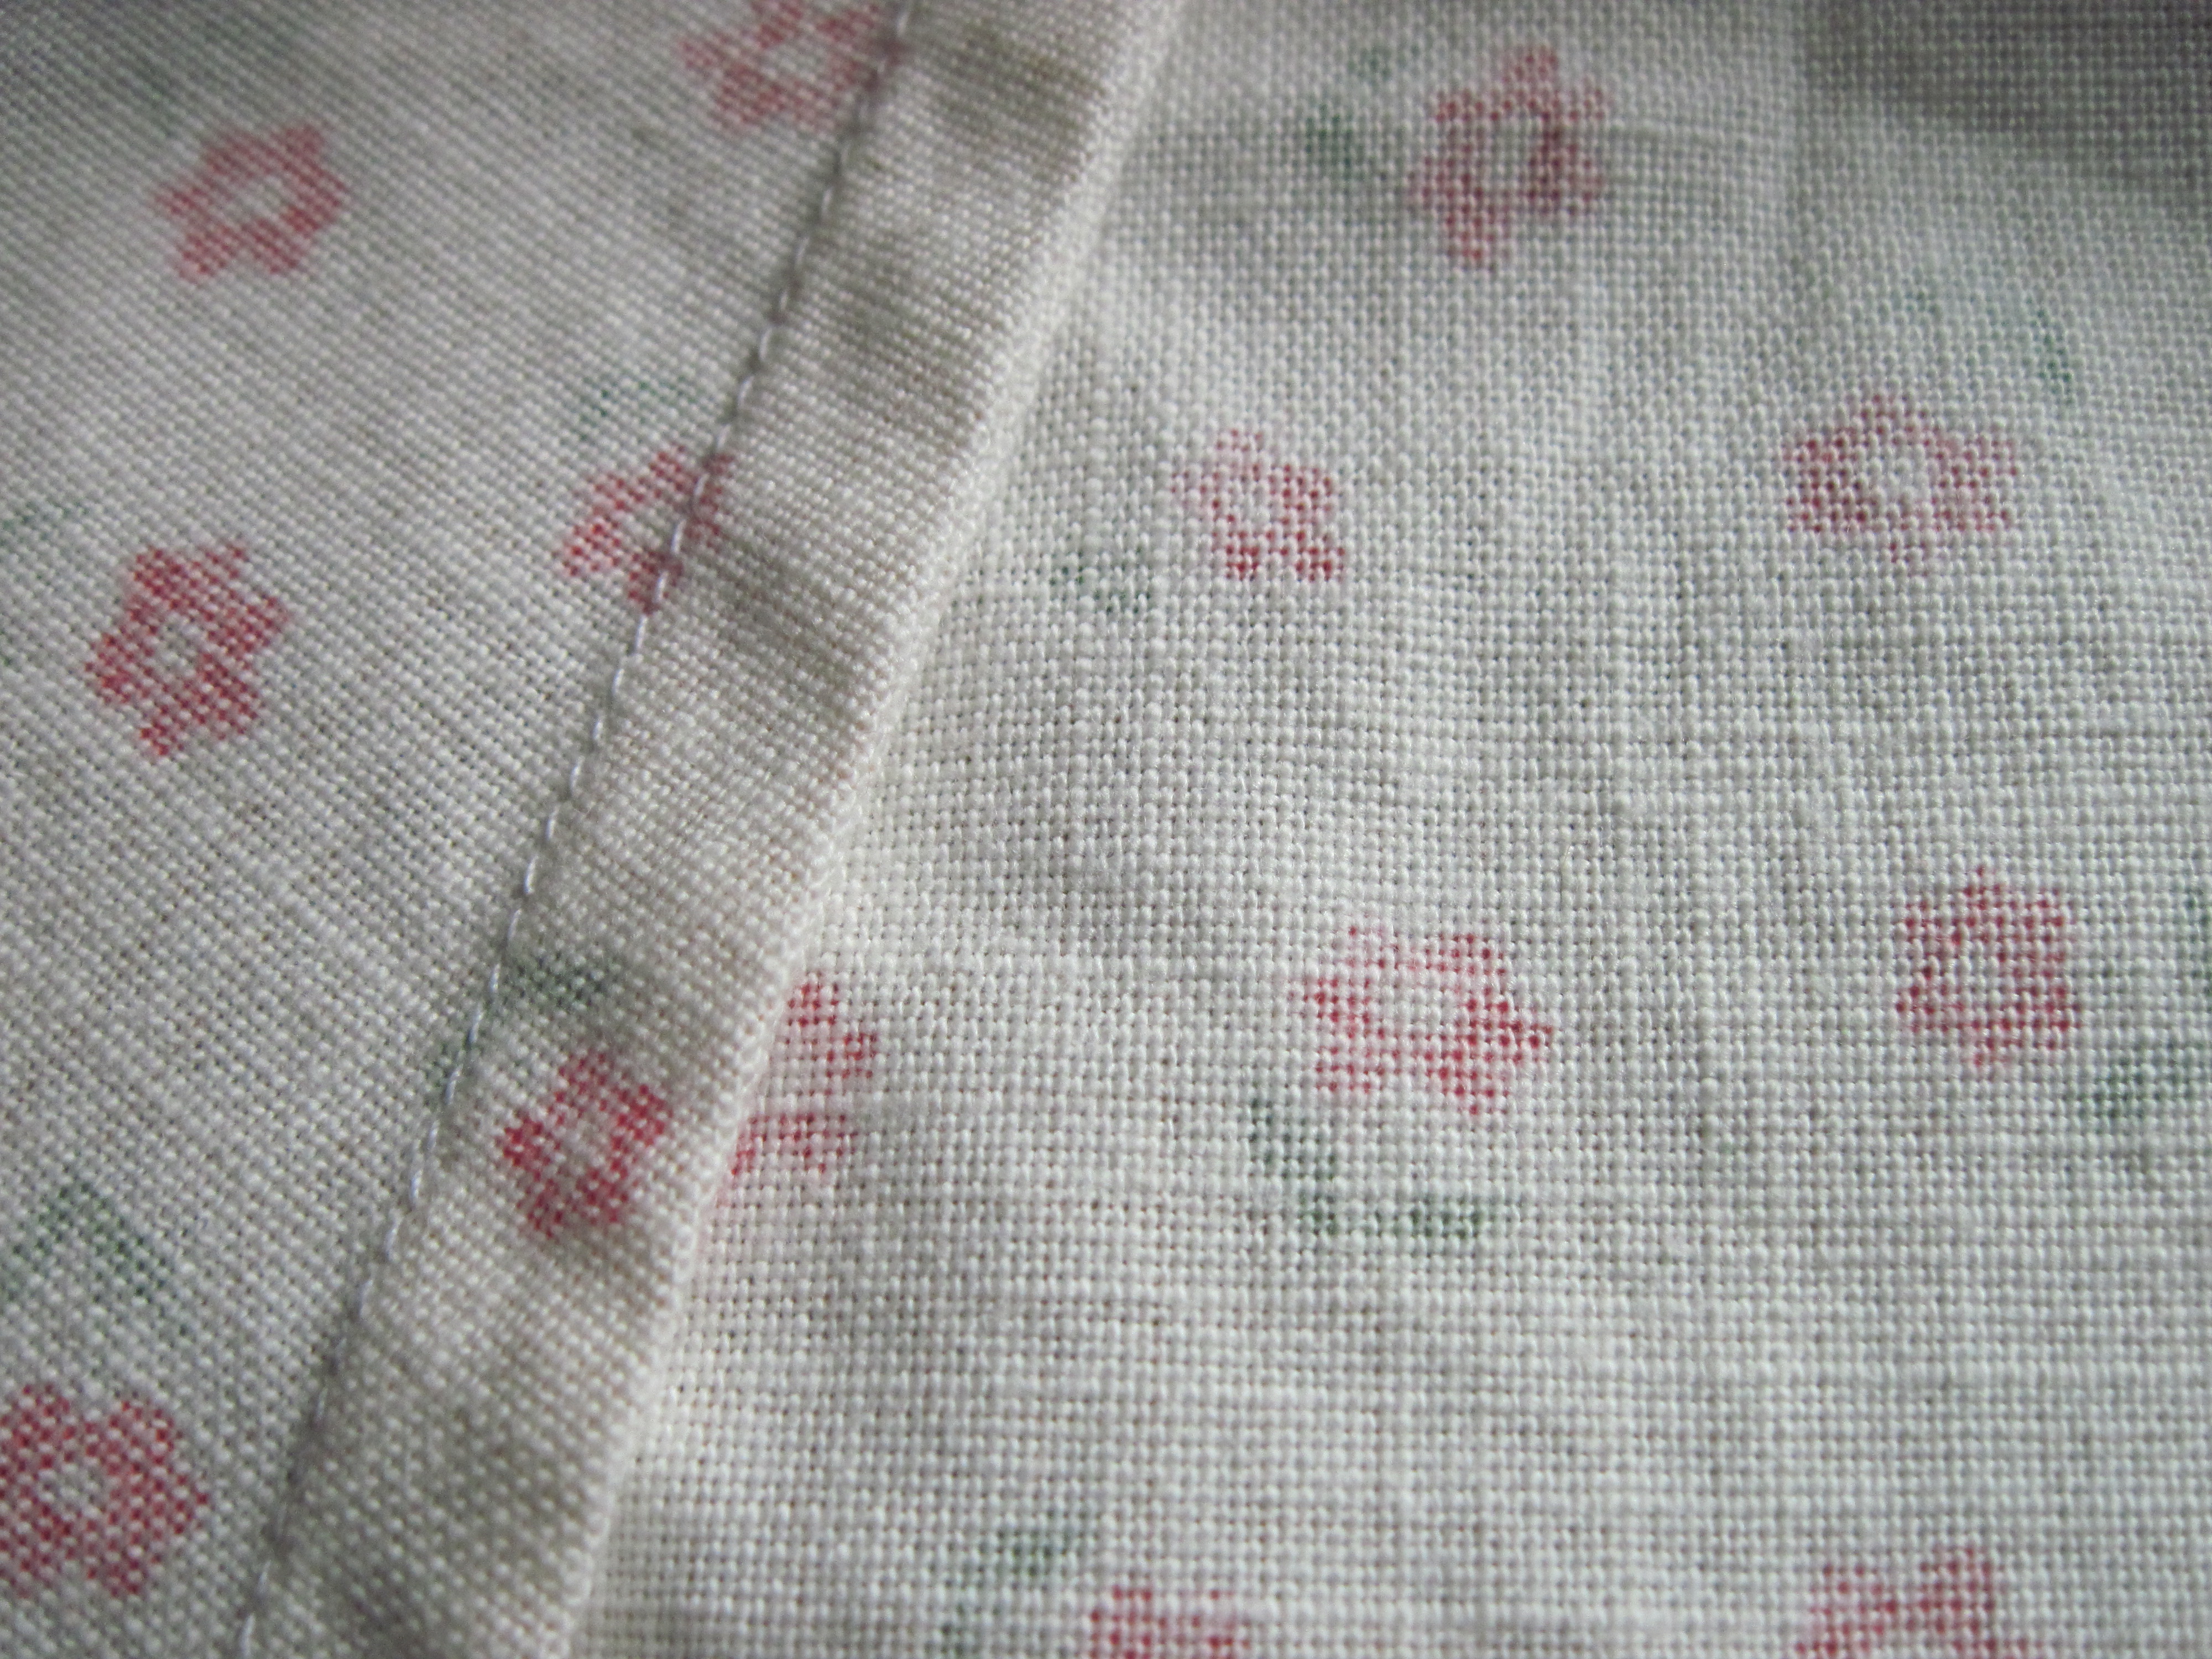
Photo: kelly / kellyhogaboom. CC BY-SA 2.0 · Original source. Unmodified for this article. The photograph remains under its stated license; no endorsement, specific material grade or JKPD use is implied.

01
Begin with the intended edge finish
A French seam is a candidate for a lightweight organizer or a visible internal pouch seam when the aim is to enclose raw edges. Suitability still depends on the fabric, geometry and assembly location. A premium-sounding name is not a reason to use it throughout every bag.
Identify which surface remains visible, what contacts the contents and where thick layers converge. Compare alternatives if the completed seam becomes an intrusive ridge. The decision should address the particular pouch rather than rank seam names as universally better or worse.
02
Plan the two passes around the final seam
BERNINA WeAllSew’s explanation describes an initial wrong-sides-together seam, followed by folding right sides together and enclosing the cut edges in a second seam. It also distinguishes a simulated French seam. A similar finished appearance does not establish an identical construction route.
The photograph shows a finished seam identified by its source as a French seam. It illustrates the visible fold and stitching without exposing every internal layer. It is not a bag production example, and dimensions must come from the drawing and measured sample.
03
Mark cut edges and the finished seam separately
Confirm pouch width from the final seam position. Cutting for a different seam and adding another fold later can alter useful space. The pattern should distinguish its cut boundary, the first-pass treatment and the final joining line.
Have the maker establish the relationship between the first seam, trimming and the second seam with the actual fabric. The enclosed edge must fit inside the final fold. A domestic tutorial’s dimensions are an example, not universal production parameters for every lining. Keep both operations visible in the sample specification.
04
Inspect enclosure before judging the outline
Examine both faces for fibres emerging through the final join, unstable folds and distortion associated with uneven feeding. If raw fibres remain visible, review enclosure space, fraying and trimming rather than moving the second seam inward without investigation.
An inward shift can also reduce the pouch dimensions. Measure the finished part again after correcting the edge, then insert and remove its intended contents. This separates an improved finish from an unintended loss of usable space. Record the problem location so the next sample addresses the same area.
05
Review endpoints and corners
The enclosed allowance can meet hems, zipper ends or bottom corners. Use a local sample to define where it ends and how later operations cross it. Inspect hard spots, trapped material and thick areas that are difficult to sew consistently.
A successful straight coupon is not approval of a complete pouch. Preserve any curved or complex corner section as well, checking the folding path, appearance and practical sewing access. End treatment belongs in the construction specification even when the longest straight section looks tidy.
06
Validate more than tidiness
Keep the sample and its record together
Define access, intended-care appearance and connection checks for the application. Record exposed fibres, seam opening, dimensional change and contact with contents. The project must establish repetitions and acceptance criteria. Enclosed edges alone do not prove greater strength or freedom from snagging.
Retain thread, needle, fabric article and sample conditions so comparisons can be repeated. These are proposed review tasks, not JKPD test results or a durability guarantee. Appearance approval and any performance evidence should remain separate entries.
07
Keep a sample that explains construction
Provide finished dimensions, candidate material, seam location, operation description and endpoint requirements. Request photographs of both faces and a sample section that allows the enclosure to be checked. Associate the approved piece with its pattern and material revision.
A front-view image alone cannot preserve the construction. The handover should let procurement confirm useful space and let the maker reproduce the enclosed edge. When a later fabric change is proposed, the team then has a physical reference for deciding which operations need to be reviewed.
Share your application, candidate components and sample requirements through the JKPD project inquiry page.
Discuss your bag development project
ANSON XIE
General Manager & Founder
Quanzhou Junkai Pengda Special Equipment Co., Ltd.
Email: ansonxie@jkpdtime.com
Phone: +86 177 5095 3355
WhatsApp: +86 177 5095 3355
Factory address: Floors 2–4, Building 1, Phase I, Huixin Intelligent Manufacturing Industrial Park, Hui'an County, Quanzhou, Fujian, China