
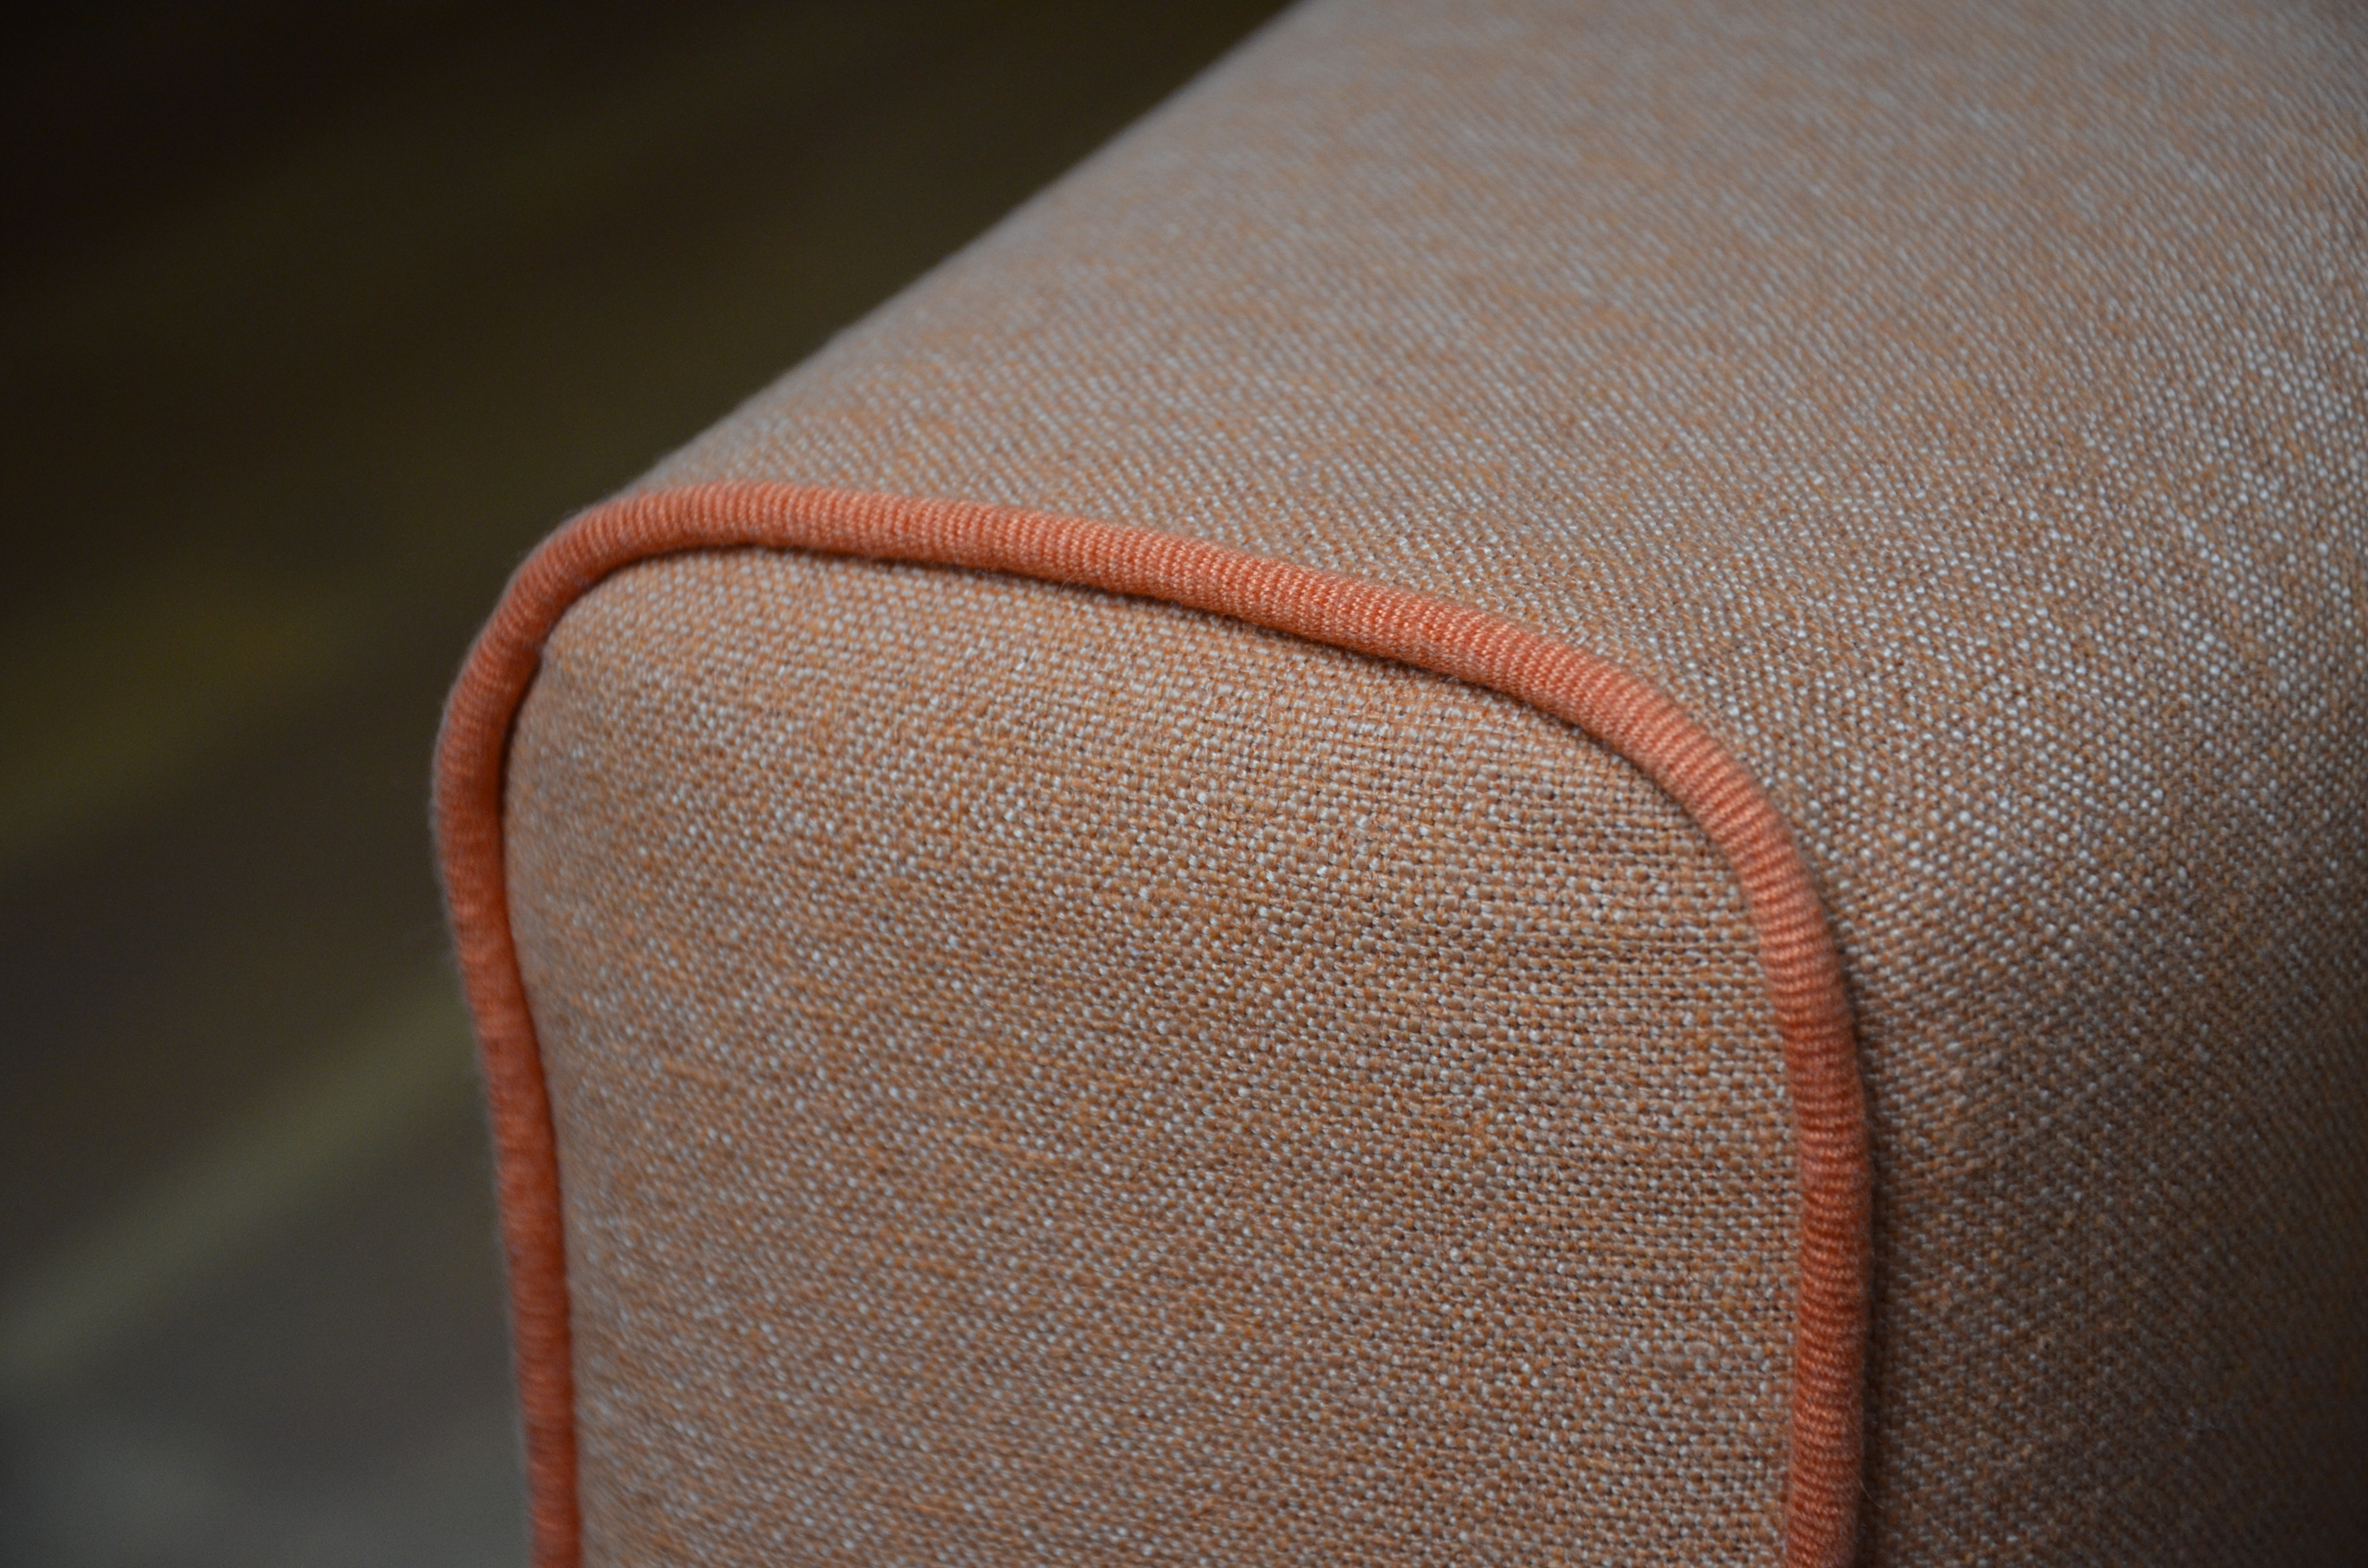
Photo: DC / DocteurCosmos. CC BY-SA 4.0 · Original source. Unmodified for this article. The photograph remains under its stated license; no endorsement, specific material grade or JKPD use is implied.

01
Distinguish piping from edge binding
Corded piping presents a rounded line alongside a seam; binding typically covers an edge. State the desired visible profile and construction in the development brief so a general request for an edge finish does not mix different methods.
This guide focuses on decorative corded piping. It can define a silhouette, but a rounded edge does not automatically establish waterproofness, impact protection or certified abrasion performance. If protection is part of the intended purpose, specify the materials, construction and verification separately instead of assigning that function from appearance.
02
The cord is not the finished outside diameter
WeAllSew’s piping explanation describes fabric wrapped around cord and notes the added thickness of the covering during installation. Cord diameter alone therefore does not specify finished piping. Confirm covering material, layers and seam position together.
The photograph comes from a furniture edge and shows a rounded covered trim continuing around a corner. It illustrates a general visible piping profile, not bag manufacture. The internal cord, seam allowances and actual dimensions are not exposed. Do not use it to establish the hidden construction of a particular bag sample.
03
Begin with a straight seam coupon
Use the intended shell, piping and seam layers to establish stitch position and visible reveal. Inspect for exposed preliminary stitching, uneven fullness or puckering. Label face orientation and seam allowance rather than recording only the width of a loose trim.
Cover thickness and cord stiffness can change handling. Do not transfer one material’s foot, needle position or feed settings as universal parameters for another combination. Establish equipment fit through the coupon and tie the resulting record to the material version. This provides a meaningful comparison when the final trim supplier or covering changes.
04
Preserve the intended corner geometry
A neat straight coupon does not establish a smooth corner. Build a local sample with the planned curve, seam layers and piping combination. Observe inner bulk, changes in the outer covering and continuity of the rounded line.
Where seam allowance needs relief, the maker must determine treatment for the material and pattern while protecting securing stitches. No universal clipping depth, spacing or sewing speed is prescribed here. Keep the actual corner geometry in the sample rather than approving a gentler demonstration curve that does not represent the bag being developed.
05
Approve reveal on the assembled form
Review visible piping together with seam location, rather than measuring only maximum outside diameter. Compare opposite sides, the transition into a curve and the contour with intended contents. Record local rolling, sinking or an obviously uneven reveal by location.
Include planned padding or support layers in the sample because they can affect the surrounding shape. Consistent photographs support appearance discussions, but they do not replace measurements at agreed locations. Avoid estimating dimensions from an uncalibrated image. The reference needs to explain both how the finished edge looks and where it is measured.
06
Sample the join separately
Keep the sample and its record together
A piping join concentrates material. Establish its position relative to handles, zippers and corners, then compare thickness and appearance for the proposed method. Hiding it on the reverse side of a sample photograph does not resolve the construction.
Retain the local sample and describe cord termination, covering continuity and securing stitches. The appropriate method depends on the selected materials and product. A domestic sewing example can explain the principle without establishing the method for every industrial bag. Include the join in the assembled appearance review instead of approving it only as a loose trim.
07
Release three complementary samples
Retain a straight coupon, the intended corner and a join sample, linked to cord, covering, shell, needle and thread, and pattern revision. In the RFQ, define how finished outside diameter and visible reveal are measured, what appearance is acceptable and what changes trigger review.
Record appearance approval separately from any durability validation. A full-looking rounded edge is an appearance observation, not a performance conclusion. These complementary samples let design, procurement and sewing teams discuss the same finished construction while preserving the information needed for later revisions.
Share your application, candidate components and sample requirements through the JKPD project inquiry page.
Discuss your bag development project
ANSON XIE
General Manager & Founder
Quanzhou Junkai Pengda Special Equipment Co., Ltd.
Email: ansonxie@jkpdtime.com
Phone: +86 177 5095 3355
WhatsApp: +86 177 5095 3355
Factory address: Floors 2–4, Building 1, Phase I, Huixin Intelligent Manufacturing Industrial Park, Hui'an County, Quanzhou, Fujian, China