
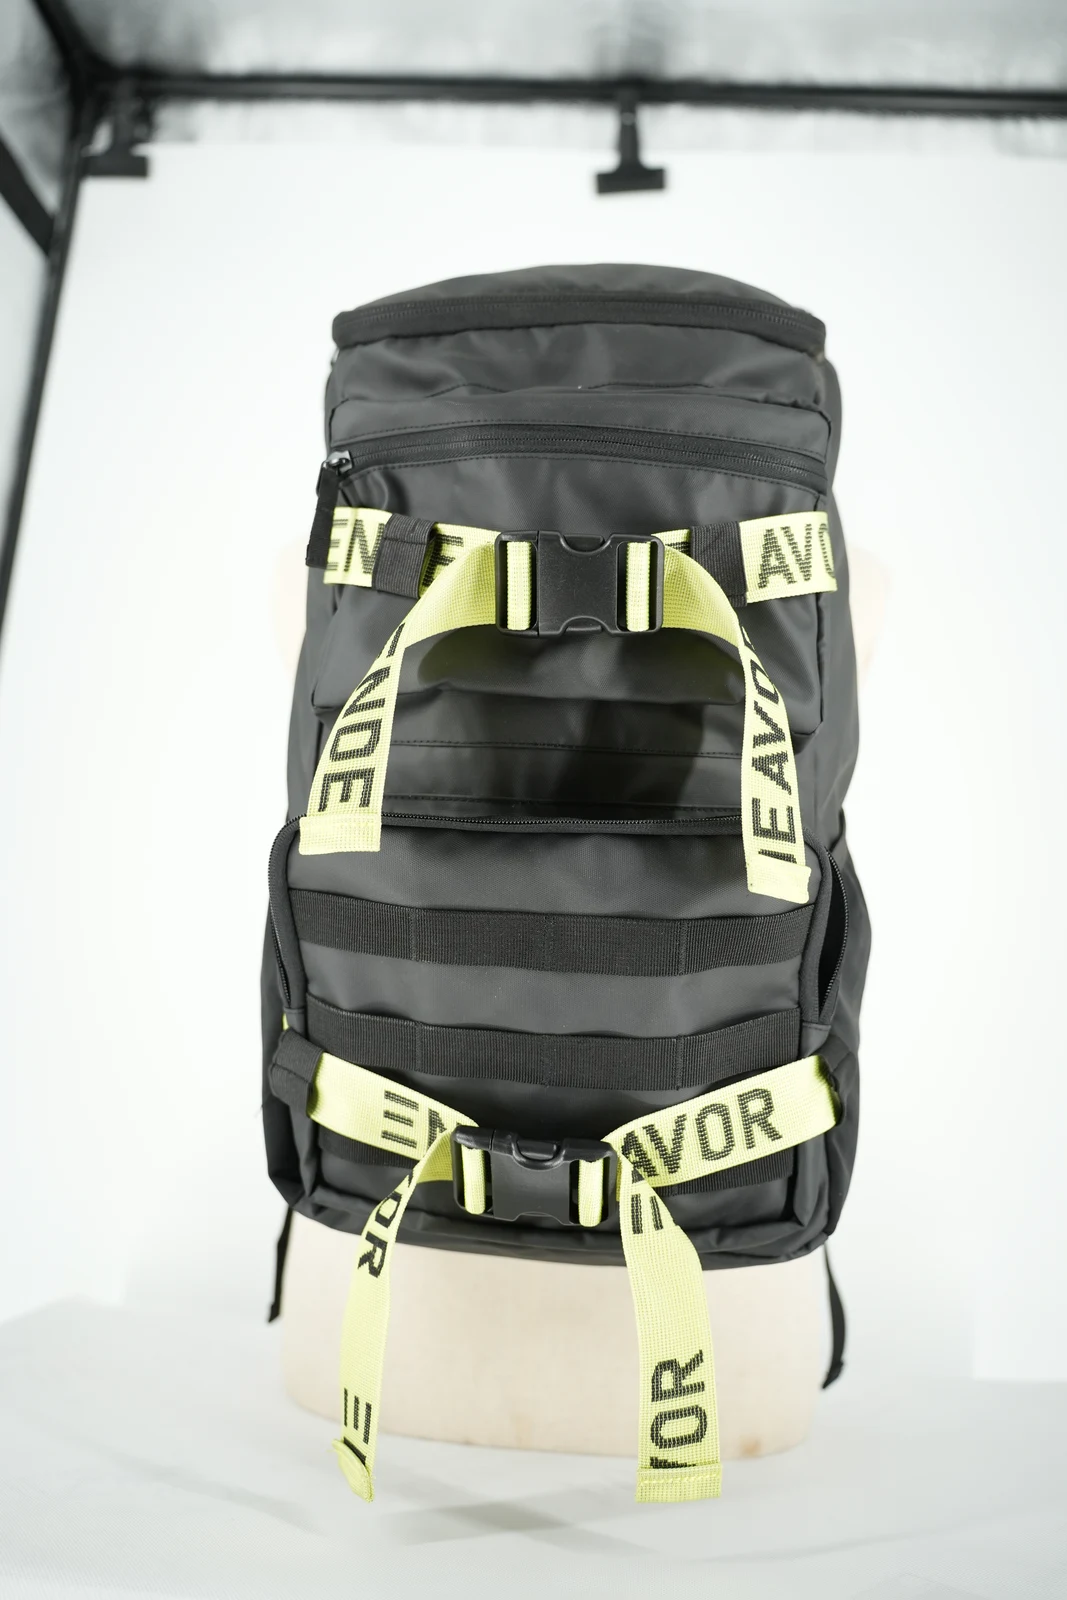
Two straps across the front of a backpack need a defined relationship with the object they carry. For a proposed folded-jacket arrangement, establish the bundle’s width, thickness and narrower areas before choosing where each strap passes. Tightening the buckles alone does not resolve every route by which the bundle could move out.
Define one principal object and one packing method. Record the upper and lower contact zones, the position of the bundle’s bottom and the removal sequence. The product photographs show a strap layout; they do not demonstrate validated external-carry performance.
01
Give the soft object a repeatable shape
Folding changes the areas available for the straps. A fairly even roll and a jacket with loose sleeves create different conditions at the two contact zones. Agree on a folding method before developing the locations that will restrain it, so revisions can be compared using the same outline.
Place sleeves, a hood and narrow corners within that outline where the proposed method allows. If the brief calls for several packing methods, consider each separately. A photograph of one arrangement cannot establish compatibility with every garment, especially when their bulk and surface behavior differ.
02
Assign a contact zone to each strap
Each strap needs a defined part of the bundle to contact. One strap may cross a broad area while the other sits near a narrowing edge. Even after adjustment, the remaining outline can allow different movements at those two locations. Examine the contact zones and the shape beyond them together.
The mannequin photograph shows straps at two heights on the pack. Use that visible layout to discuss spacing in relation to the target bundle’s length, then build a loaded sample. Changing the spacing also changes the intended body attachment positions. Treat this as a construction decision with a specific carrying task.
03
Identify the route below the bundle
Consider whether the object can continue downward between or beneath the straps. Tightening changes contact, but a bundle that narrows toward its lower end may need another arrangement. A supporting lower section or a different object orientation are possible development options, each requiring its own sample.
The deuter Compact 12+3 SL product page assigns different attachment methods to half-shell and full-face helmets. It is a useful example of matching the route to the object. The pictured sports pack has no corresponding helmet-carry evidence and is not presented here as a confirmed helmet system.
04
Include the added depth in the outline
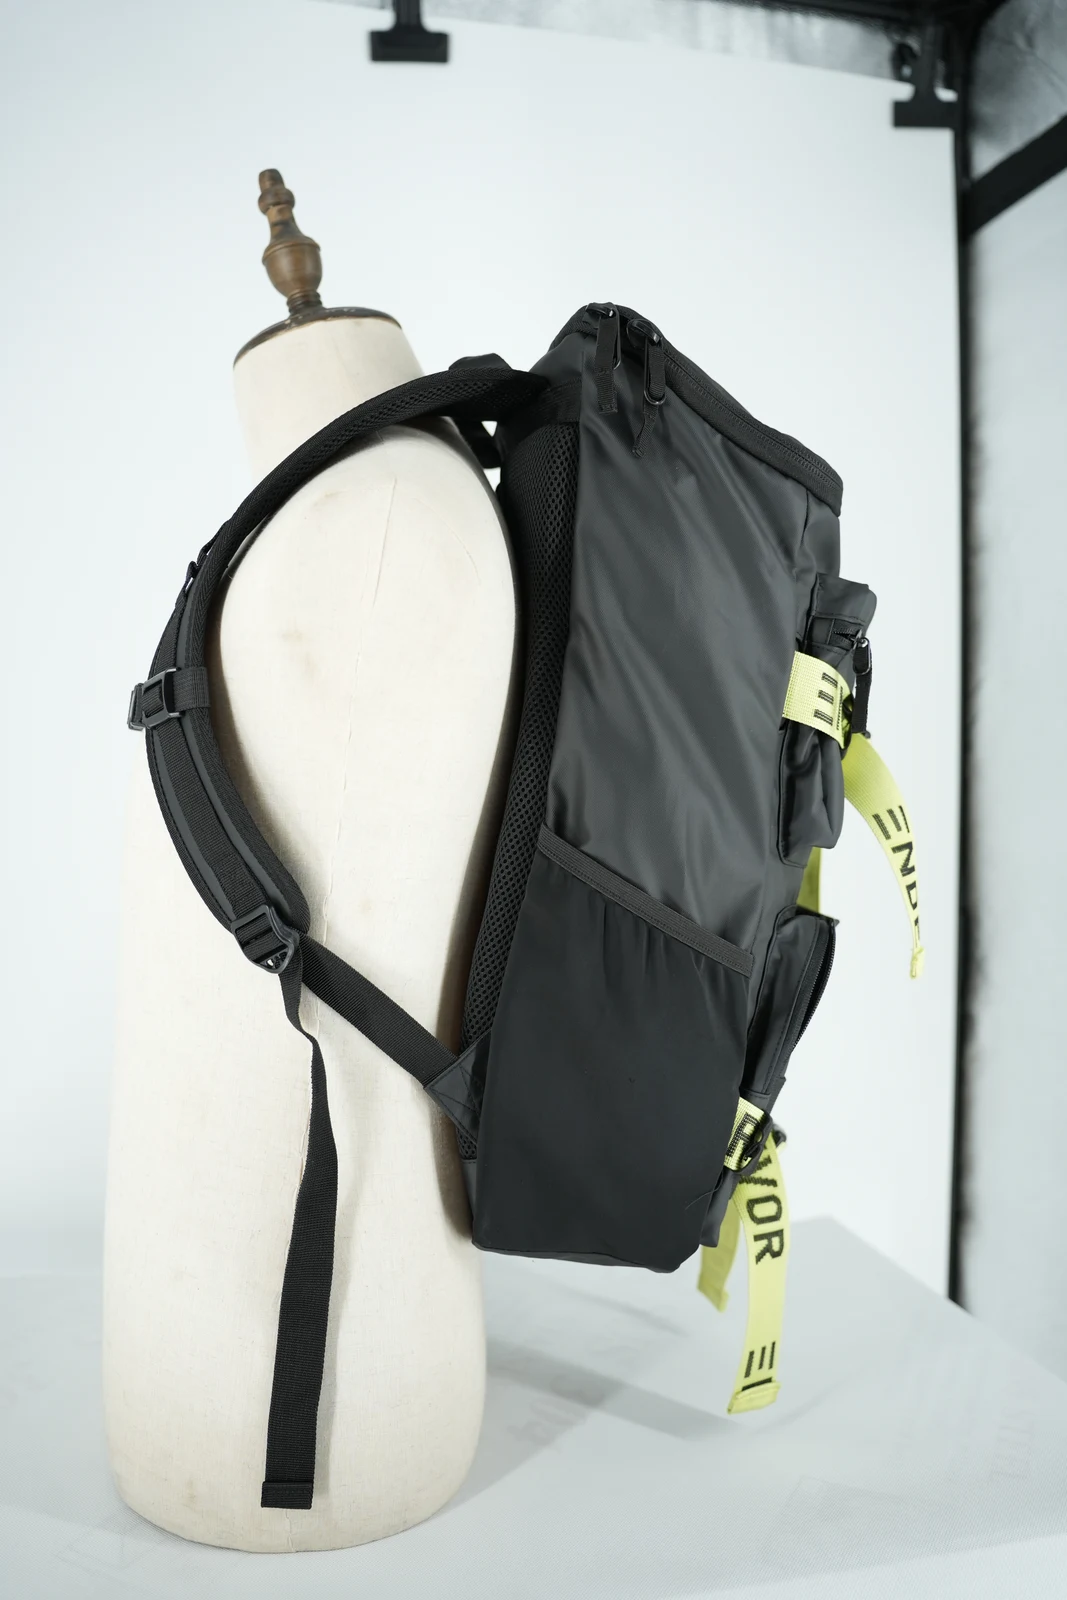
An object carried at the front changes the overall side profile. Position the intended folded garment at the proposed location and examine its projection, lower edge and relationship with the space needed around the user. Keep the principal packing method visible in the record.
The mannequin side photograph provides an unloaded reference. Intended users still need to try the loaded development sample through the relevant wearing, turning and sitting tasks. The empty product’s appearance cannot establish stability or comfort with an added object, and those outcomes should remain separate from an approval of the visible layout.
05
Support the object before releasing it
Plan a removal sequence in which the hand supports the bundle before its restraint is released. Compare supporting the bottom while releasing the upper strap first with the alternative order. Choose the sequence around the principal situation, and position the buckles so the user can recognize which strap is being operated.
After removal, restore the straps for use without the bundle. The original photograph retains the hanging ends, making the empty state part of the development discussion. Define a parking method on the actual sample, then check that the next loading task can restore the intended route without an unclear threading step.
06
Hand over one complete carrying arrangement
Keep the approved sample identifiable
Retain the target garment, folding method, two strap routes and removal order. Front and side photographs of the development sample should identify the two contact zones. Any proposed lower support that has yet to be built should remain a separate development item.
Assign material and connection requirements to the webbing, hardware and body attachments using the confirmed sample and project verification. The Osprey owner manual provides an external example of explicitly assigning a purpose to upper and lower straps. Develop instructions for the actual arrangement in the brief. More topics are available on the JKPD blog.
Related: travel backpack compression strap layout. See the photographed product reference.
Discuss your bag development project
ANSON XIE
General Manager & Founder
Quanzhou Junkai Pengda Special Equipment Co., Ltd.
Email: ansonxie@jkpdtime.com
Phone: +86 177 5095 3355
WhatsApp: +86 177 5095 3355
Factory address: Floors 2–4, Building 1, Phase I, Huixin Intelligent Manufacturing Industrial Park, Hui'an County, Quanzhou, Fujian, China