
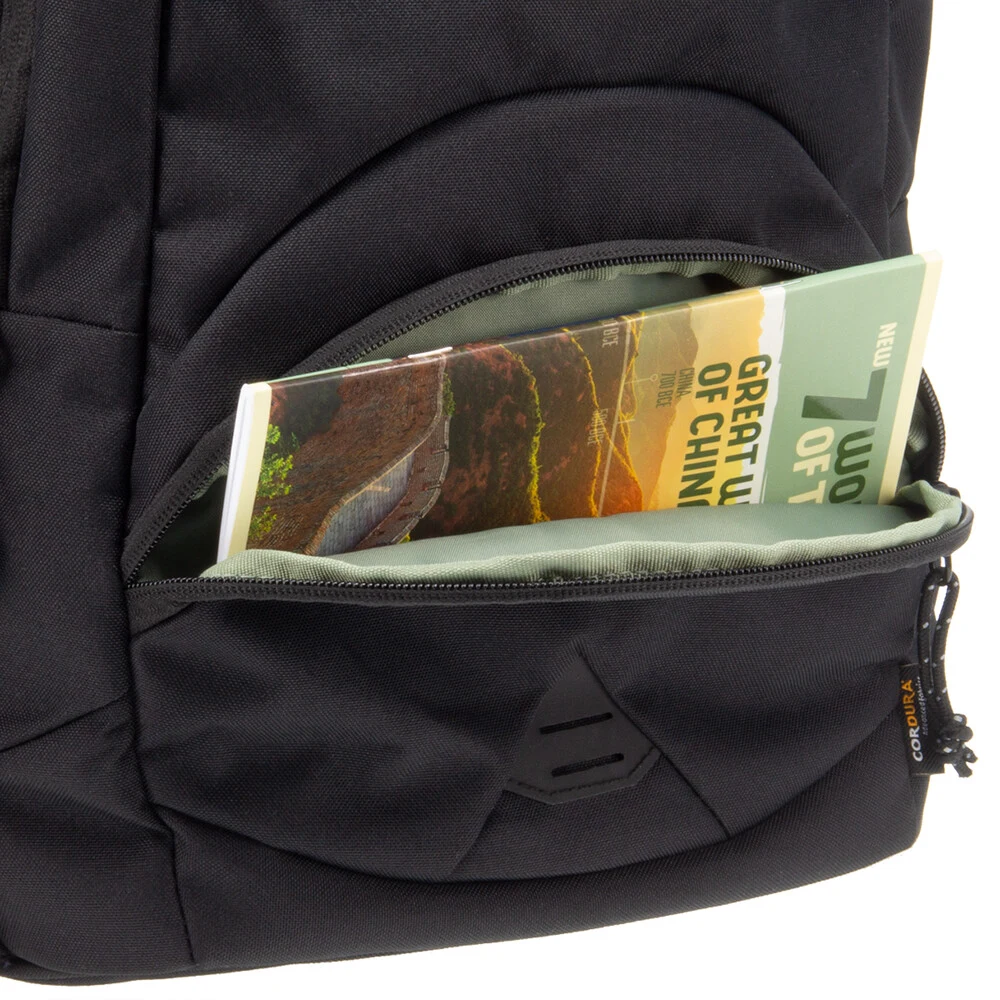
A curved front pocket needs to accommodate the complete shape of a book and the closed pocket outline together. Placing the book through an open mouth resolves only the entry step. The corners, usable base area and zipper path still determine whether the proposed storage arrangement works.
Use the target book for insertion, positioning, closure and removal. Define whether the front pocket serves brief access or all-day storage. Larger flat paper items can remain in the main compartment rather than being assigned to a curved outer pocket by default.
01
Select the location with the complete book
Length, width, thickness and cover flexibility influence the entry method. Bring the target book toward the opening in its natural shape and identify a suitable direction. Avoid using substantial cover bending as the sole reason to declare that the book fits.
The photograph shows a paperback partly projecting from the open front pocket. It establishes that display’s direction and the location of the mouth. It does not show the pocket fully closed or supply the book’s dimensions, so it cannot establish compatibility with a general paper-size category.
02
Locate the corners inside the curved boundary
A curved outline can provide different usable widths at different heights. The lower corners may reach the sides of the pocket base before the rest of the book settles. Identify the areas occupied by all four corners, then compare horizontal and upright positions using the target item.
A change in orientation also changes the grip used during removal. Position the book where the user can take hold while retaining the space needed for closure. Increasing depth until the cover disappears from view can leave the retrieval action unresolved, particularly when the lower pocket area narrows.
03
Review the shared depth from the side
A relatively rigid flat item in the front pocket changes the side profile. Contents in the main compartment can also push the shared wall forward. Review both compartments using the same reference load, so the front pocket receives the space expected during actual use.
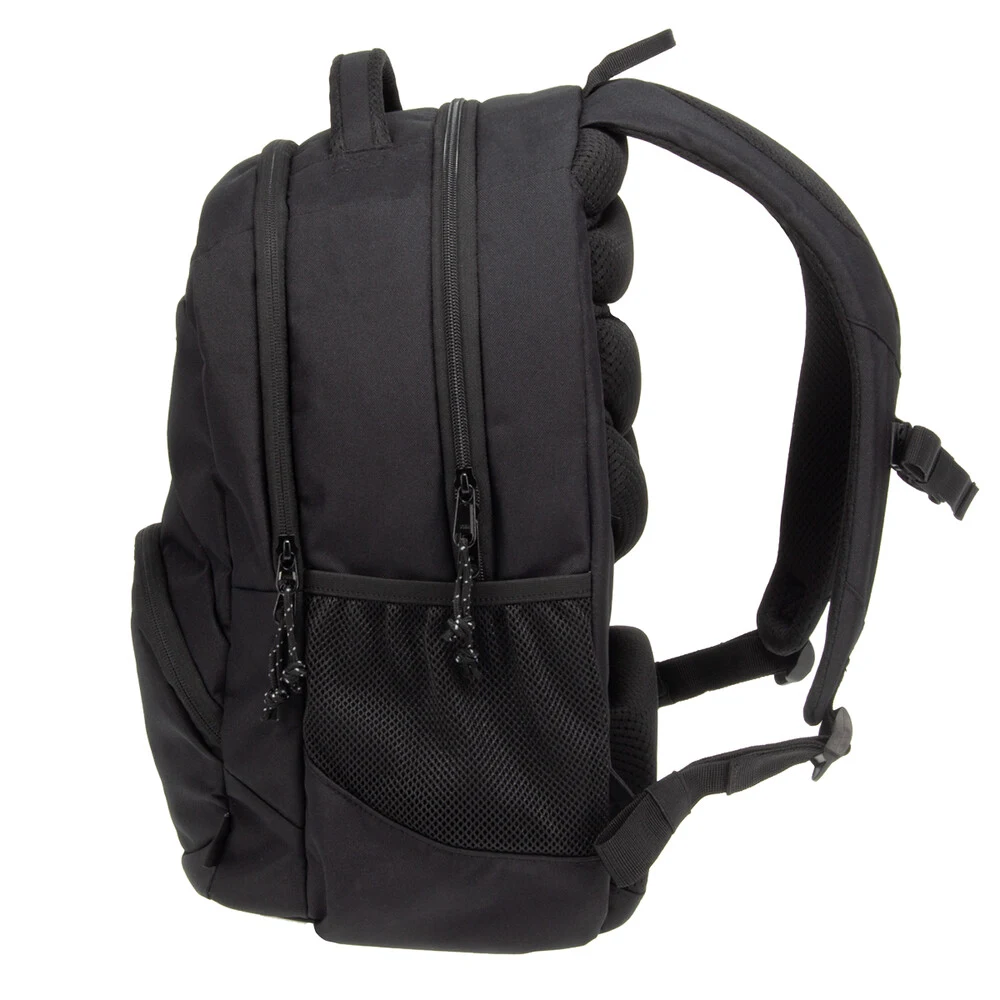
The side photograph shows how the pocket layers relate to the body depth. Repeat that viewing direction on a loaded development sample. Observe whether the front pocket curves noticeably, whether the mouth is pushed outward and whether the book maintains the intended position. These observations help identify which part of the arrangement needs revision.
04
Keep paper clear of the zipper route
Before closure, the cover edges and pages need to be clear of the zipper path. With a fuller pocket, observe whether the user must hold a corner down while pulling the slider. Resolve the operating task by comparing item position and pocket shape rather than relying on greater pulling force.
A project concerned with the appearance of paper items should also compare their corners after repeated insertion and removal under agreed conditions. No such test is reported here. The photographs cannot establish resistance to bending, water or abrasion; those requirements need a confirmed sample and supporting project evidence.
05
Assign larger paper items to the main compartment
The front pocket can serve a smaller book needed during a short stop, while larger flat contents remain organized in the main compartment. On the development sample, compare upright paper storage in the main compartment as an alternative to the curved front pocket.
Choose the location around retrieval frequency and the shape the paper item should retain. If front-pocket use requires repeated bending or moving other contents, revise the storage allocation. Increasing the visible panel area alone may leave the curved base, shared wall and closing route unchanged.
06
Retain open and closed states for handover
Keep the approved sample identifiable
Identify the reference book, its orientation and the main-compartment contents in the development record. An open photograph explains the retrieval route; a closed photograph records the final outline. Together they give the sample team a more specific basis for revision than a single partially loaded display.
Procurement information can then define usable dimensions, the base outline and the material combination, including the shared wall between compartments. This article analyzes visible product photographs without assigning material composition or performance from appearance. More storage-development topics are available on the JKPD blog.
Related: student backpack zipper endurance review. See the photographed product reference.
Discuss your bag development project
ANSON XIE
General Manager & Founder
Quanzhou Junkai Pengda Special Equipment Co., Ltd.
Email: ansonxie@jkpdtime.com
Phone: +86 177 5095 3355
WhatsApp: +86 177 5095 3355
Factory address: Floors 2–4, Building 1, Phase I, Huixin Intelligent Manufacturing Industrial Park, Hui'an County, Quanzhou, Fujian, China